“Wolfsschanze” by Stanislav Klabík
MAPPING AND TEXTURING
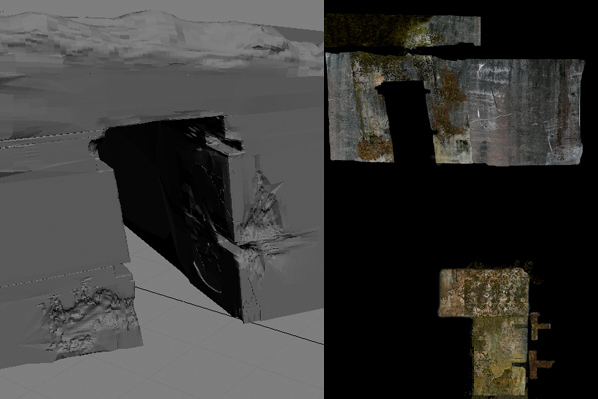
Mapping is the same technique for all objects. Yeah, mapping was a really torture, but I accepted it in the beggining of modelling. First I divided main building into three parts, and textured them separately, middle parts has incredible poly count so I had lot of problems with unwrapping and moving with vertices in edit dialog in Unwrap modifier. Next I divided objects into IDs and after that, I used uvwmap and mapped all IDs, only standard planar mapping. After that I used Unwrap modifier for final mapping process. First I adjusted all IDs and then moved and relax vertices and welded IDs together as I want and then saved UVW as a bitmap, you can use Texporter or something similar, I used saving through unwrap (when is functional) :)))
For correct mapping use checker map!
Here are some examples. You can see some stretched parts which I repaired with relax dialog in unwrap.


Texturing was funny, I opened saved uvws in Photoshop and then used several textures and photos for making final textures. Lot of layers and blending modes like an Overlay, the Multiply etc. I used lot of dirt masks for making moss and dirt and similar surfaces. I wanted quality so all textures are in 3500×3500 resolution for big objects and smaller resolution textures for samll objects.
For all objects I used Maxwell diffuse material with texture in diffuse slot and bump map, except leaves, for leaves I used plastic material with roughness and bump, for water drops I used dielectric material.
BRICKS AND DAMAGED WALLS
I devote individual chapter to making bricks and damaged walls.
I think bump mapping is useless for good-looking bricks and walls, so I decided to use 3d bricks together with perfect texture and bump for details like a dirt and parget. My technique: I always make bricks and damged walls after texturing, maybe incredible or silly technique, but never seen good damaged wall with bricks and stones before.
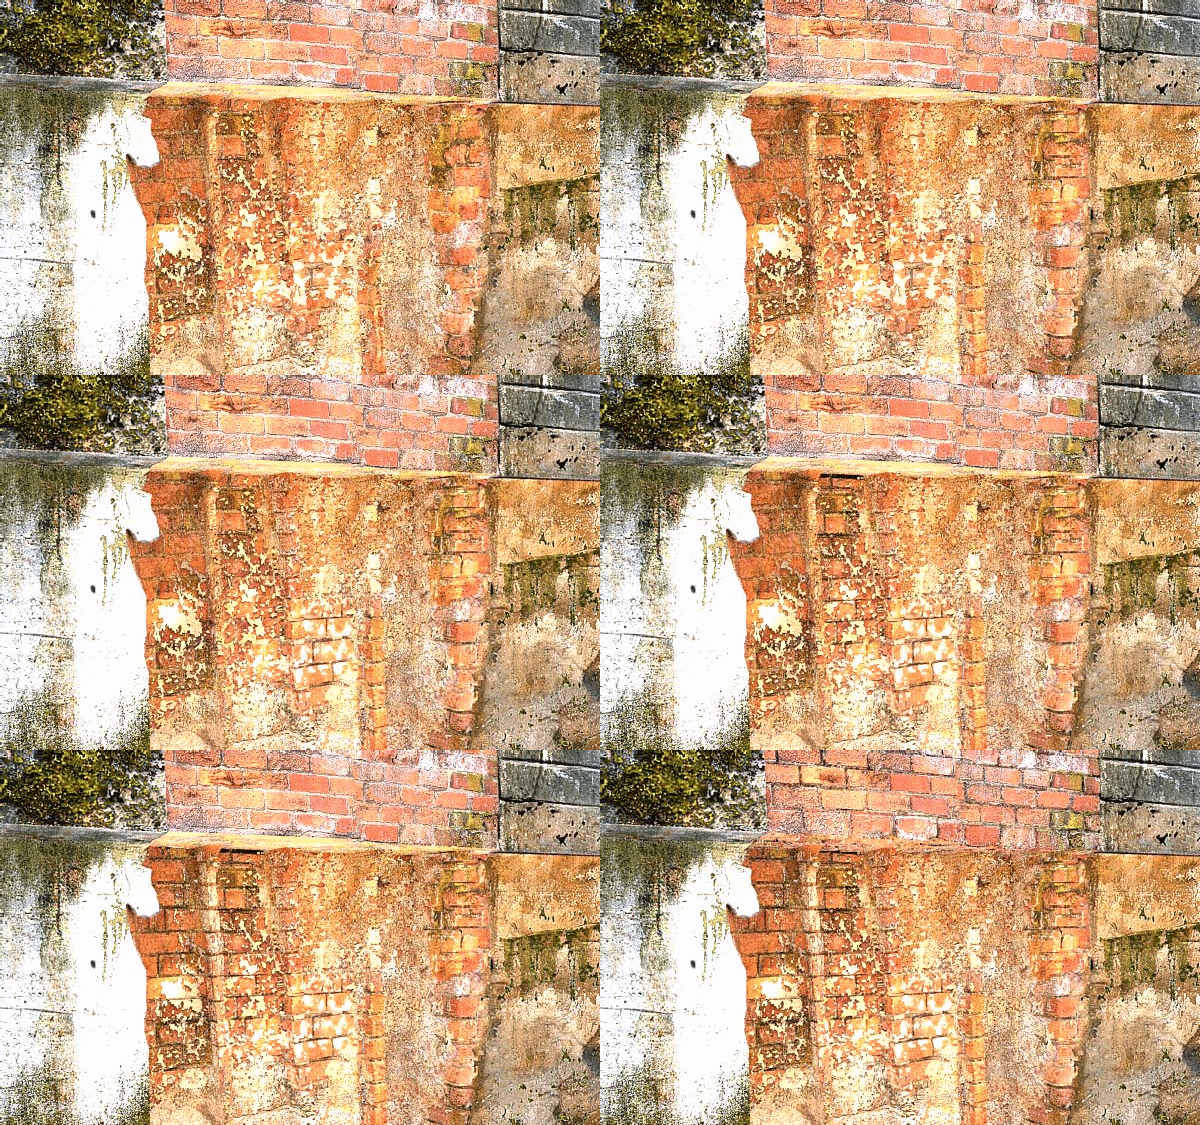
I created simple wall with only low poly count and basic shape of wall and areas, where will be bricks and damaged areas and then unwrap and made texture. After texturing started modelling small details strict following texture. When I was finished, I modelled the bricks, about five models of bricks (for difference) only low poly, about 200 poly and after that I implemented bricks to the damaged areas strict following bricks on texture and after that I collapsed areas with bricks together and mapped them with the same texture as the wall, and that´s it. I used only poly modelling, mainly paint deformation, not displace, very simple.
Here is an animated gif, you can see, that bricks on the first frame are flat and wall looks really bad, and on the last frame is all ok.


Latest Comments