“UV mapping ” by Wojtek “Buddy” Starak
Spacing – Deterimnes spaces between UV map clusters.
Normalize Clusters – Forces UV clusters to fit the square of texture tiling on uv map (blue square in center of edit uvw’s dialogbox)
Rotate Clusters – Allow or not to Rotate clusters while Flattening
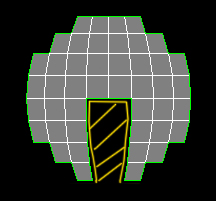
Fill Holes- Allow or not to fill holes like this:

Normal Mapping – this section of tutorial will appear in few days
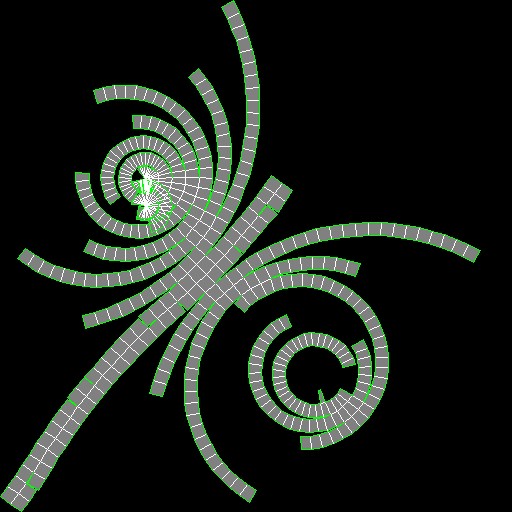
Unfold Mapping – I use this often, most precise technique, it’s simmilar to flatten mapping but here polygon normals are ALWAYS kept 🙂 But in some cases it gives weird effects, like when Unfold mapping a sphere but comes handy when used on square-like, cylinders-like objects, etc etc. Unfold basiclly take polygon and connect closest or farthest (depends which option You choose) polygon and this is happening with all polygons selected but only if any of those polygons shape won’t be changed, You can see that on the sphere UV pic where two parts overlap each other.

Quick step-by-step how to use Unfold Mapping:
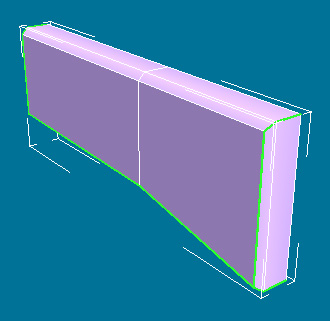
1.Create a model like on the picture,

2.Apply Unwrap UVW modifier,
3.Open Edit window,
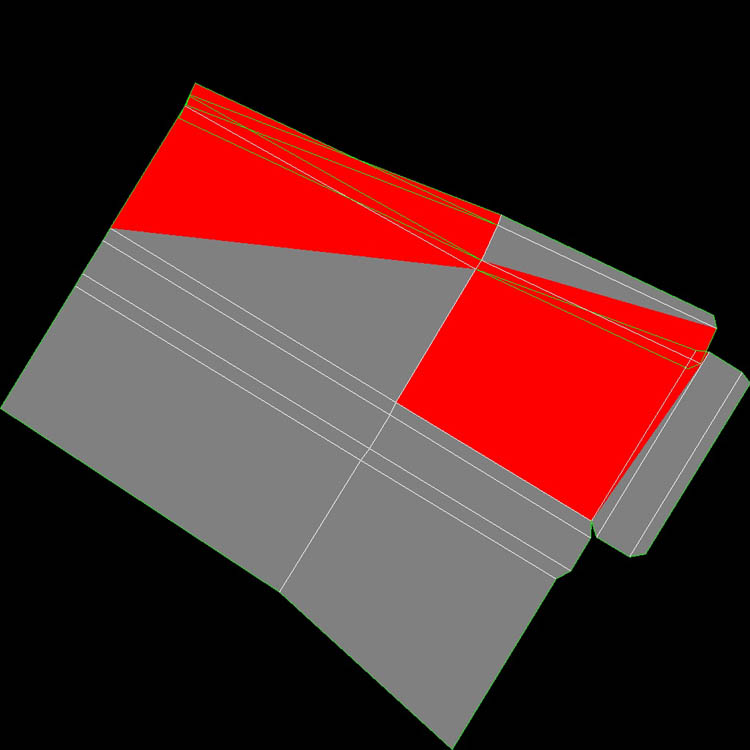
4.Select all polygons and use Unfold Mapping. It will result in:


Latest Comments