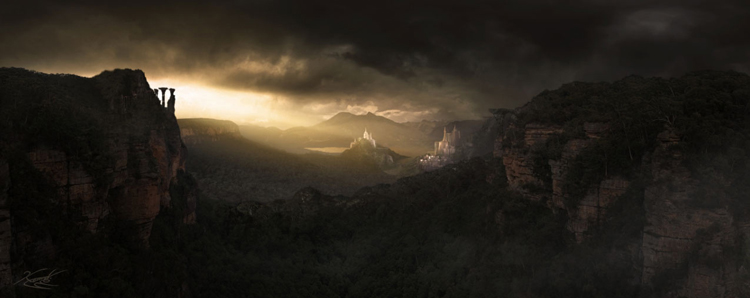
“The Prologue ” by Ismail Kemal Ciftcioglu
I create sunrays from soft yellowish brushes. Then I apply motion blur to it and free transform it to make it very very large. And then lower the opacity a little to achive realistic effect. Then I copy paste 4 or 5 layers with different opacity layers so it looks OK. In this one I used that technic too, with playing opacity layers and motion blur you can make great sunrays of your own. And this time I added more yellow and orange to the environment for the sun’s effect.


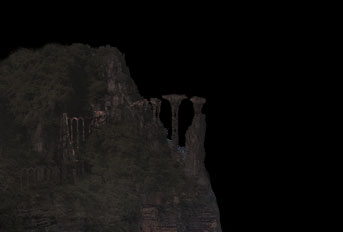
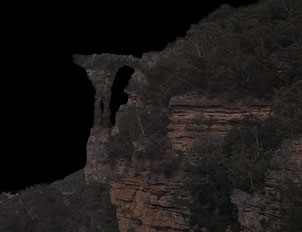
It’s nearly complete. I added some fog, foreground ancient buildings and arches to the top of the hills so they add more detail to the overall scene.
Now it’s not good but I merge the layers that I have no use or maybe flatten the whole image if no movement be made in Maya in future. I don’t know, it’s my sickness, I know it’s not good you must always have all layers so you can update in future but…not for me 🙂 So..I merged my layers and started playing with Levels, Curves and Photo Filter. Especially with Curves you can do great things to enhance your image.
So here it is 🙂 I hope this tutorial helps you making your own environments, see you later..

(c) Ismail Kemal Ciftcioglu, darth_velarion@yahoo.com
Pages: 1 2


Latest Comments