“Creature” by Cristian Patrasciuc
Rendering
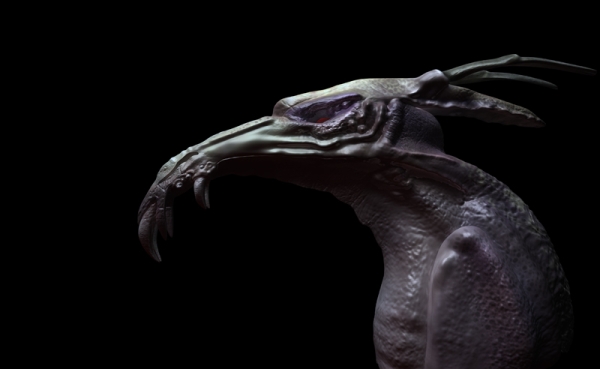
For rendering I used Mental Ray. The rendering parameters are shown in the table below. For the final images I used a resolution of 4000×2462 pixels. For final compositing I rendered 4 passes: diffuse, reflection, specular and ambient occlusion.NOTE: In order to save some memory and avoid crashes I used command line rendering, a very handful feature of Mental Ray. If I would have rendered from XSI, the application itself would have occupied about 500 Mb of RAM. Using command line rendering one is able to keep that memory empty and use it for computations.
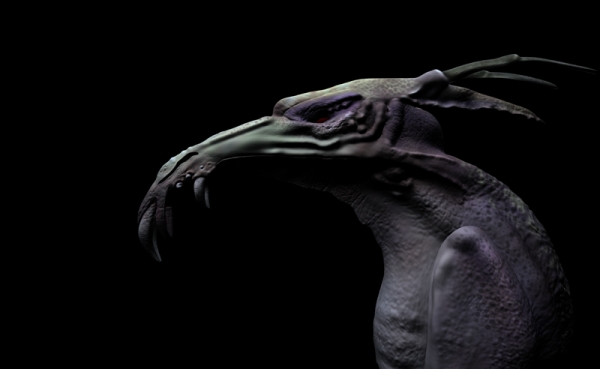
Diffuse pass
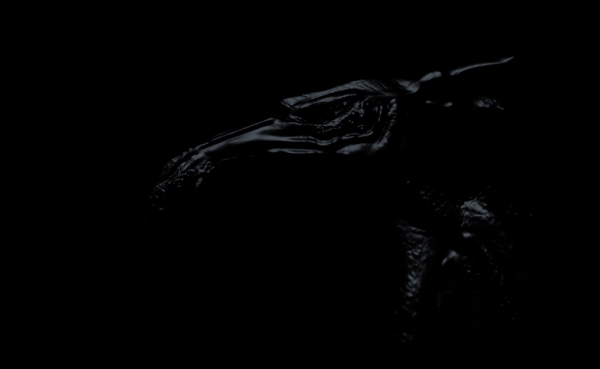
Specular pass
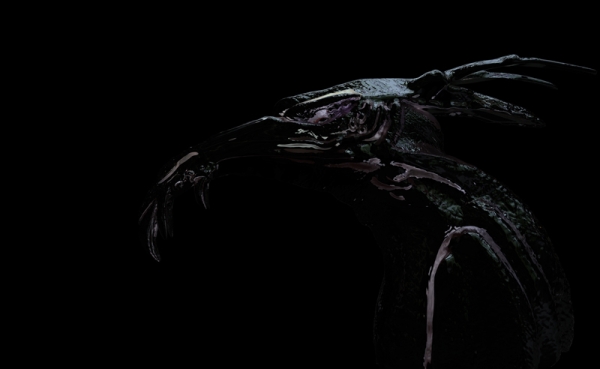
Reflection pass
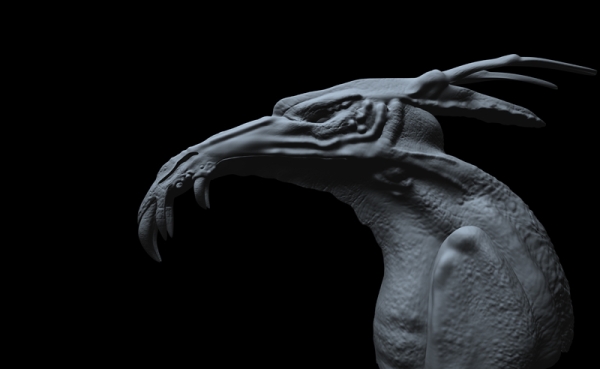
Ambient occlusion pass
Compositing
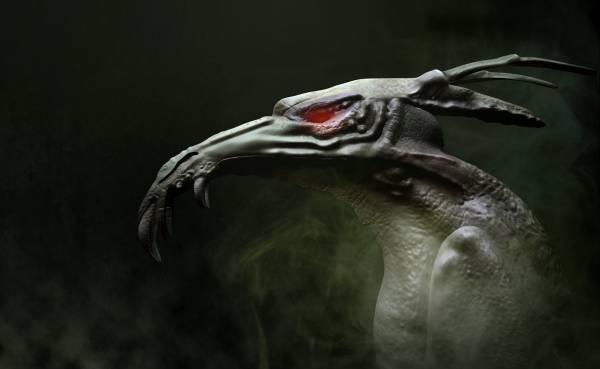
For compositing the final image I chose Adobe Photoshop. First, I imported all 4 rendered passes and composited them to create the creature. The bottom layer was the diffuse one, then the ambient occlusion layer with blending mode set to Multiply. The last layers were the specular and reflection passes, both blended with Screen. The reflection layer was adjusted a little bit to blur or remove some unwanted reflections. After the creature was ready I used a Color Balance Adjustment Layer to warm up a bit the colors in some areas and give a slightly different look to the creature. Next, I just added the eye glow, the smoke, the background, the volumetric light that comes from above and I darkened a bit the corners of the image to focus on the center.
Conclusion
In conclusion, this is how I created my first organic work. Maybe it could have come up a bit better, but I am pretty content with the result. I promise I will do my best to create even better organic characters in the future. I hope you liked the tutorial and maybe it will help you creating your own creatures. Thanks for reading and excuse me for any language errors!
(c) Cristian Patrasciuc, http://calligrapha.go.ro


Latest Comments