“Screw Thread for Metal Screws using 3Ds Max ” by Michael Grote
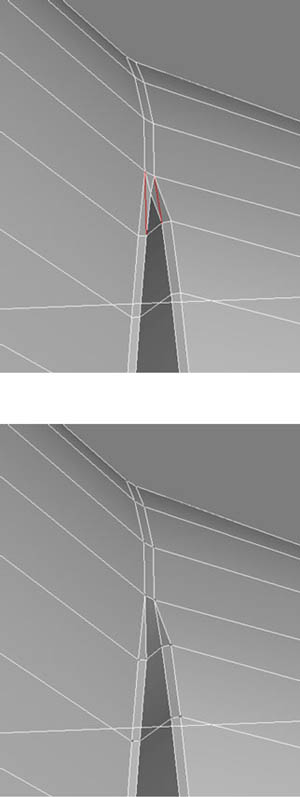
13. Select the screw object again and add the Ngon to it via ‘Attach’ (you may need to flip the normal of the new end face if its facing the wrong way). You will then have something like the image below. Then go into ‘Border’ sub- object mode and select both borders as detailed in red below.
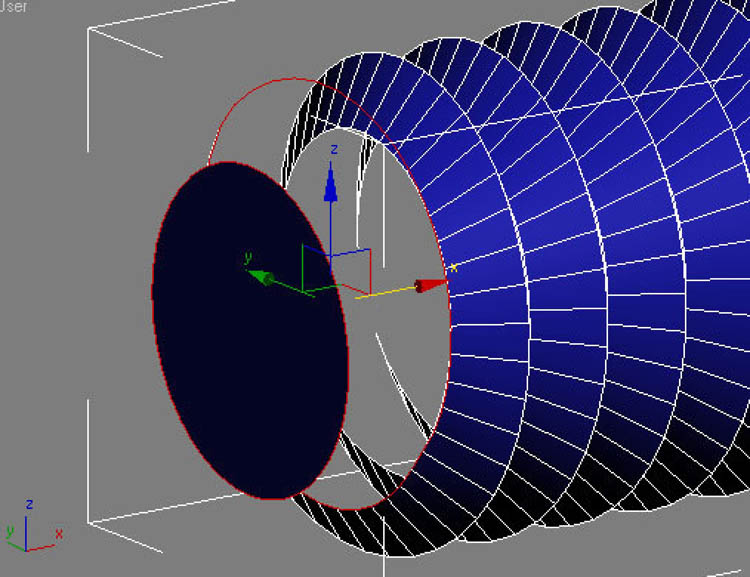
14. Next, click on ‘Bridge’ in the modify panel to join the two borders together, this is where knowing the exact amount of edges the original hole had comes in very useful as you end up with a very clean mesh, (see image below)
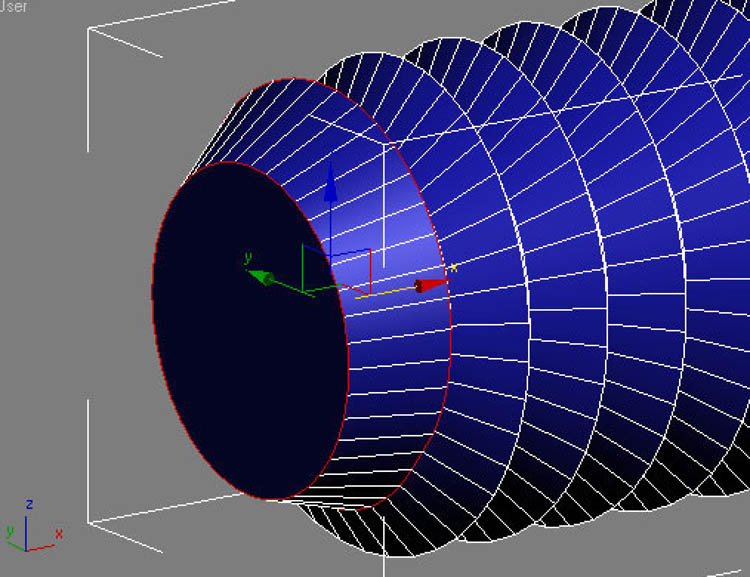
15. I then scaled and move the end face about a bit to give it a more correct size and distance from the end of the thread.
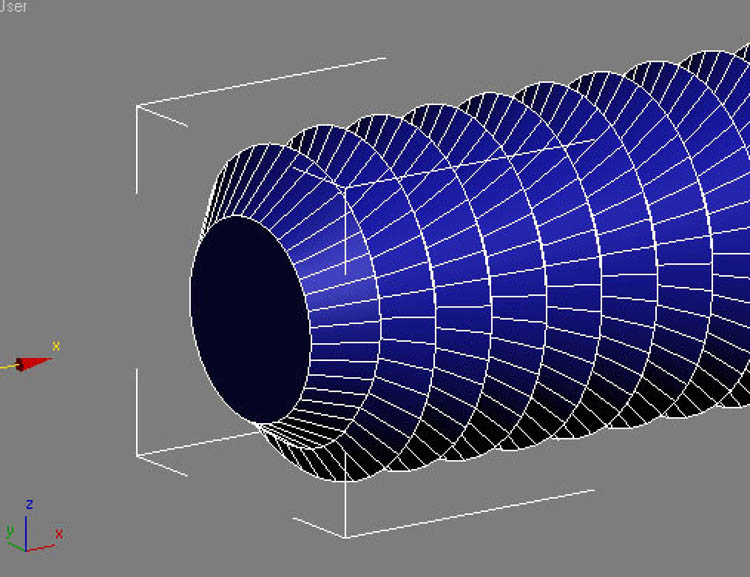
Now you do steps 9 onwards again on the other end, but this time make the Ngon as large as the screw head you want.
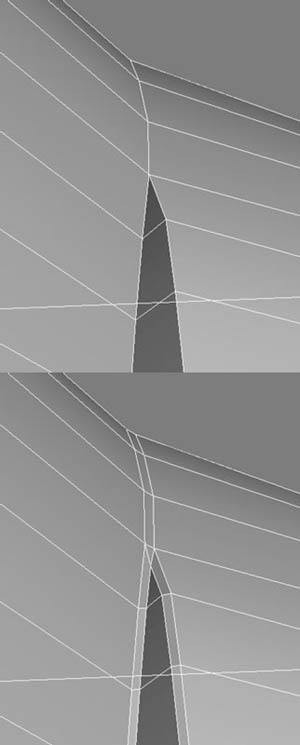
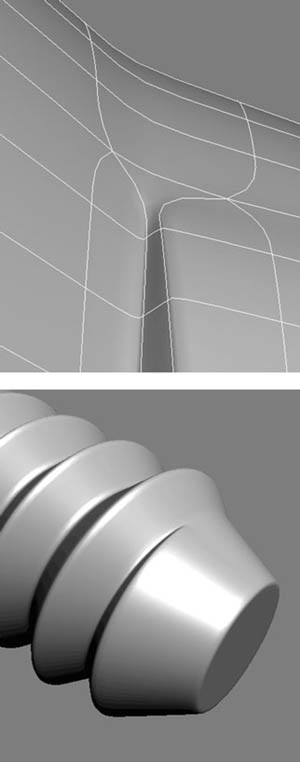
Here’s how to chamfer the edges at the end to make mesh-smoothing look nice (if you are using ‘Meshsmooth’, which you don’t have to)
Screw Thread for Metal Screws
3 comments
Leave a Reply
You must be logged in to post a comment.


I am begginner to 3dmax and thanks for thid tutorial its help a lot..
its gr8
تبارک الله .very god