“Screw Thread for Metal Screws using 3Ds Max ” by Michael Grote
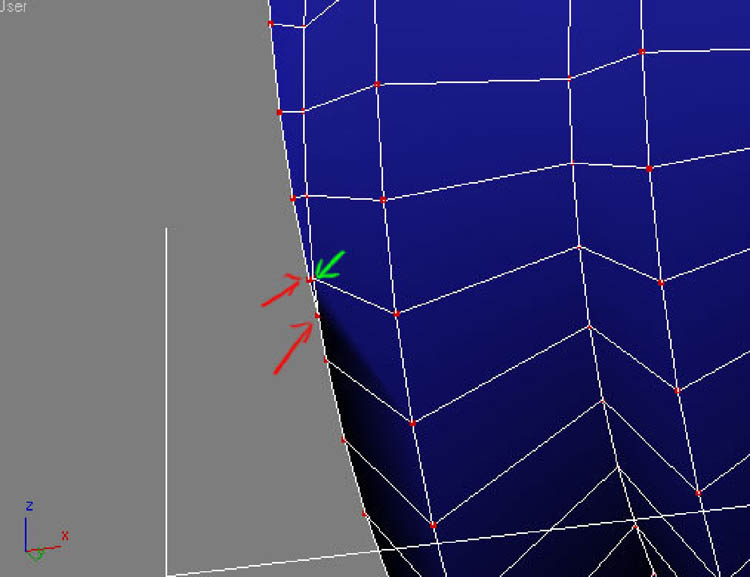
10. A little housekeeping is needed here to aid you further down the line. You will see that the thread fades out in two opposite places on the end of the thread and you need to do a little target welding to tidy it up.
In the picture below, ‘Target Weld’ the two red vertices to the green vertex.

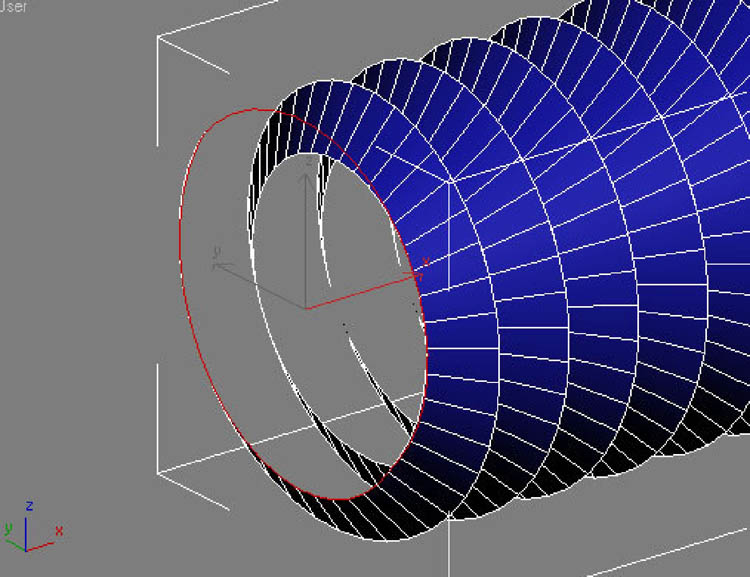
11. Go into ‘Border’ sub-object mode and select the end hole then check the area just below the modifier stack to see how many edges have been selected (on my mesh there exactly 40 edges).

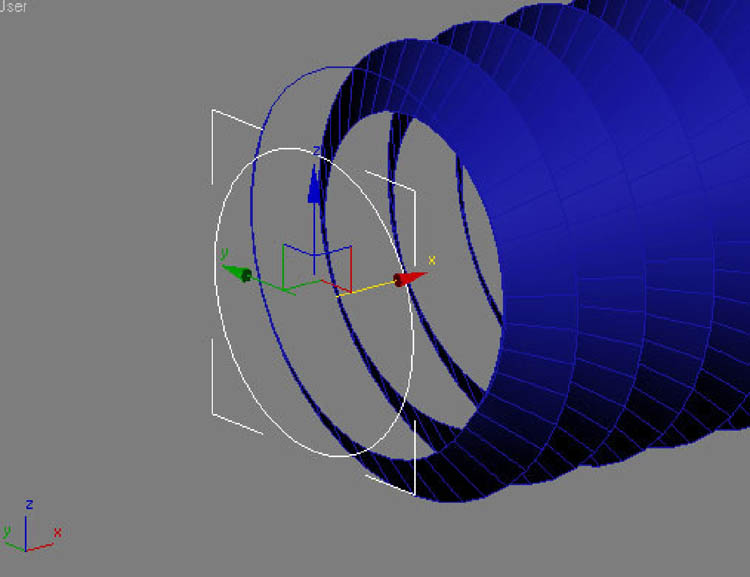
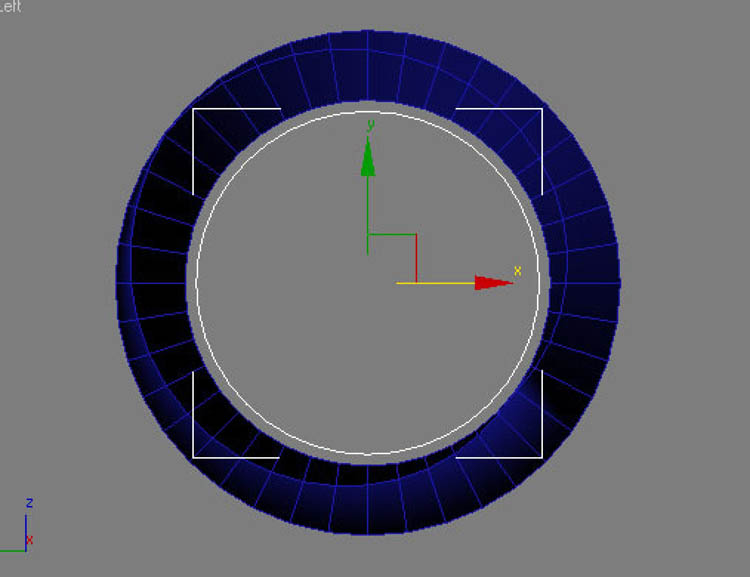
12. Then create an ‘Ngon’ spline object with the amount of sides you just had selected (40 for me) and align it slightly away from the end of the screw but dead central from side to side and top to bottom. Make this Ngon about as small as the hole running through the screw (if seen from the end)
this stage creates the chamfered end to the screw, you could just select the hole and bevel it but you will find its not central and its not circular so this is much nicer if a little more work


Screw Thread for Metal Screws
3 comments
Leave a Reply
You must be logged in to post a comment.


I am begginner to 3dmax and thanks for thid tutorial its help a lot..
its gr8
تبارک الله .very god