“Screw Thread for Metal Screws using 3Ds Max ” by Michael Grote
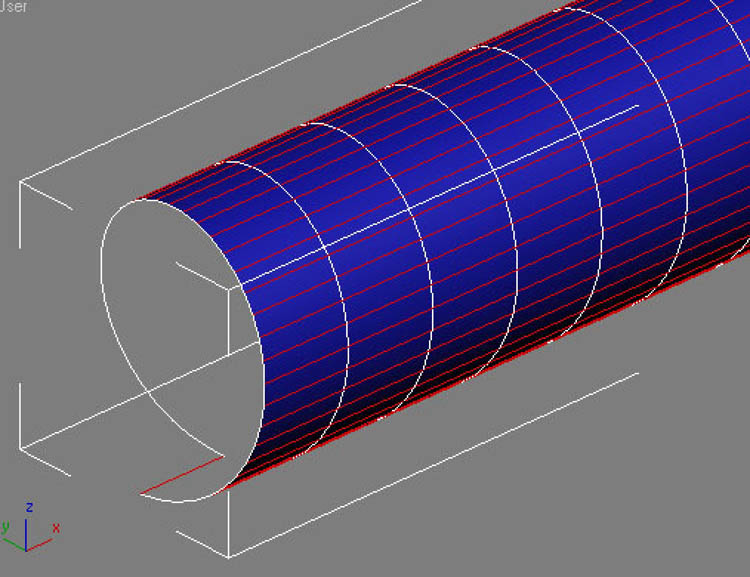
5. Now, add an ‘Edit Poly’ modifier and go into ‘Edge’ sub-object mode, then select one edge travelling the length of the tube and hit ‘Ring’ (Alt+R) to select the entire helix.

Click the small grey box next to ‘Connect’ in the modify panel and give the selection 1 edge segment. You will now have two spirals travelling the length of the tube. (I forgot to do an image of this stage 🙂
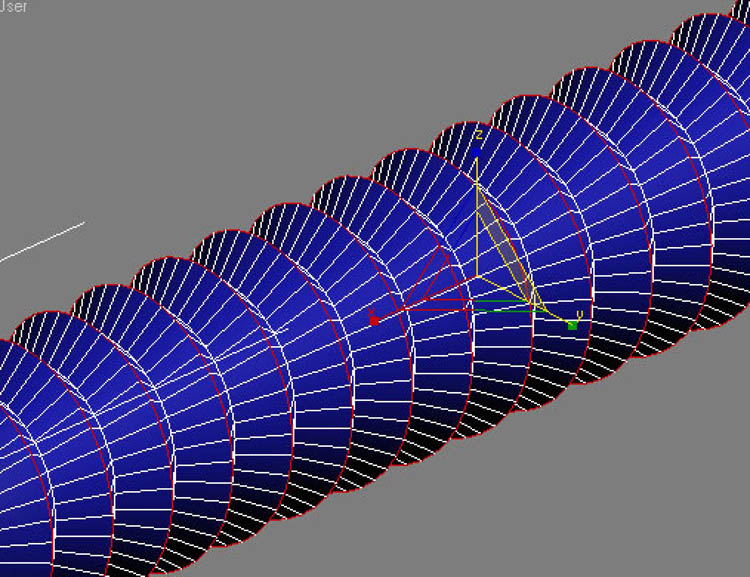
Select one edge of one spiral and click ‘Loop’ (Alt+L) in the modify panel to select the entire spiral. Then click the ‘Scale’ tool (R) and drag the web connecting the two width axes for the tube (shown in yellow in the image below), this will create your thread depth.

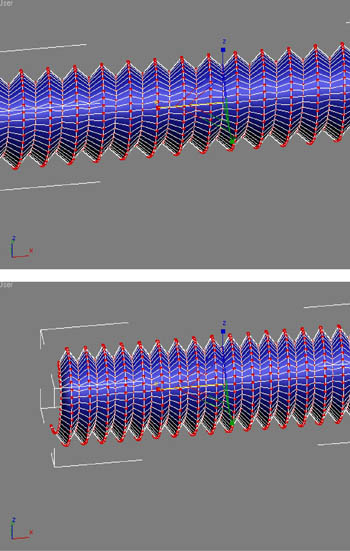
8. Now, if your thread is too spaced out or too close together select all vertices or edges (Ctrl+A) and scale them using only the axis that travels the length of the screw. Doing this non-uniform scaling in sub-object mode will eradicate any problems in distortion during animation later on (if applicable) and you will not need to reset the xform.

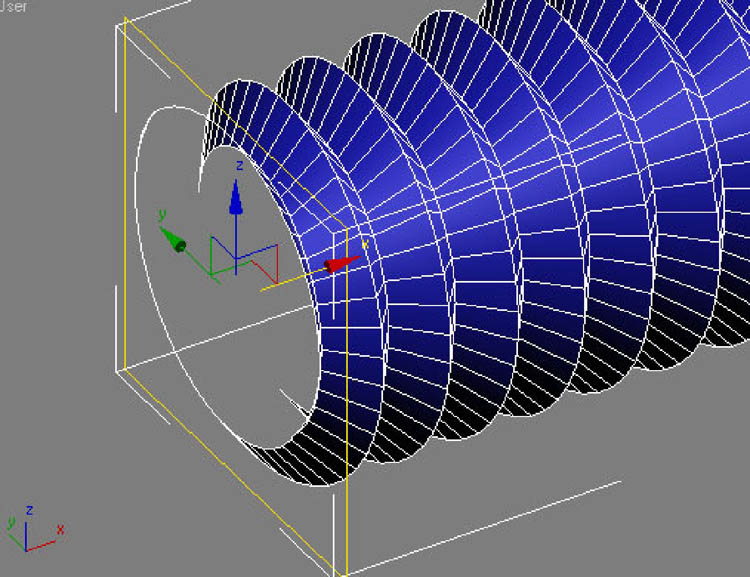
9. Now we will move on to cleaning up the end on the thread. Add a ‘Slice’ modifier, then click the modifier itself in the stack to enable editing of its gizmo, then rotate it to face down the length of the thread (see image below), then click either ‘Remove Top’ or ‘Remove Bottom’ depending on which comes out right for you then move the gizmo so it chops just the first thread off on the screw and you end up with a flat end.
 </p
</p
Screw Thread for Metal Screws
3 comments
Leave a Reply
You must be logged in to post a comment.


I am begginner to 3dmax and thanks for thid tutorial its help a lot..
its gr8
تبارک الله .very god