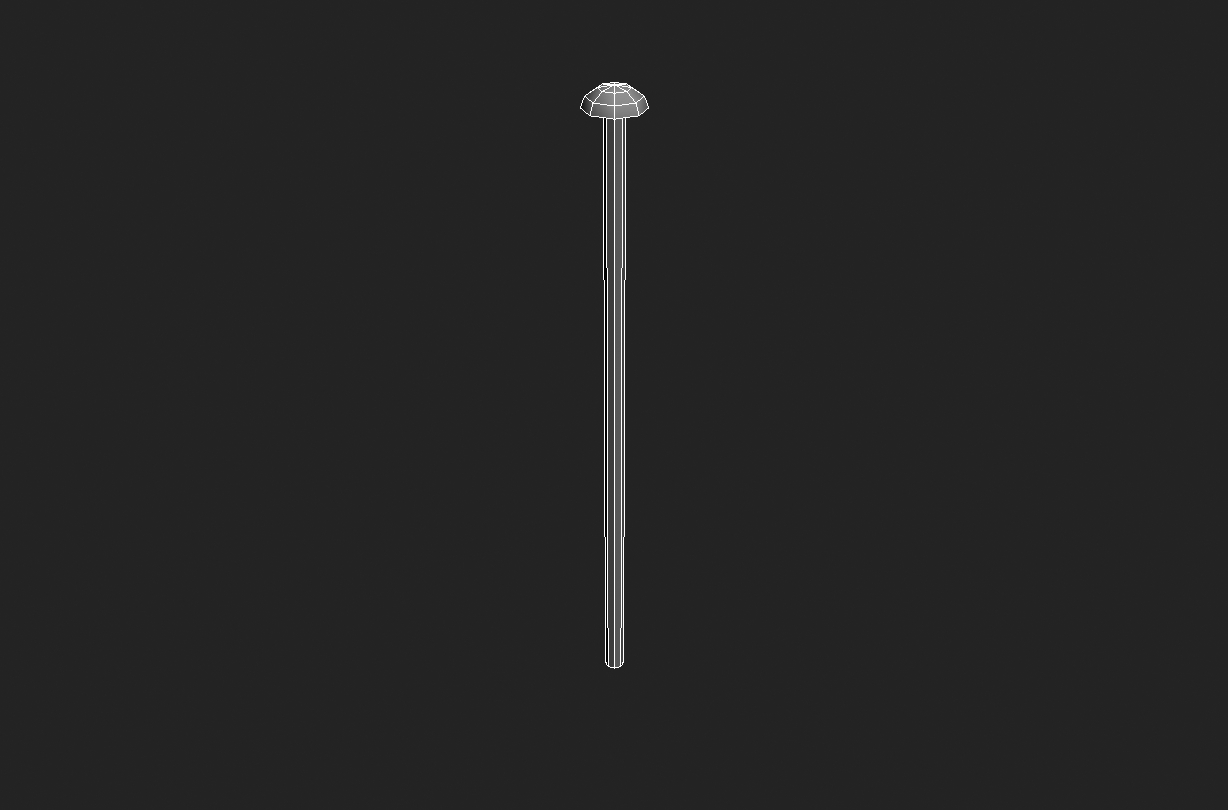
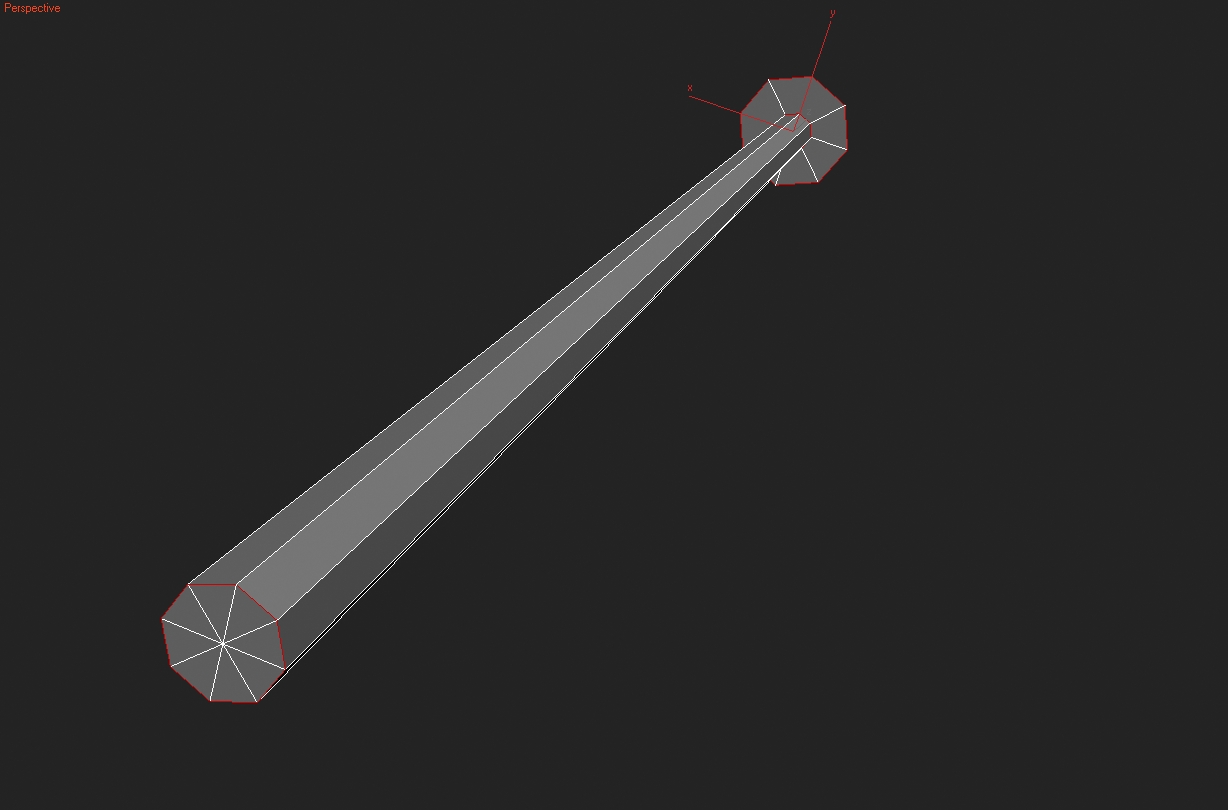
39. Go back to vertex mode, grab the center vertex and Convert to Face. Extrude with a value of 16.5
40. Switch to edge mode, and select an edge at the base of the extrusion, the top of the extrusion, and the outer edge of the sphere. Loop and set Edge Crease to 1. Now add a TurboSmooth Modifier, and set the Iterations to 0 and Render Iterations to 1.
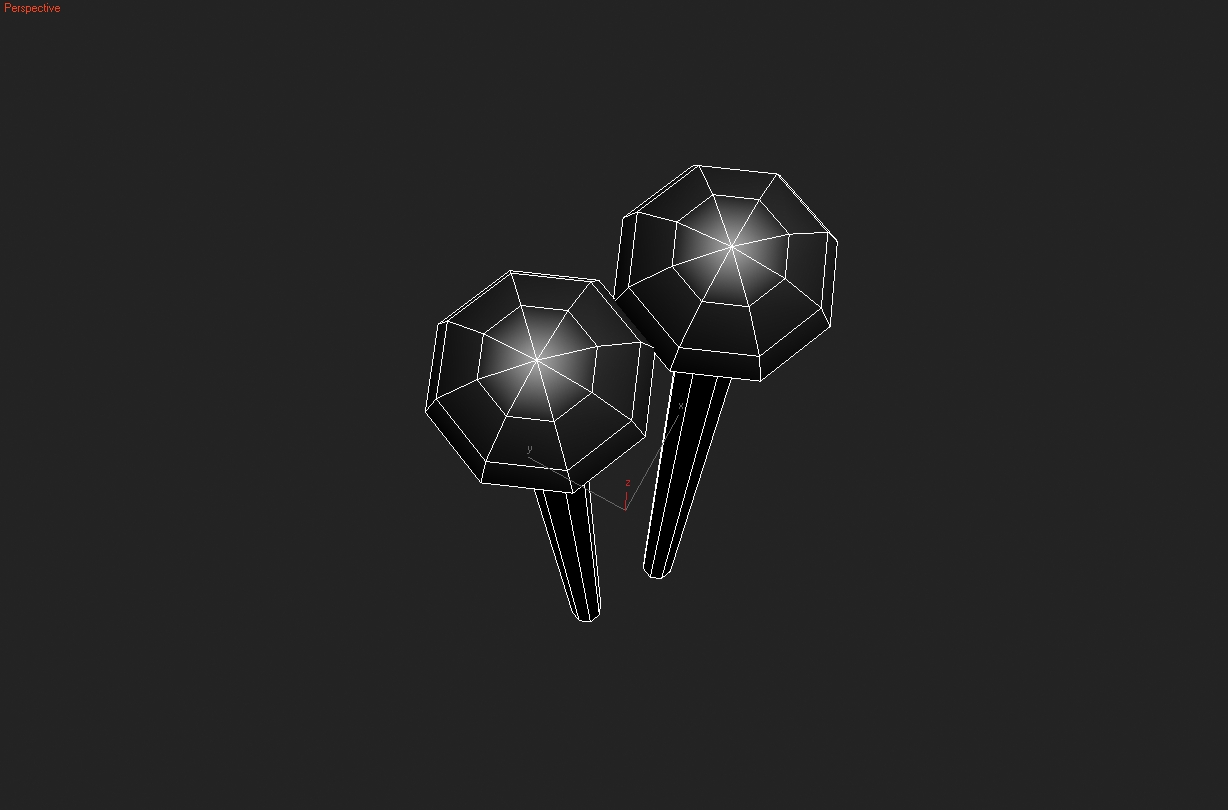
41. Now if you want to animate these pins, save now and go to the next tutorial. If you just want to render the pinbox as a still with no pattern in the pins, make an Instance Clone of Pin01, and move it to XYZ, -7.459, -13.75, 7.75.
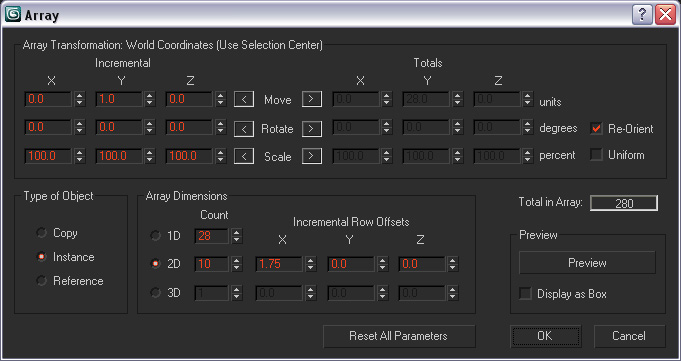
42. Select Pin01 and Pin02. Goto Tools Array. In the Array Dialogue box that comes up, under Array Transformation, Incremental, enter a Y value of 1. Under Array Dimensions enter a value of 28 for the 1D Count. Switch to 2D, and set the Count to 10, and under Incremental Row Offsets, enter an X value of 1.75.
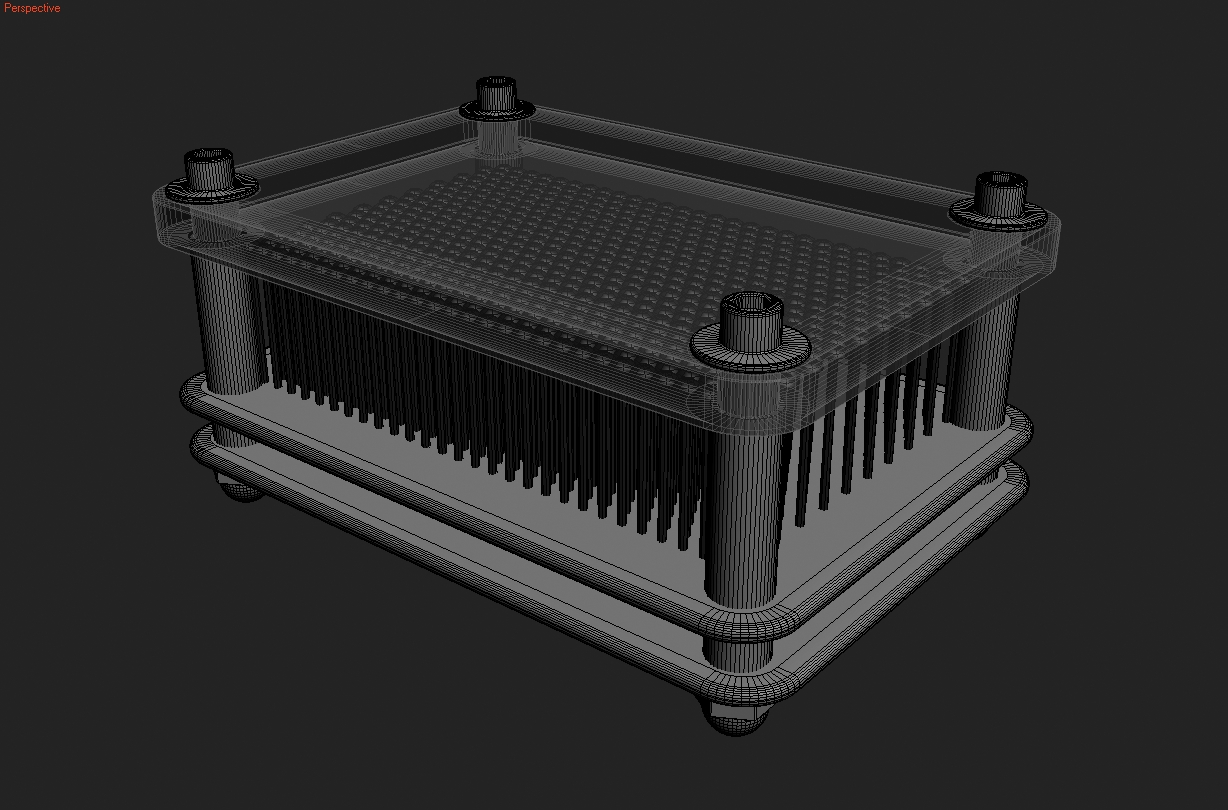
43. The complete Pin Art Toy model. (With Plastic Lid Obj Properties set to “See Thru”)



Thank you so much. The steps are simply explained and easy to follow.
hi iam ali am iran ok
ahm, i can do i in any version?