written by Lee Johnson
For this tutorial I am going to avoid using Mesh/Turbo Smooth, and any of the Boolean Operations. Some of these steps may seem overly precise, but if you can manipulate mesh efficiently without mesh smooth, it will help you be able to model with it later. The same goes for Boolean operations. If you can model without using them, you will be able to get further than by using them alone. Also some of the techniques for controlling the UCS icon location for scaling, rotating or mirroring are very helpful in many other situations. I am hoping you’ll find a few things in here besides just how to model a Pin Art Toy.
Model a Pin Art toy in 3ds Max 2009
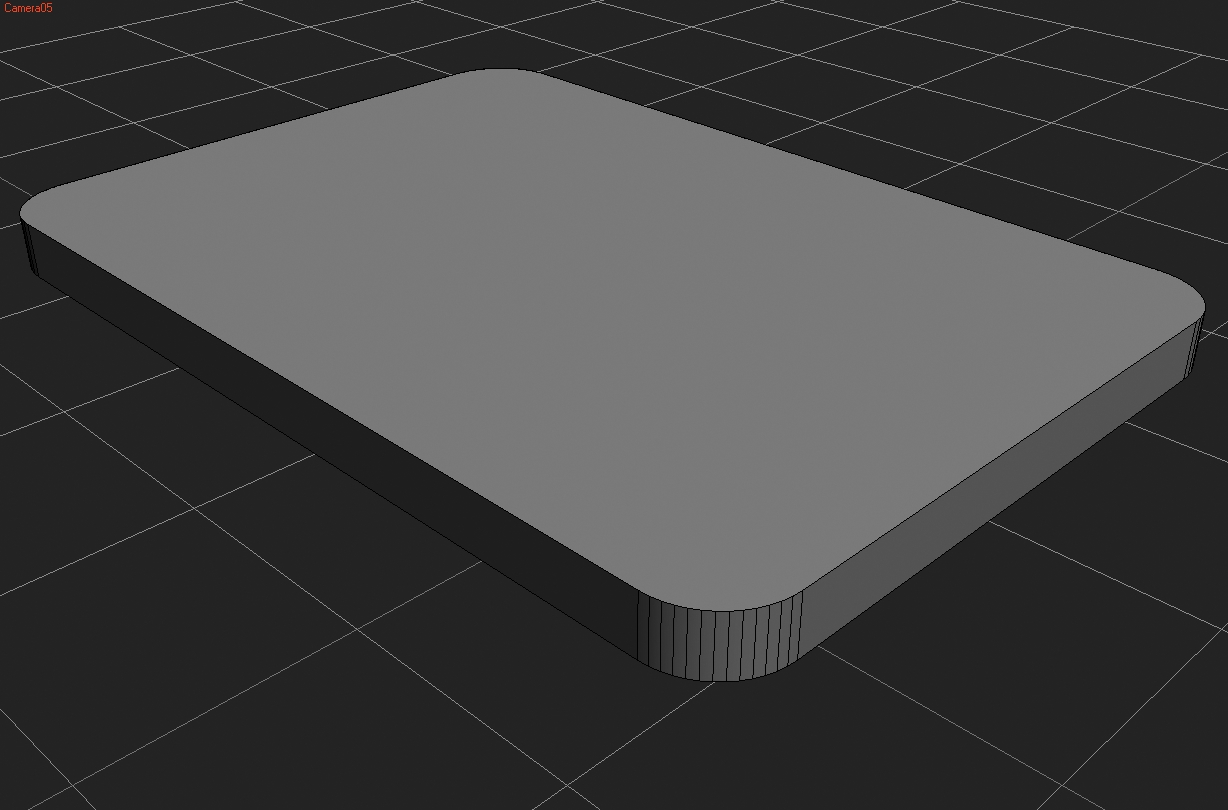
01. Ok start off by creating a rectangle, Length : 34.5, Width : 24, Corner Radius : 2.6. Move it to XYZ, 0,0,8.5. Change the Rectagle’s Interpolation to 12, and put an Extrude Modifier on the rectangle and set it to Height : 2. Convert to an Editable Poly, and name this object “Plastic Lid” Note : By right clicking over the Move Tool, you can bring up a floating window to type in exact coordinates or relative distances.
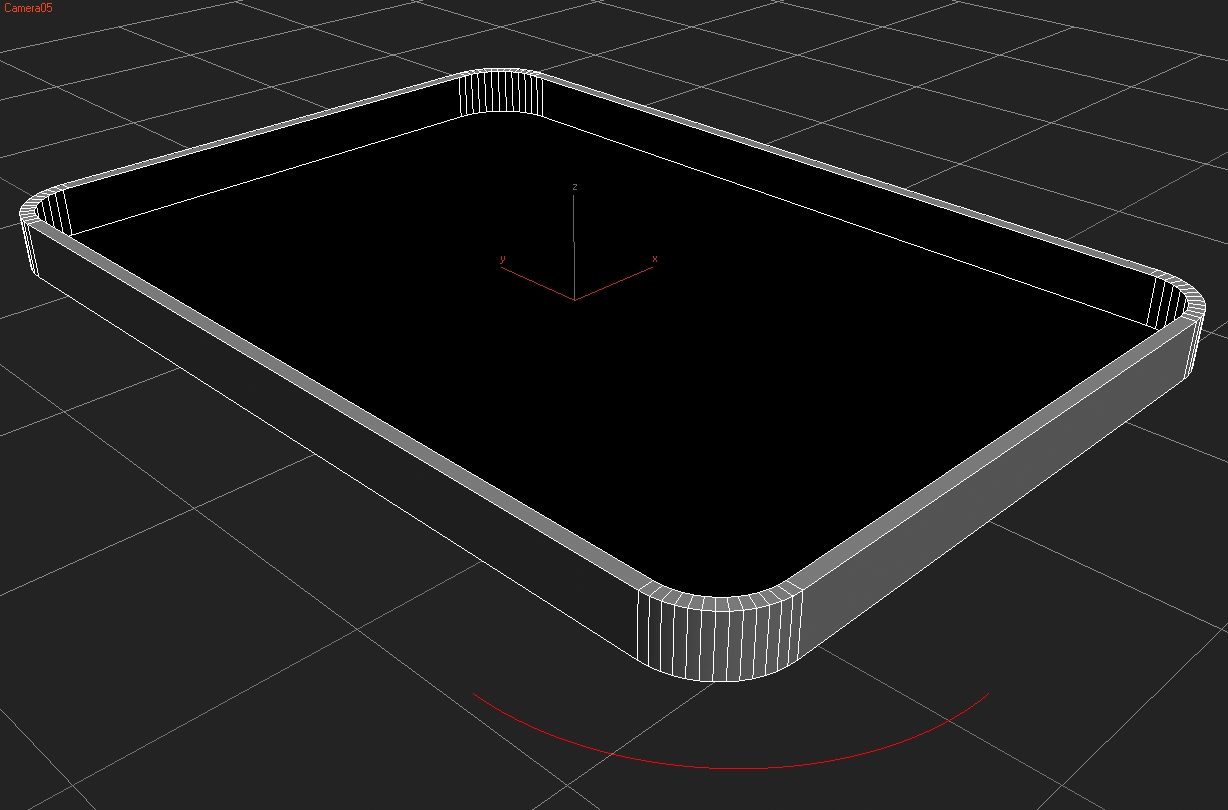
02. Goto polygon sub object mode and select the top polygon, and use the Inset tool with an amount of .5. Now delete the large remaining polygon. Create an Arc with the two endpoints being the ends of the curved edge of the Plastic Lid, and increase the radius so its out away from the geometry. Rename the arc to Corner Center Point. This will be used for selection purposes in a minute. Now the next several steps are about creating the geometry for the hole that the Corner Posts will make in the plastic. You can just have the Corner Posts penetrate the Plastic Lid object, but if you want to be SUPER PICKY and see the interaction of the surfaces correctly in the render go on to step 3. If its not that big a deal, don’t delete the polygons after you inset, and skip to Step 16. Really this is a very tiny detail and will only be noticeable if you are looking REALLY close at the render. If you skip to step 16 you will notice that your Plastic Lid lacks A LOT of the geometry shown in the example, don’t worry about it.
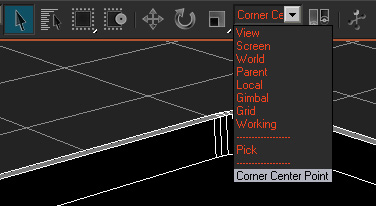
03. Goto the Reference Coordinate System (RCS) which is located on the Main Toolbar just to the right of the Scale Tool. Drop down from View to Pick. With your activated mouse cursor, pick the Corner Center Point, now you’ll see that name in the RCS Window on the Main Toolbar.


Thank you so much. The steps are simply explained and easy to follow.
hi iam ali am iran ok
ahm, i can do i in any version?