written by Lee Johnson
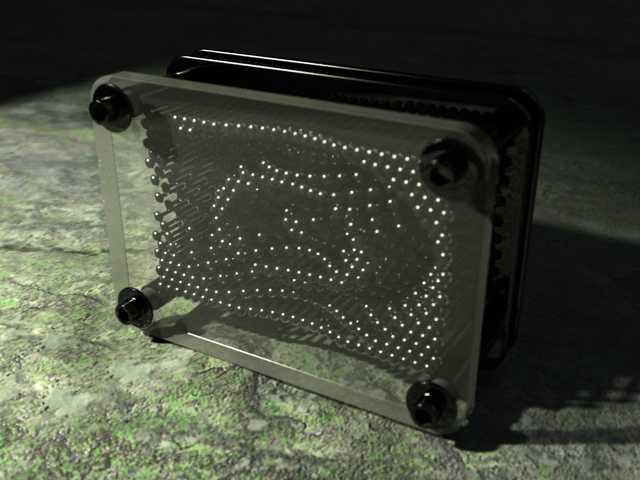
So here’s the finishing touch for this Pin Box. I am going to run through creating a camera, setting up lighting, creating materials, adjusting render settings, and getting a final render. This tutorial comes from the direction of not doing any post production on a render. If you take this process through to the next tutorial, you’ll really get a good idea of how much a help the compositing process is.
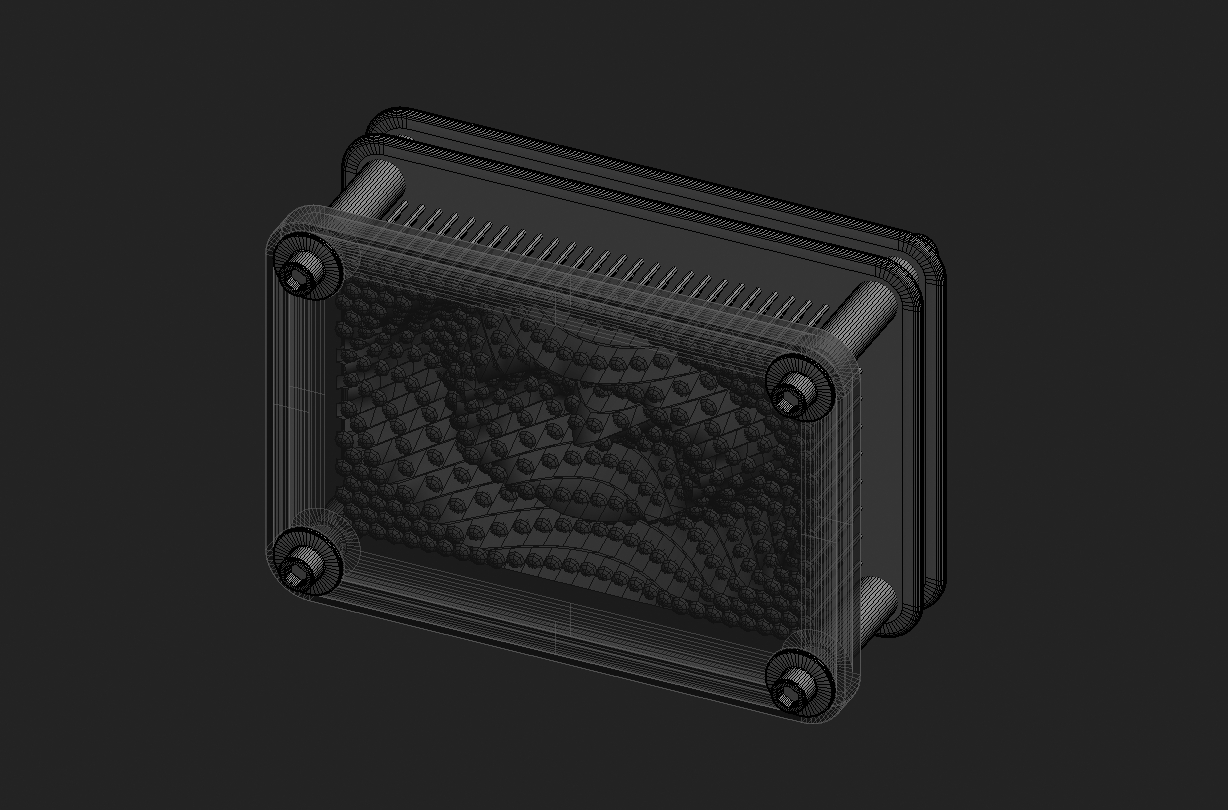
01. So we are picking up where we left off from the last tutorial. Or download the scene files on this page and open pinbox_animated.max. Select PinBox, and rotate 90 degrees on the Y axis.
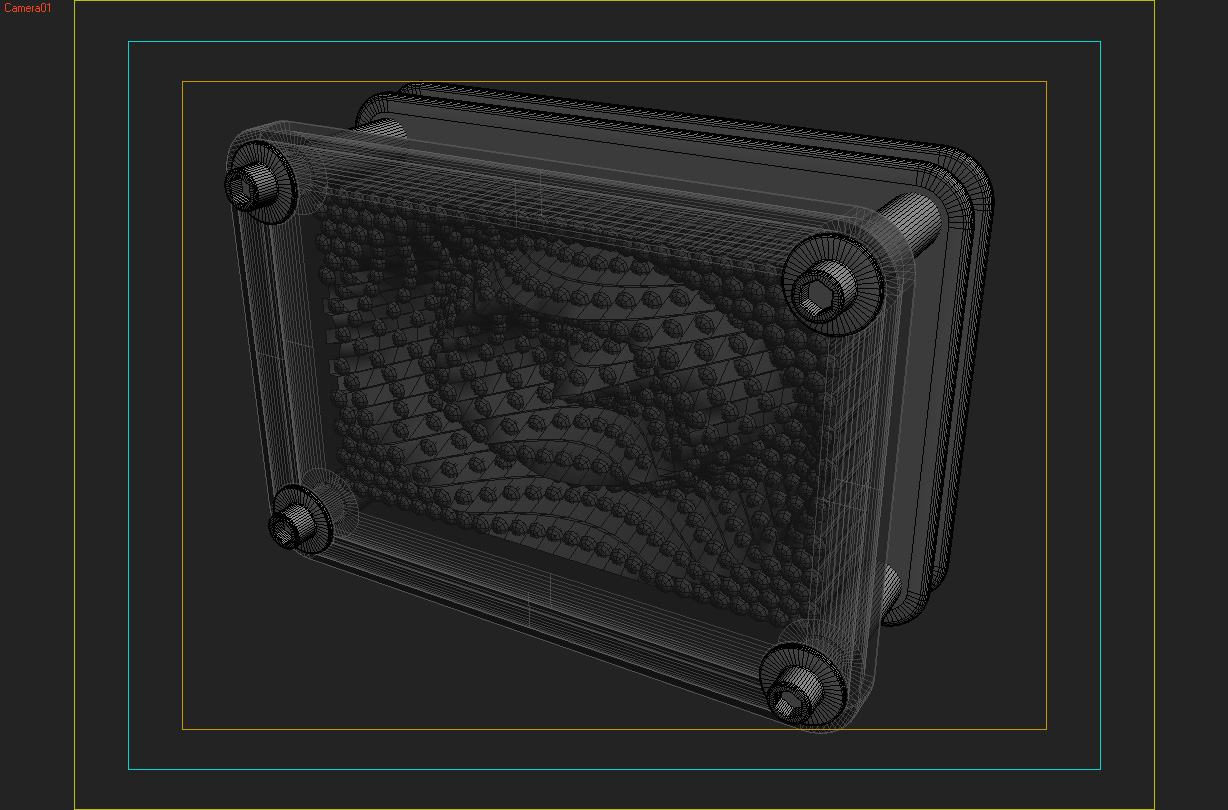
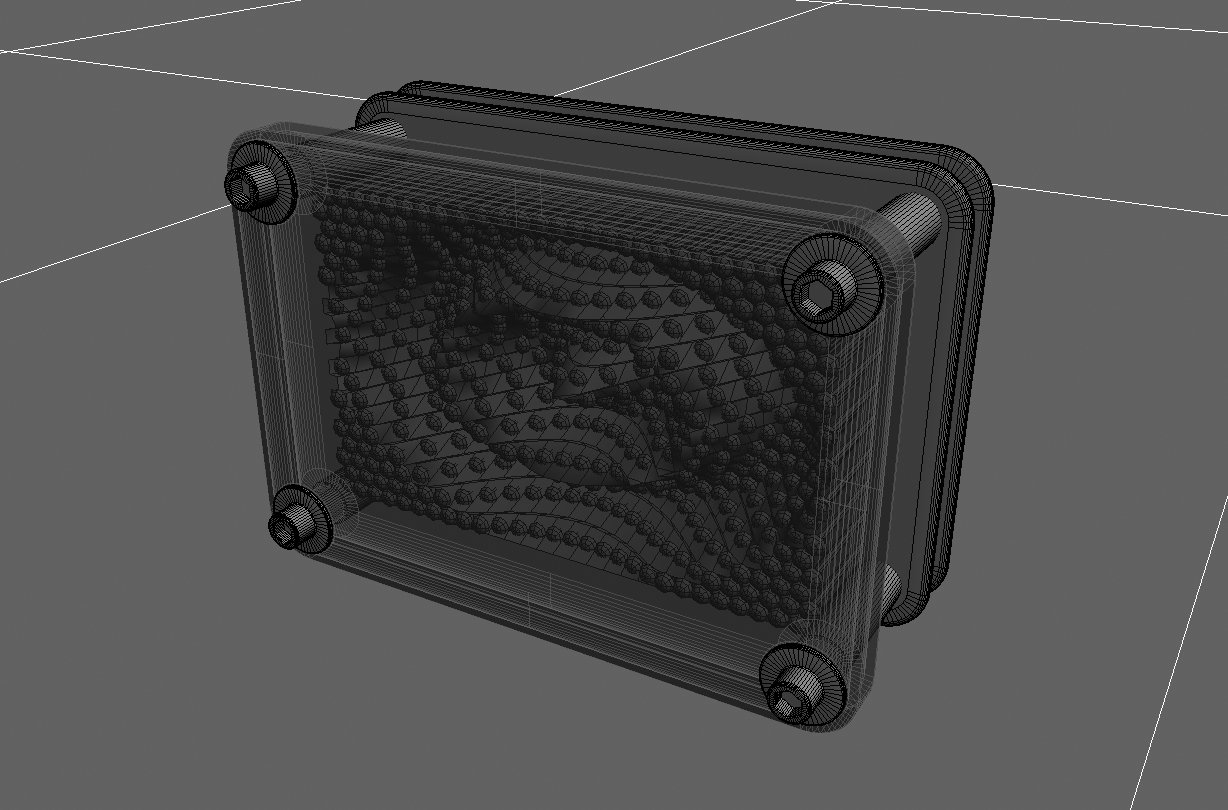
02. Hit P to make sure you are in a Perspective viewport. Right click over the “Perspective” label at the top left of the viewport and choose “Show Safe Frame”. Tumble, Pan, and Zoom around the model until you get a view you are happy with. While its not necessary to work within Action and Title safe when you are not working on broadcast television footage, it still is a good reference to frame the shot. Ctrl + C to create a camera from that perspective view.
03. Create a plane in the viewport. Align Z min to min with the PinBox. Now increase the size of the plane and move it along the XY so that it fills the viewport. Name it Ground Plane.
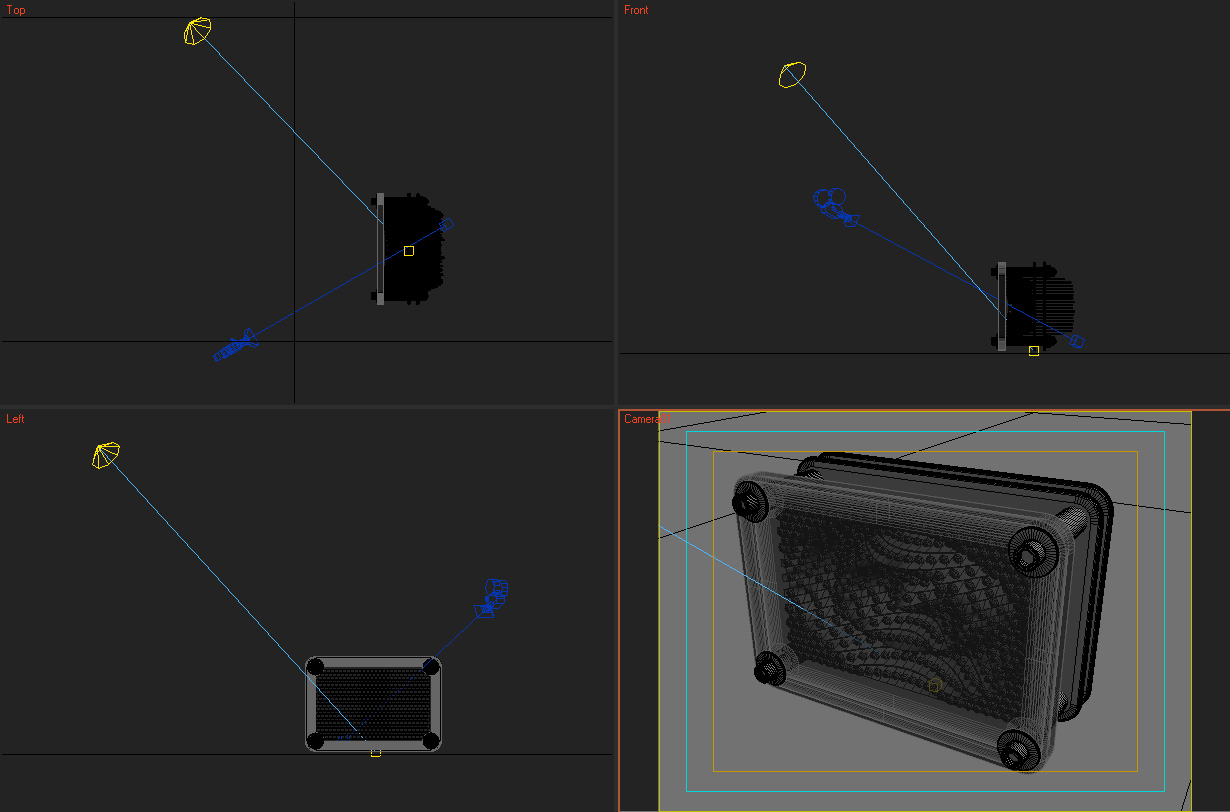
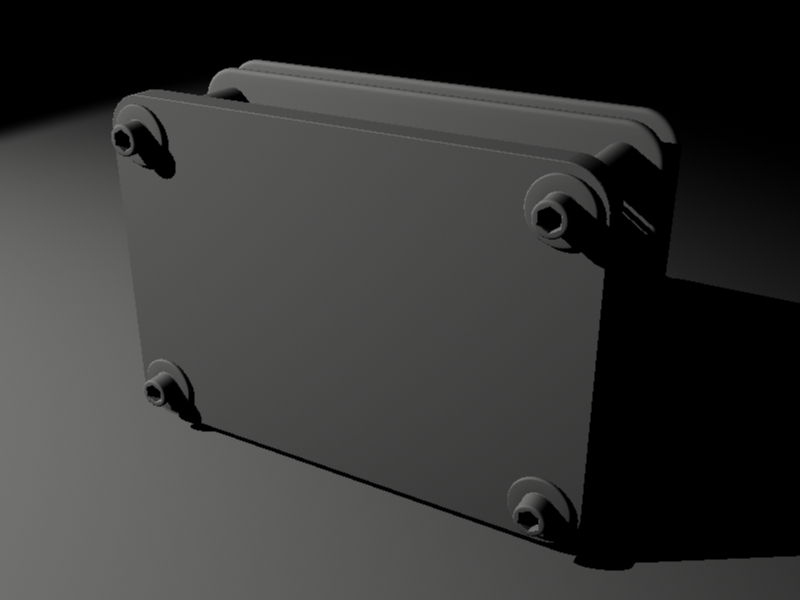
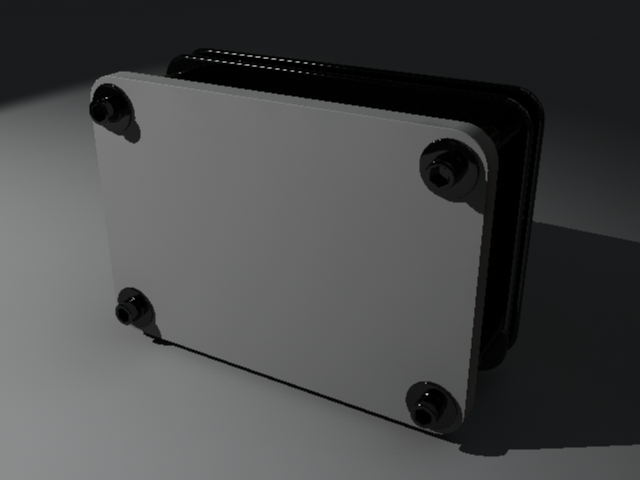
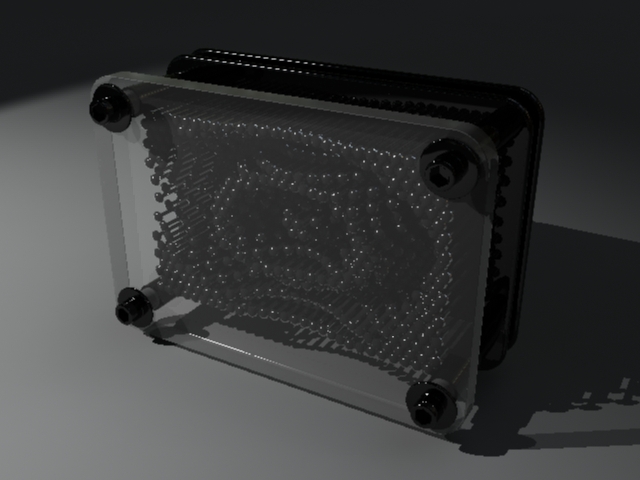
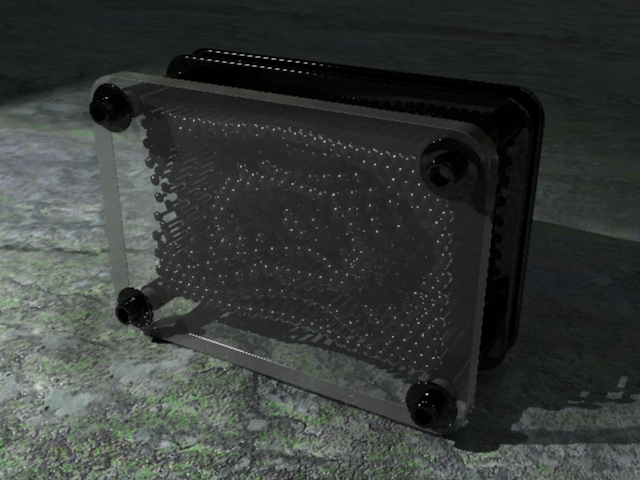
04. Create an mr Area Spot light and position it as shown. A good rule of thumb for light positioning is to place it directly opposite the object from the camera. This will maximize your shadows and make the scene more interesting. After playing with the settings a bit, I set the spotlight with the following parameters. Check to turn on Shadows, and drop down and choose “Raytraced Shadows” Under “Intensity/Color/Attenuation”, check to use Far Attenuation and set Start : 100 and End : 200. Under “Spotlight Parameters” set Hotspot : 87 and Falloff : 96. Goto your Render Dialogue Box, and make sure you have the Mental Ray Renderer selected. Note : This has pretty bad aliasing along the edges, but we’ll fix that later.
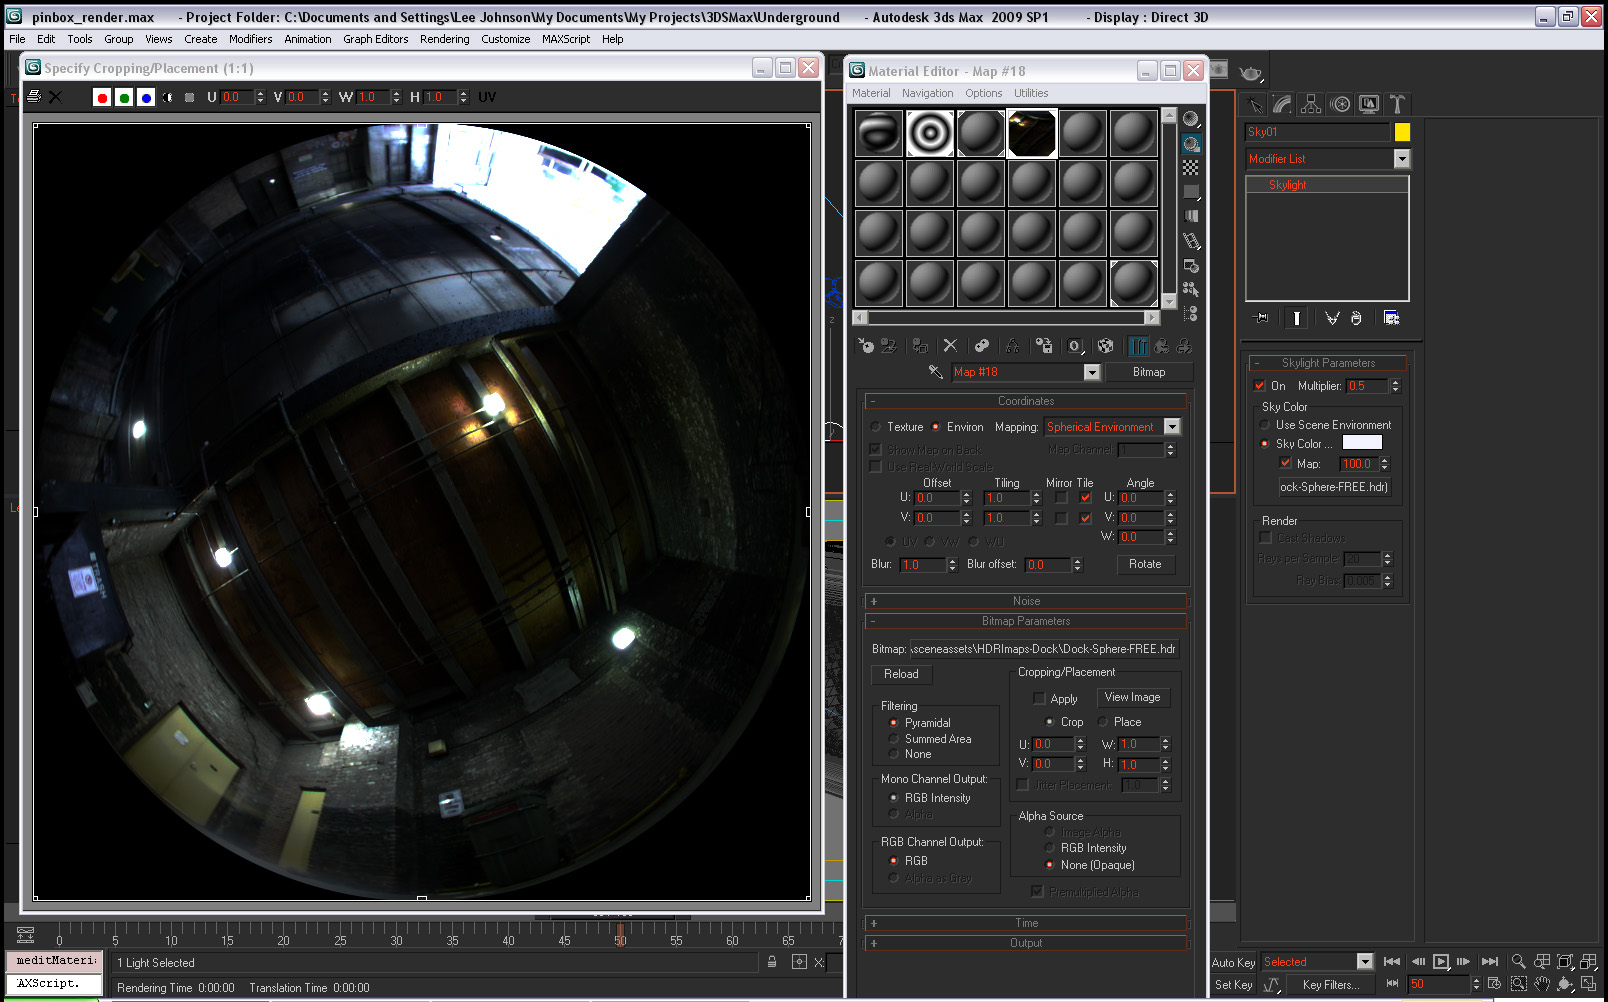
05. Next create a Sky Light. It doesn’t matter where you put it, just click in the viewport somewhere. Now here you have several choices. You can just set it up to use a color, or load a map. I have loaded “Dock_Sphere.hdr” into the map slot. This image is included in the .zip file, but you can find it and two other free HDRI images from HDRImaps.com. Drag the map from the slot in the Sky Light to an empty material editor slot and choose Instance. Set the Coordinates from Texture to Environ and Choose Spherical Environment as the Mapping type.
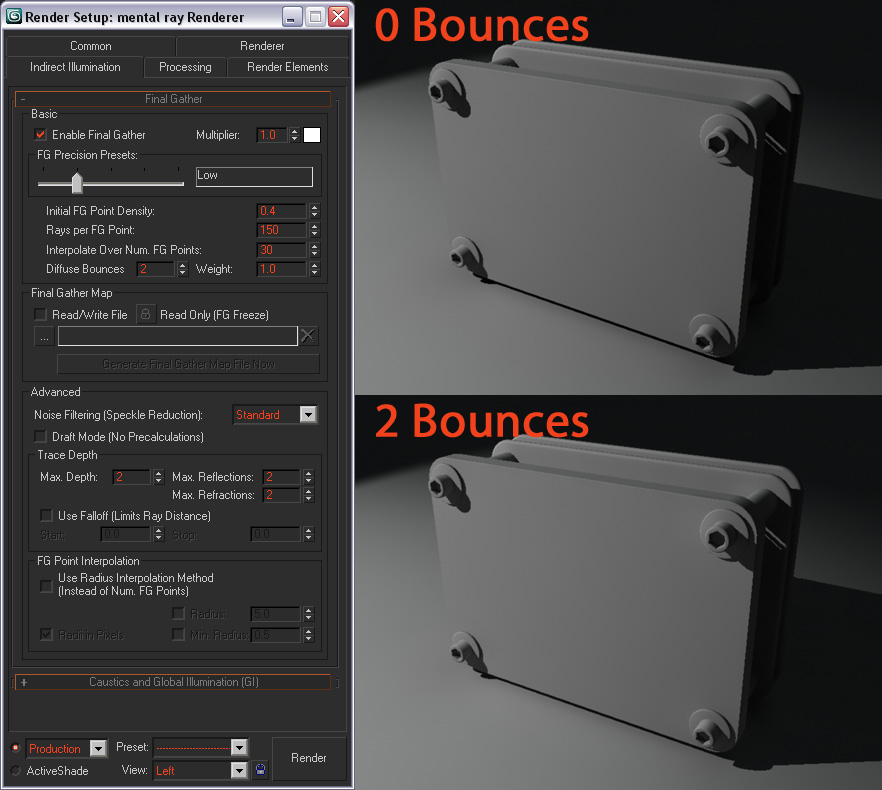
06. Under the Indirect Illumination tab check Enable Final Gather. Drag the slider to set FG Precision to “Low” Under Trace Depth, set Depth, Reflections, and Refractions to 2. If you have one mirrored surface facing another and you want to see reflections off to infinity increase these settings. For almost any other setting 2 bounces is all you need visually and this will keep render times down. Another setting to experiment with here is the number of Diffuse bounces. Default is 0. If you compare the two images, there is the slightest increase in illumination at the right side of the image. But since this object is mostly black plastic, this is not really going to be visible. Render time goes from 11 seconds to 16 seconds. This may not sound like much, but proportionally it’s a 45% increase in render time. For now, leave bounces at 0.
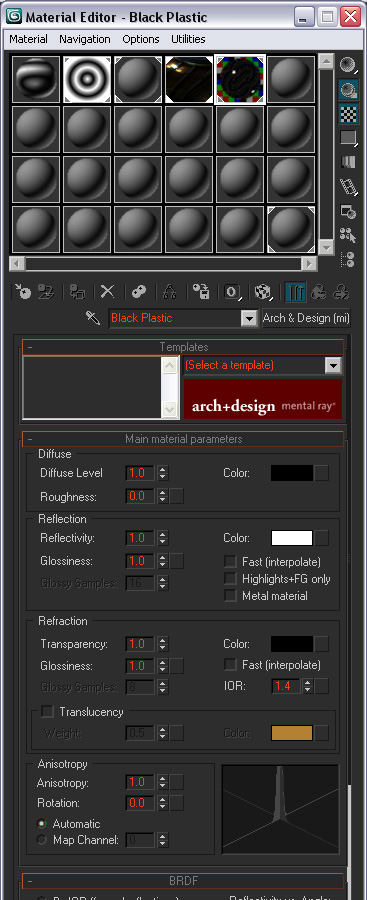
07. Next we are going to create some materials. I use the MR Arch and Design Shader for almost all of my materials. This is a very flexible and powerful shader. It is also just as fast to render as Standard or Raytrace materials, making it very cost effective in terms of render time. Lastly these materials have some really useful presets that will get you close to most of the materials you will use in your scene. In an empty Material Slot, change the name to “Black Plastic” and change the shader type from Standard to Arch & Design. Change Diffuse color to 0,0,0 (solid black) and set Reflectivity to 1. Apply this to Plastic Tray01, 02, Corner Post 01, 02, 03, 04, and Nut01-04.
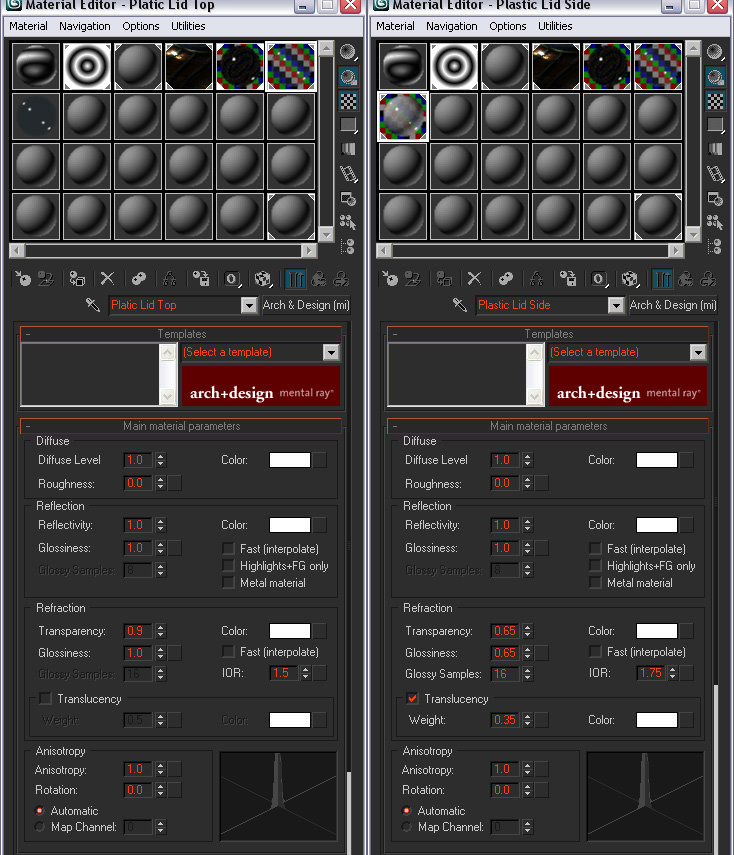
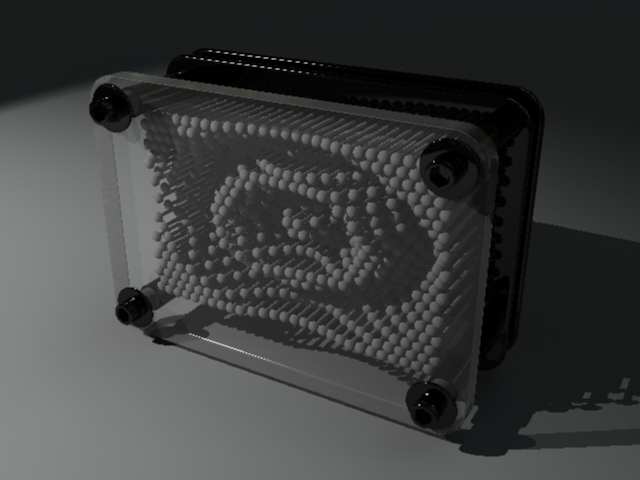
08. In the next slot, create another Arch & Design shader, and name it Plastic Lid Top. In the template drop down choose “Glass (Thin Geometry)”. Now change the Refraction Transparency to .9, and change the color from a light blue to pure white. In the next slot create another Arch & Design Shader and name it Plastic Lid Side. Choose the template “Translucent Plastic Film, Opalescent”. Now change the Refraction Transparency and Glossiness to .65. Set the Refraction Glossy Samples to 16. Change the IOR to 1.75 and the Translucency Weight to .35.
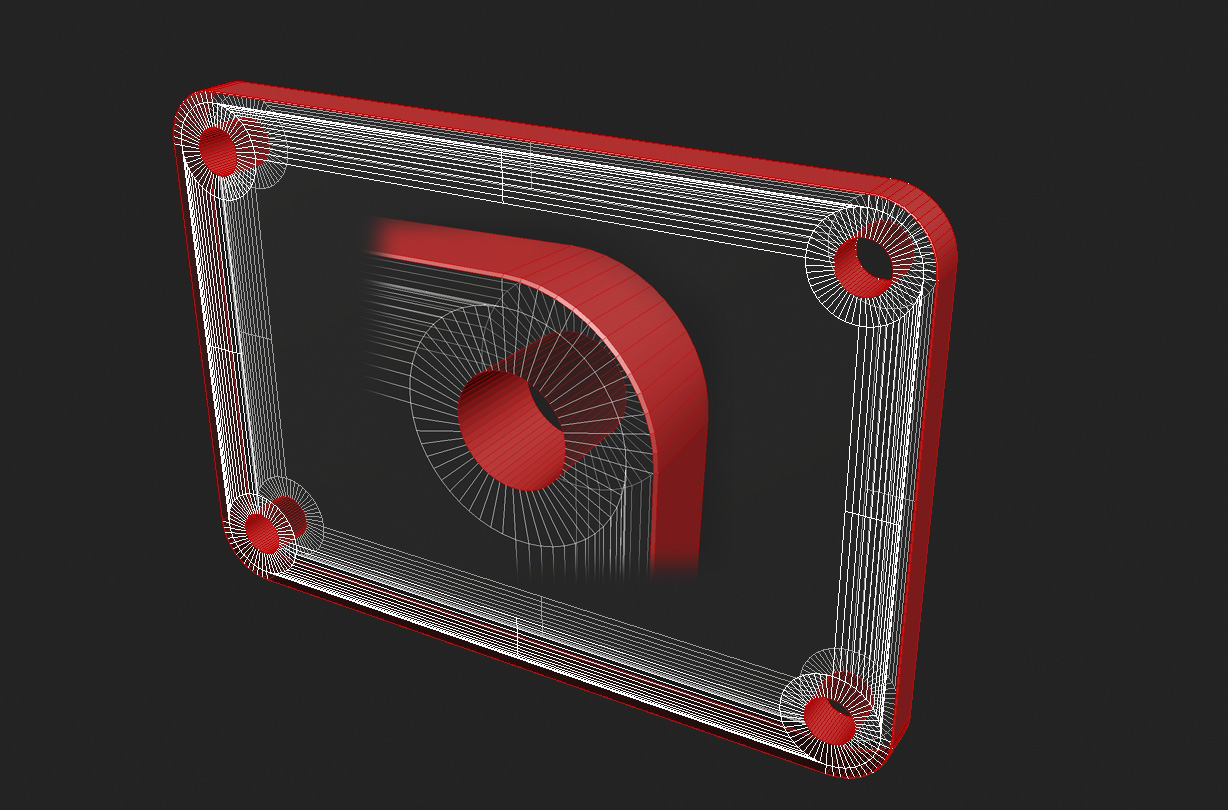
09. Select the Plastic Lid Object. Goto the polygon mode, Ctrl + A to select them all. Set the material ID to 1. Now goto edge mode and select an edge around the outer edge of the plastic lid and one in each of the openings, if you modeled them. Don’t forget to grab an edge in the chamfers of the outer edge as well. Right click and Convert to Face. Set the Material ID to 2.
10. In the next material slot create a Multi-Sub Obj Material, and set the number of Id’s to 2. Drag Plastic Lid Top into the slot for ID #1, and Plastic Lid Side into ID #2. Make both Instances. Apply this to the Plastic Lid Obj.
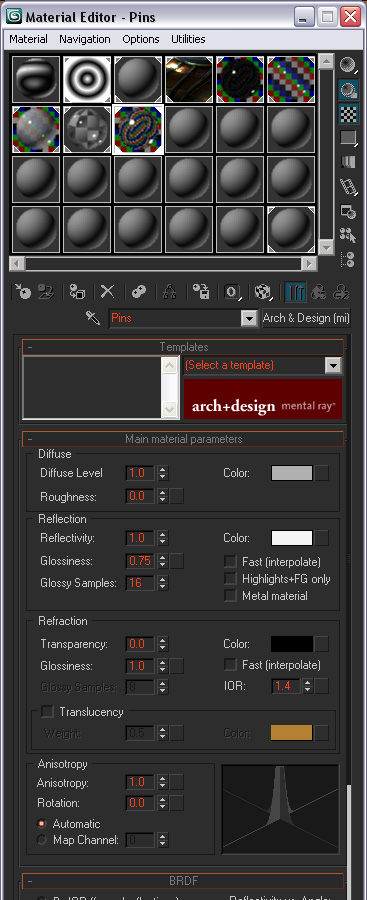
11. Create another Arch & Design Material and name it “Pins”. Choose the template “Chrome”. Adjust the Diffuse Color to a Light Grey. Change the Reflection Glossiness to .75 and the Glossy Samples to
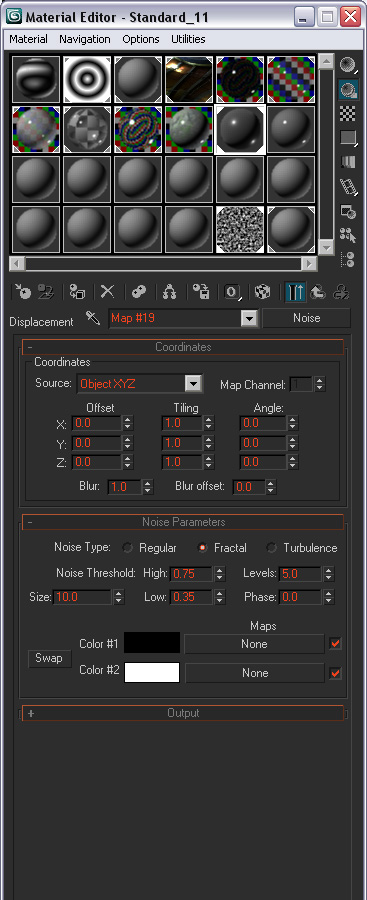
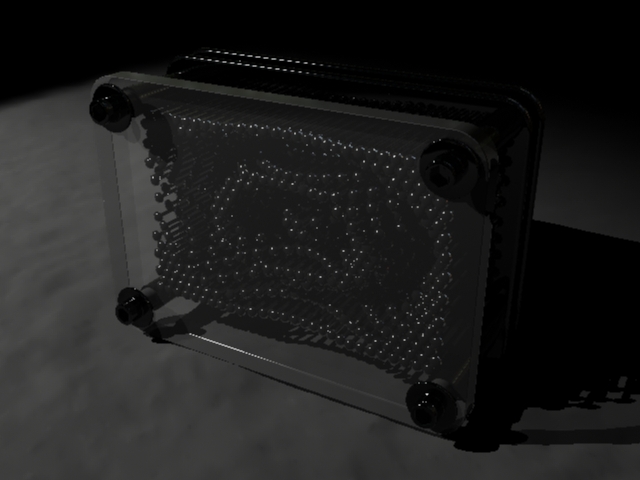
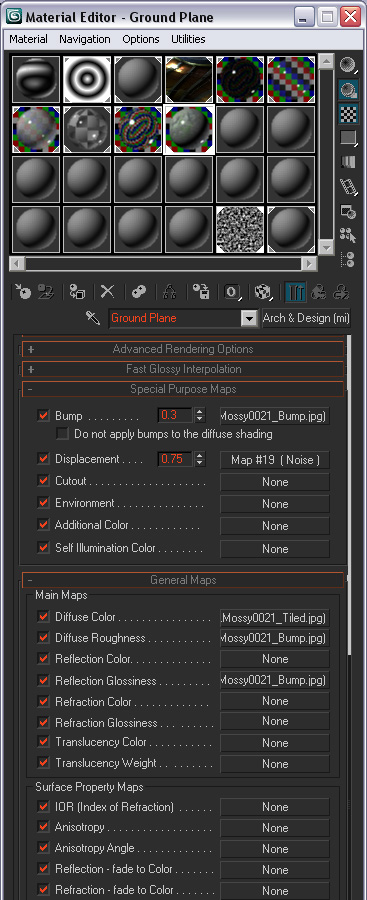
12. Ok, last material, we are going to have some fun with this one. We need the pinbox to be sitting on something interesting. How about a nice big slab of rock? Create one more Arch & Design material and name it Ground Plane. Set the Diffuse Roughness to 1. Set Reflectivity to .5, Glossiness to .35 and check Highlight + FG Only. Apply this to the Ground Plane. In the Special Purpose maps, goto the Displacement slot and create a Noise Map. Set the displacement amount to .75. Now you will need to move the ground Plane down the same amount that you will be displacing it. Move it Z -.75. Displacement in Mental Ray is dependent upon the geometry. You need a regular grid of polygons to get good results. Since my plane would up being 400×500, I set the segments to 40 and 50. Change the Noise type to Fractal and the Levels to 5. Adjust the Noise Size to 10 and the High and Low Threshold to .75, and .35.
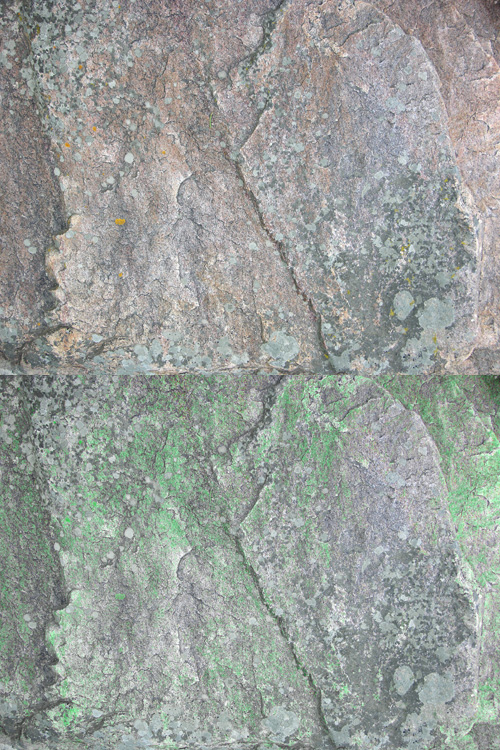
13. Next we are going to create the Diffuse Texture for the Ground Plane. Open RockMossy0021.jpg in Photoshop. This image was downloaded from cgtextures.com, a great resource for high res textures of just about anything. Lets get rid of the purply red though. Goto Image -> Adjustments -> Hue/Saturation. First Switch from Master to Reds and adjust to a green color. Now Switch to Yellows and do the same.
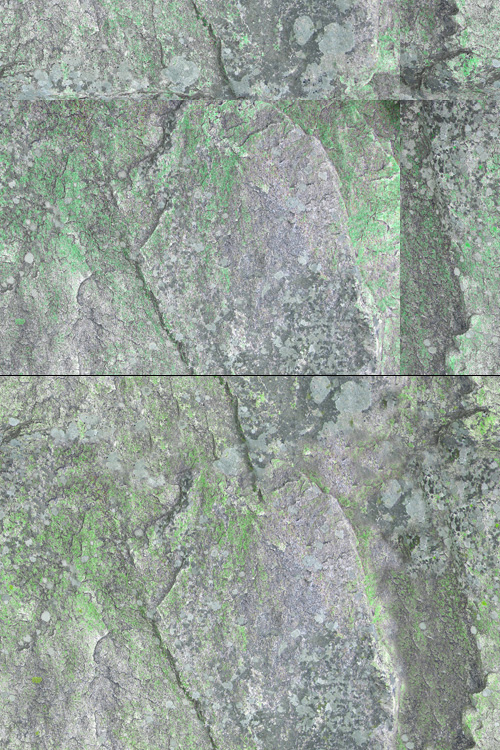
14. Use Filter -> Offset to wrap the image. Now use the clone stamp to get rid of the seams and make your texture tileable. Save this as RockMossy0021_Tiled.jpg
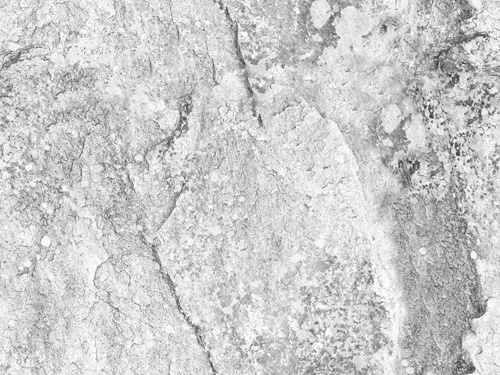
15. Desaturate the image and play with your Brightness/Contrast settings to get something like this. Save as RockMossy0021_Bump.jpg.
16. Load the RockMossy0021_Bump.jpg into the slots for Bump, Diffuse Roughness, and reflection Glossiness. Load RockMossy_0021_Tiled.jpg into the Diffuse Color slot. Now Select the Ground Plane Object, and apply a UVW map. Goto Bitmap Fit, and choose the RockMossy0021_Tiled.jpg. Now, goto the Gizmo Sub Obj, and use the scale tool to adjust the map size to your liking. I would up scaling to 20% of original size.
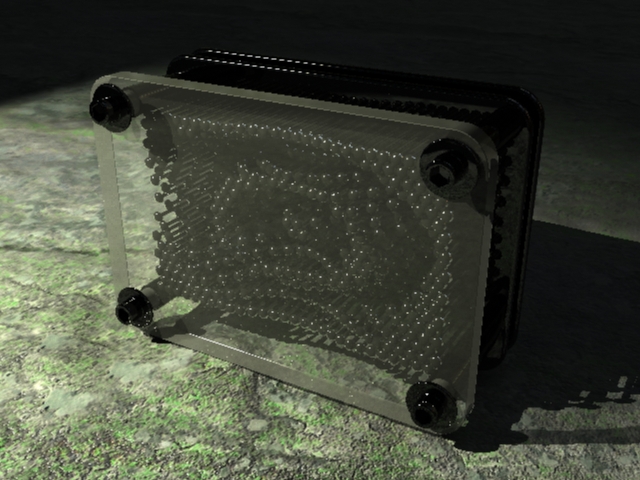
17. Time to play with light settings. For more contrast in the image, decrease the Sky Light Multiplier to .5. Increase the mr Area Spot multiplier to 1.5. Also no light is pure white (well except maybe LED’s) so add a tiny bit of yellow to the Spot Color.
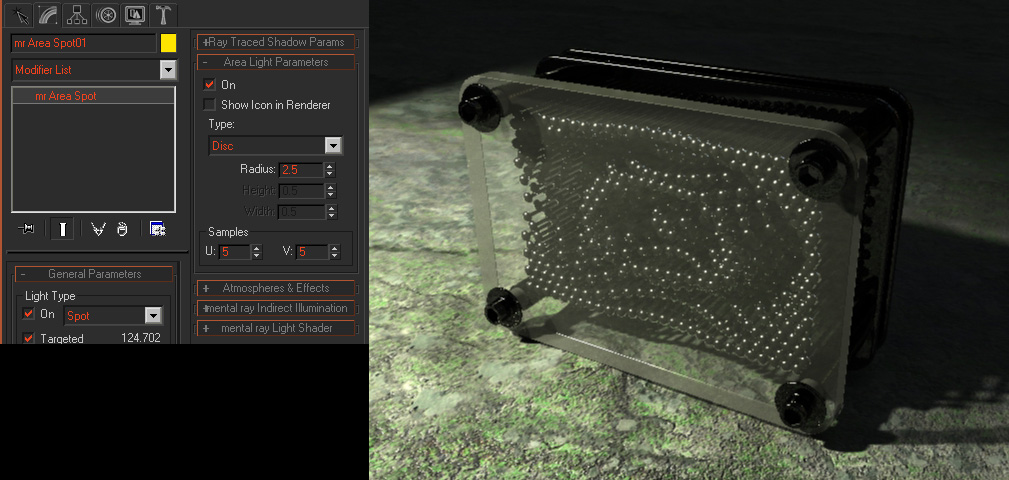
18. With a light source like this there will be some softening of the shadow edges. Under Area Light Parameters, Check on. Set type to Disc, and adjust the radius to 2.5
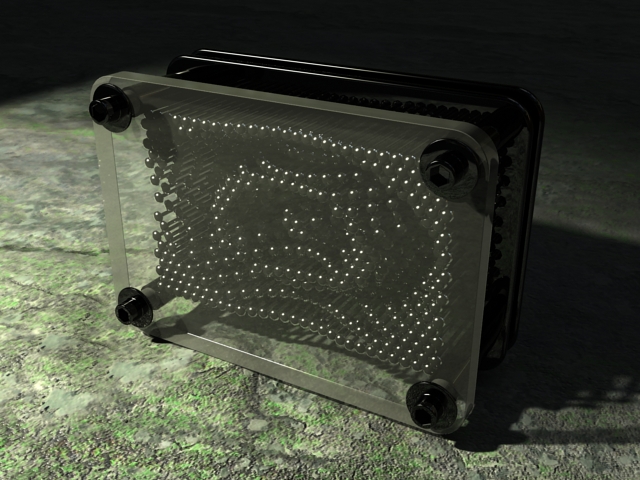
19. Now time to start adjusting the quality settings. First fix those jaggies. Under the Render tab of the Render Dialogue, set the Samples Per Pixel to Min : 1 and Max :16. Switch to the Indirect Illumination Tab, and adjust the FG Precision to Medium.
20. For the final step (if you really want to get crazy with the render times) goto the Multi-Pass Effect section of the Camera Settings. Check enable, and drop down to Depth of Field (mental ray). Set the f-Stop to 2.5 for a small blur. Grab the camera Target, and set the UCS to Local. Move the target to wherever in the scene you want the focus to be. You may have to increase your anti-aliasing settings to remove the noise from the blur.



Fantastico tutorial, lo he hecho con mucho interes. Felicidades!