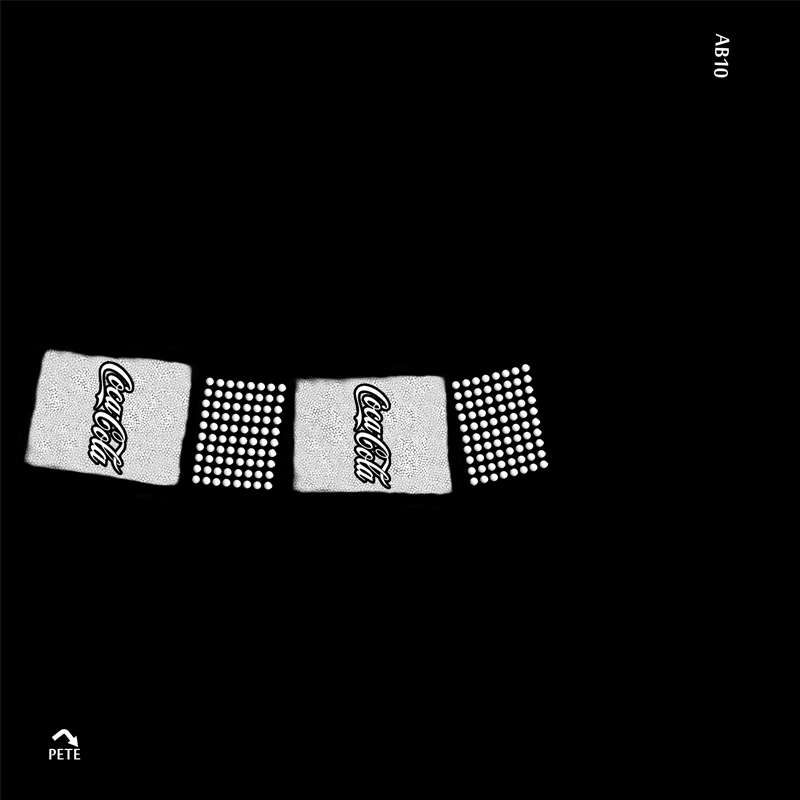
Now, we need to gather some images to draw “CocaCola Logo”, and “small dots” on our bottle. To make the small dots under Logo I used the following texture.
The rest of small dots can be simply made by using “Ellipse Tool” in Photoshop and duplicating them using “Alt+Drag”.

Here is the “Coca-Cola Logo” I found on Google which is a nice high resolution image with transparency. Simply, convert the color to white with black background.


Now that we have all the images we need, you can start aligning them on our UV we exported from Maya. Here is what I came up with.

Save the final image as tga format and name it “CocaCola_Bump.tga”.
Step 11:
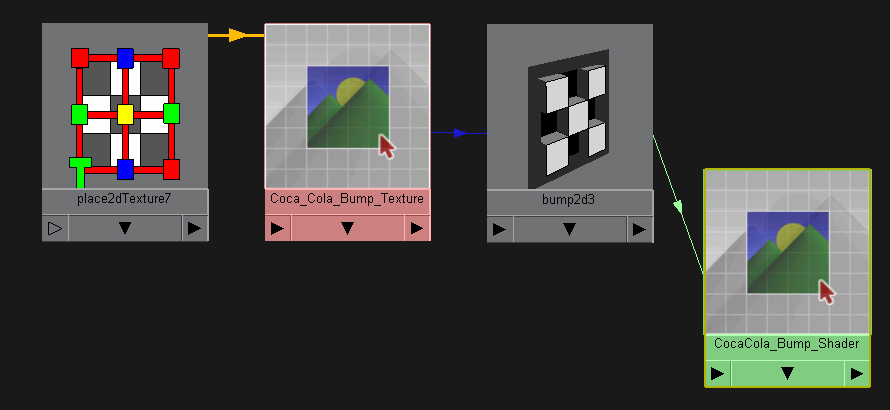
Setup bump map in Maya:
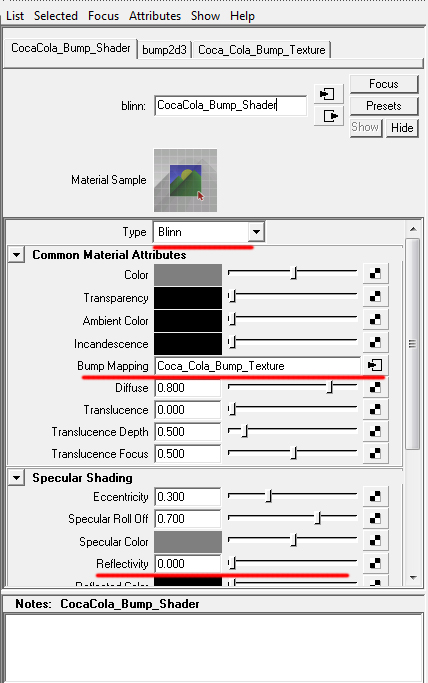
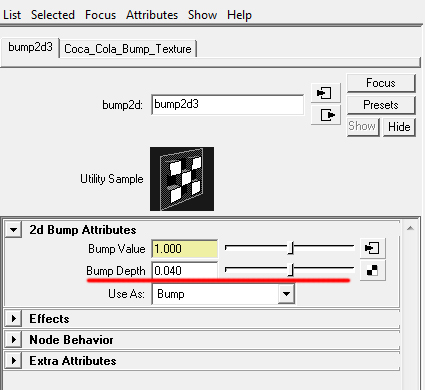
Simply make a blinn shader and apply our texture (“CocaCola_Bump.tga”) to its Bump mapping section. Try to reduce the “Bump depth” to something around 0.040. Also, make sure reflection is set to zero.


that was slick bitch i love it great modeling fucker yah yah suck it it you tube
like!
thank u
Thank you SO much for this! It was a HUGE help. (and yes, I still wonder about the holding of the cock…:D)
LMAO for step 6 you put “middle part where you hold the cock”