Transfer UV maps:
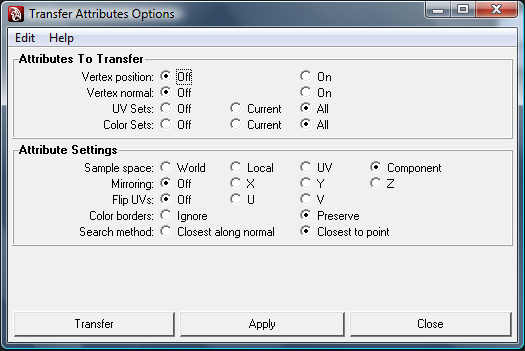
to transfer one object’s UV map to another object, first select the object that has proper UV layout and then the second object with no proper UV layout, then go to Mesh -> “Transfer Attribute Options” and in this case set the options as following:

Do this step for the rest of 19 treads. Once you are done, all the UV’s are perfectly piled up on top of each other. Merge all the tread to one object. Call the new object “Cap’s Tread”
Step 9:
Exporting “Coca_Bottle” UV to Photoshop for bump mapping:
Select “Coca_Bottle”, and then go to “UV Texture Editor”. Once UTE pops up, go to “Polygons -> UV snapshots… set its options as following:

Step 10:
Setting up UV as a guide in Photoshop:
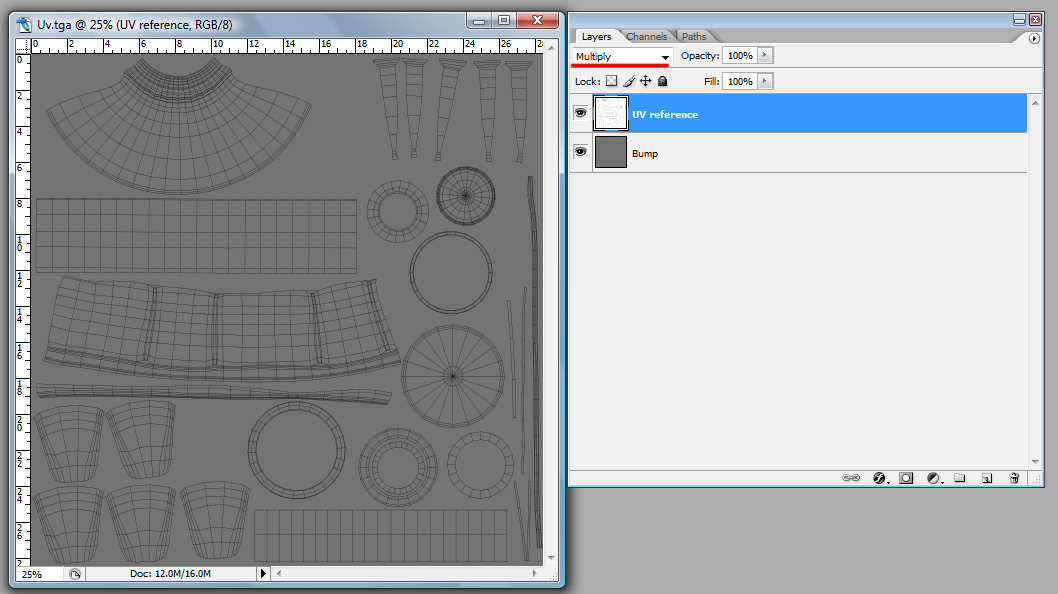
Once UV image is loaded in Photoshop, press “Ctrl+I” to invert the colors. Double click on the lock icon to pop up the new layer window. Call the new layer “UV_reference” and hit ok.

While “UV Reference” layer is selected change it’s style from “Normal” to “Multiply”, so you can see the layers underneath. Make a new layer under the “UV Reference” and call it “Bump”.


that was slick bitch i love it great modeling fucker yah yah suck it it you tube
like!
thank u
Thank you SO much for this! It was a HUGE help. (and yes, I still wonder about the holding of the cock…:D)
LMAO for step 6 you put “middle part where you hold the cock”