Step 4:
Modeling the Bottom Part:
There are many different techniques that can be used to tackle the bottom part. Here is one of them I came up with:
First, make a simple “poly Sphere” and set it’s parameters as following:
Radius: 7.5321
Subdivisions Axis: 20
Subdivision Height: 8
Make sure the sphere radius is close to radius of middle part; don’t worry if they don’t match exactly inch by inch together since we later merge them together. Also, you notice that the number of subdivisions differs for each part. Don’t worry now, later we have to add and delete some edges to middle part to match it with the bottom part.

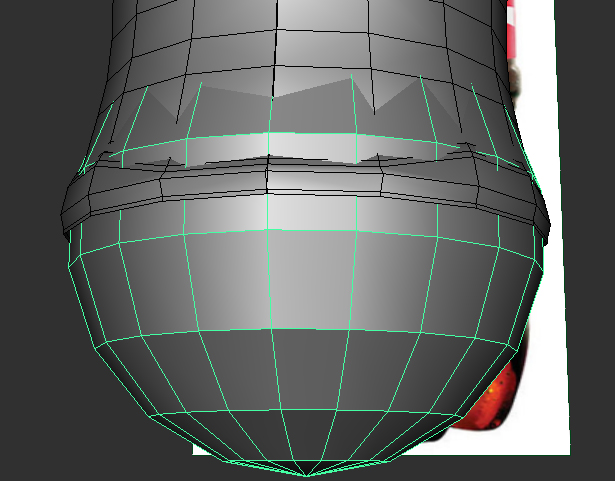
Use “Select -> Select Edge Loop Tool” to add a new edge to the sphere where middle part ends, so we can delete the upper half of sphere.

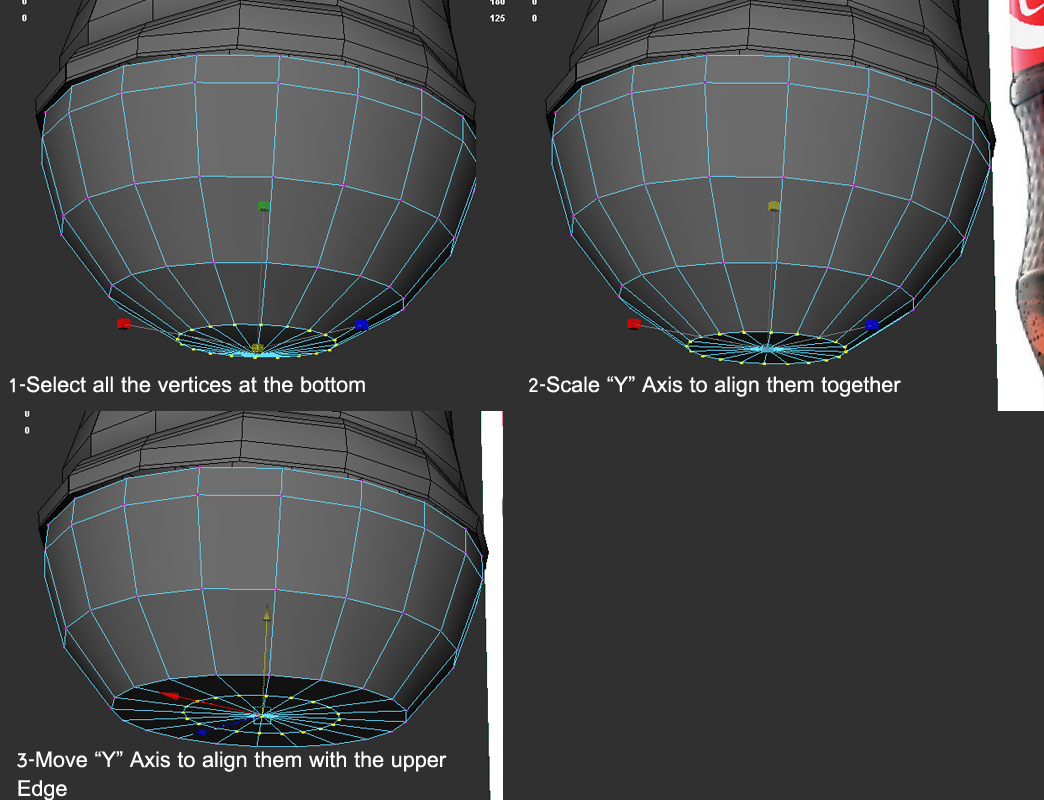
Select all vertices at the bottom of sphere and scale them on “Y” axis until they are lined up.
While there are still selected move them up on “Y” axis to line up with its upper edge. See the following image and use it as your guide.

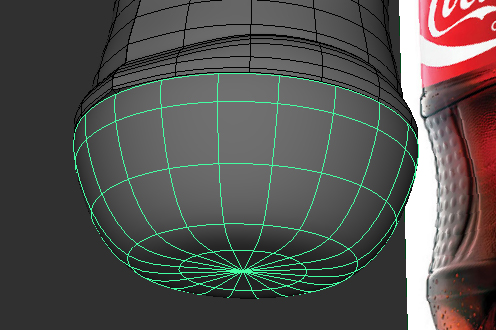
Here is what you should have so far. Press “3” to see the object is smooth preview.

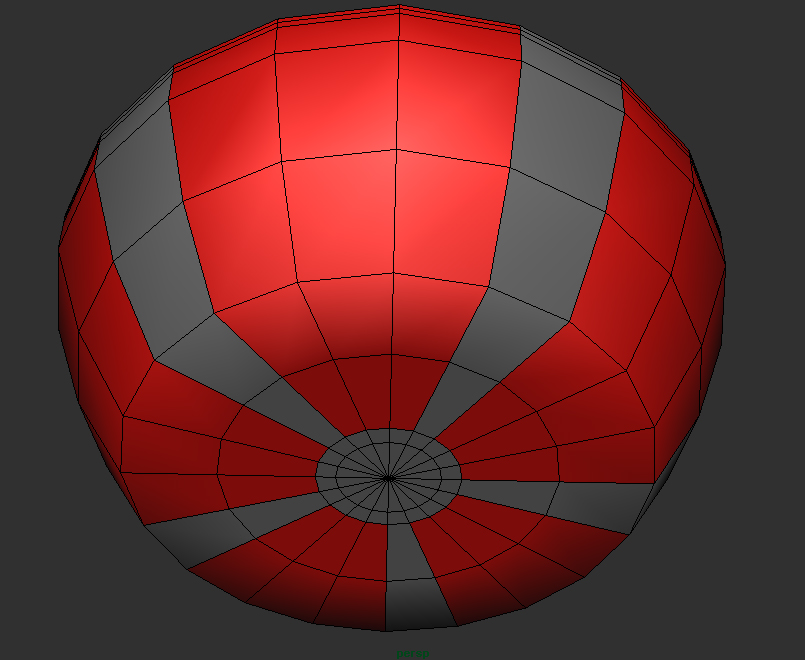
Next, add new edge loops at the end of bottom part. Assign a red color material to those polys that we don’t need to work with. This way, you can focus on other parts and won’t get confused later when we extrude the polys between them.


that was slick bitch i love it great modeling fucker yah yah suck it it you tube
like!
thank u
Thank you SO much for this! It was a HUGE help. (and yes, I still wonder about the holding of the cock…:D)
LMAO for step 6 you put “middle part where you hold the cock”