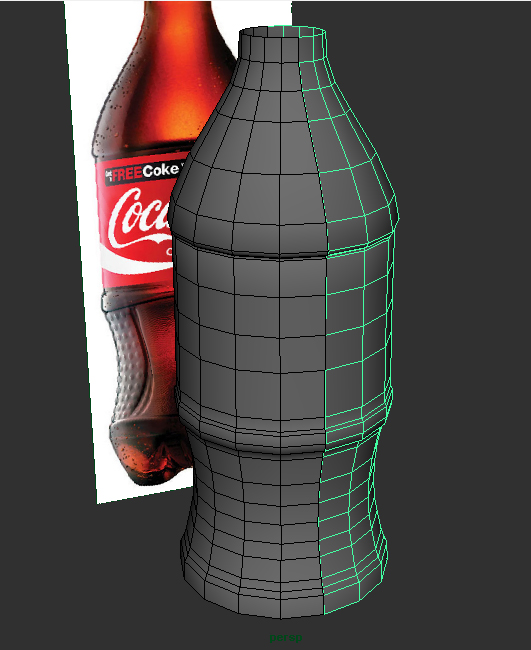
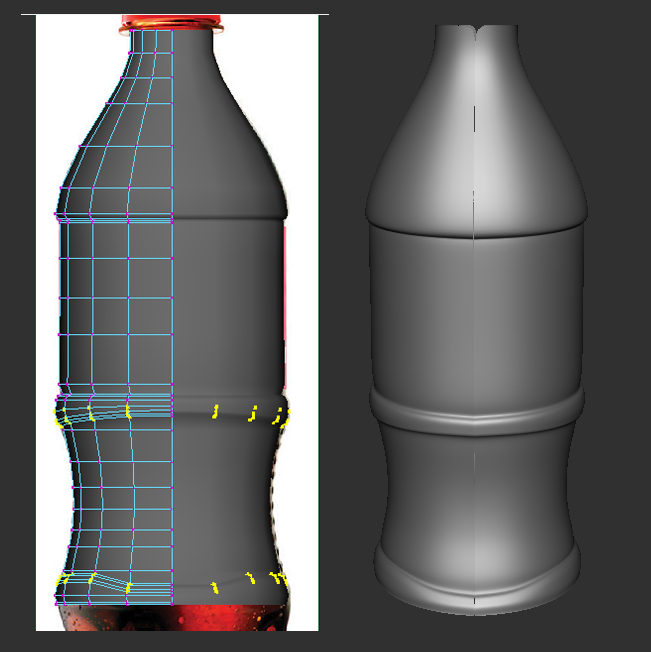
Now under Edit Mesh -> select “Insert Edge Loop Tool” and add some new edges around areas as you see in the following image. Then, use “Select -> Select Edge Loop Tool” to select the new edges we just made, simply hit “R” and scale them towards inside a bit. The reason we added these edges is to give more depth to those areas as you notice in the Reference image.

Here is what you should have by now….
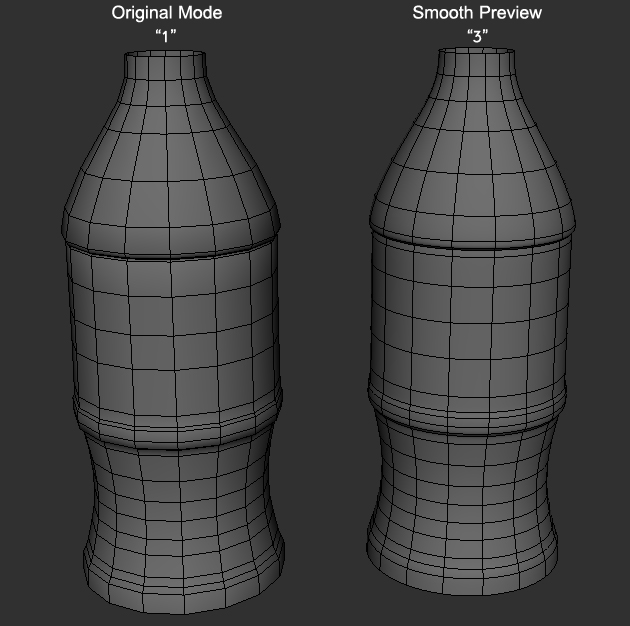
Tip: While middle object is selected press”3” on your keyboard to see the poly in smooth preview. Press “1” to go back to normal mode. Notice this feature is only available for Maya2008 and higher…..

Select half of the object and delete it, then “Duplicate” the other half as an instance.

Next, move the vertices according to following image. Try your best to match the vertices as close as possible to the reference image.


that was slick bitch i love it great modeling fucker yah yah suck it it you tube
like!
thank u
Thank you SO much for this! It was a HUGE help. (and yes, I still wonder about the holding of the cock…:D)
LMAO for step 6 you put “middle part where you hold the cock”