"Sunbathing" by Massimo Righi
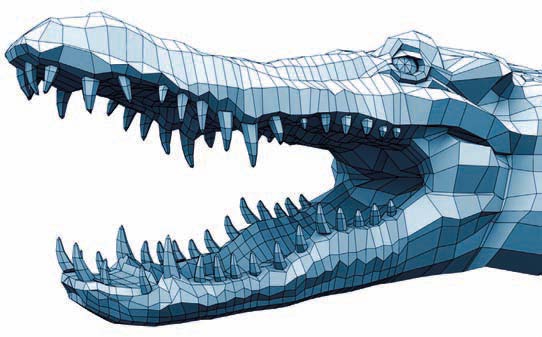
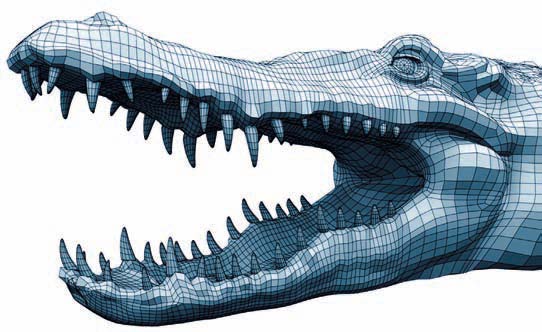 This is my preferred kind of polygon modeling technique, and, switching between all the four views, I had the feeling of good control over the step-by-step process. Once happy, I went on to model the legs and the eyeball in the same way, and joined them to the main body geometry. I modeled only one tooth, then duplicated it and distorted it – pulling vertices – and, with the use of lattice deformer, created smaller and bigger teeth, according to the reference photos. I only made half of the alligator so that I had only half of the UV map to deal with.
When the low poly model was complete (Fig.03), I then had to start the (boring) UV mapping process, before duplicating the model and adding details using the sculpting tool. For the main (half) body and the leg I made two cylindrical maps; for the feet I used two planar maps, one from the top view and one from the underside; and for the teeth I projected two planar maps. Then I used a simple checker, applied to a Lambert shader, to check the overall process whilst tweaking the UVs.
The laying out of the UVs is one of the most important steps, in terms of the final result, so my advice to anyone is to spend a little more time on it, until you’re completely satisfied with the results. The UV tools that I use most often are; Cut UV, Move and Sew and Unfold. After finally finishing with the UVs, I duplicated the other half of the model, did a combine command (I also merged all the vertices) and moved on to the sculpting part.
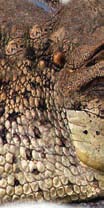
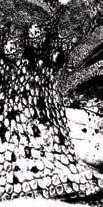
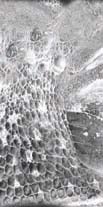
I usually do 3 levels of detail for my models so that I can use at least 3
different resolution models for my projects (Fig.04–06).

When necessary, I used the low poly model as a cage (using the Maya Wrap deformer) for the rigging and animation steps, but I hid it in another layer at all other times. For the sculpting process I used a higher resolution version obtained by doing two smooth operations. The mesh ended up with about 100 000 polygons (the low poly was just 8500 and the medium around 30 000). Using the Maya sculpting tool I added some details to the alligator, playing with push, pull and smooth tools, and the brush size. For this operation I used a Wacom tablet so that I had complete control over the pen pressure for the brush opacity and size.
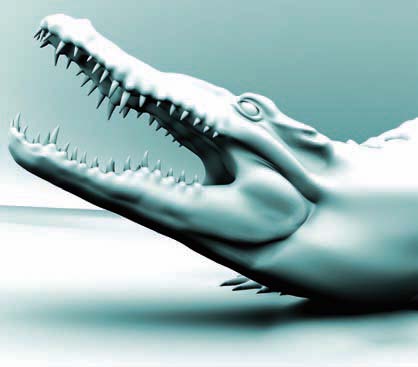
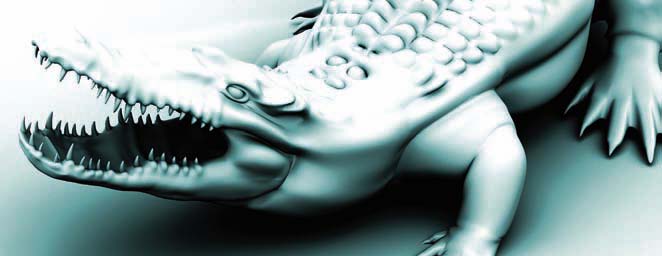
Once happy with the results I then created a simple rig, just to change the position to the one in my sketch. For the scene I only needed to have a simple ground upon which to place the alligator. I modeled the terrain from a polygon plane and used the sculpting tool – pulling and pushing some vertexes – and then created another plane upon which to place the background photo. Before starting with the textures I did some test renders just to see how the model looked in the various positions (Fig.07 and 08)
Texturing
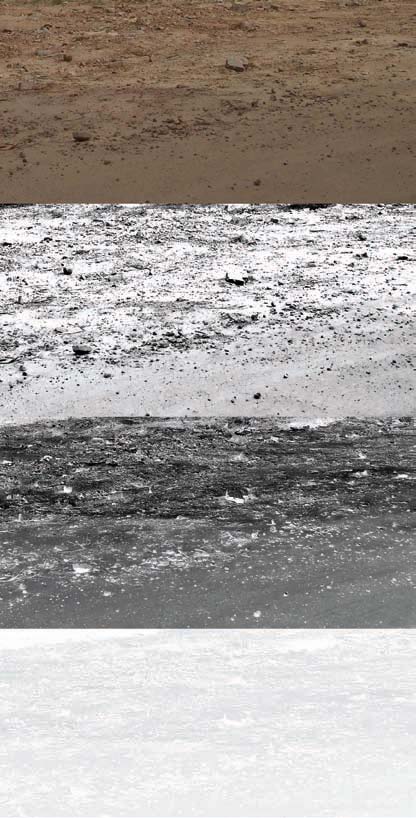 I believe that the texturing part is extremely important, as the majority of the final effect is created by the textures. I decided to go for a 2K resolution map, which I think was enough considering that I had to deal with the Maya 3D paint tool, and the bigger the textures are
the slower the process of the 3D painting is.
In Photoshop I started creating the textures using a Wacom tablet. The textures resulted in a mixture of photographs and freehand painting. I used the clone tool as well as custom brushes, always switching beween Maya and Photoshop and doing test renders to check how the textures behaved on the model. Once happy with the Photoshop work, it was then time to adjust the seams that were created by the edges where the UVs were cut during the mapping process. I used the built-in Maya 3D paint tool for this process,
using the clone tool. When the color texture was made I went back to Photoshop and created the specular, reflectivity, bump and diffuse maps, all from the main color texture. I then edited them one-by-one in Maya 3D paint and made any last adjustments.
For the ground and background I used two photos which I took myself (approximately 3000×2000): I cropped the parts that I needed, enhanced the color saturation and made bump, reflective and specular maps from the color ones. I also did a planar projection
map for both.
For the alligator, I used three different blinn shaders: one for the main body, one for the eyeballs and one for the teeth. Also, for the ground and background shaders, I decided to use blinn shaders. All the textures were applied to the materials using the Mipmap filter (Fig.09).


Latest Comments