“Portrait of a silent man ” by Patrick Eischen

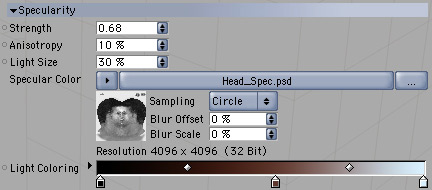
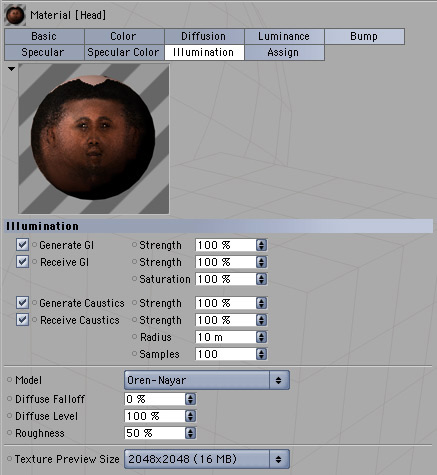
The final skin shader is made up of 6 different channels: Color, Diffusion, Luminance (with the Vreel shader), Bump, Displacement, Specular and Specular Color.

The scene
I quickly modeled a simple shirt, took it into ZBrush, divided it a couple of times and sculpted some cloth wrinkles with the Inflate brush. I also modeled the arms and shoulders and composed everything together in Cinema. There was no need to use displacements on the shirt; I simply exported the high-resolution mesh from ZBrush. I have a lot of memory, so I don’t have to worry that my computer might crash. There is almost no difference in render times between the low- and high-resolution shirt.

The texture for the shirt has been created by playing around with some filters and by using the ‘dodge’ and ‘burn’ tools.

The lighting
For this image I couldn’t use the Global Illumination system because Vreel Skin doesn’t work with GI, so I had to use standard Cinema lights. I created a 3-point-lighting with:
1) Main Spot @ 115 %
2) Fill Area @ 95 %
3) Rim Spot @ 190 %
I also include an area light (4) with very low intensity, placed below the model to simulate bouncing light from the bottom. All lights use soft shadows and ‘Falloff’ is set to ‘ Inverse Square ‘.

The hair
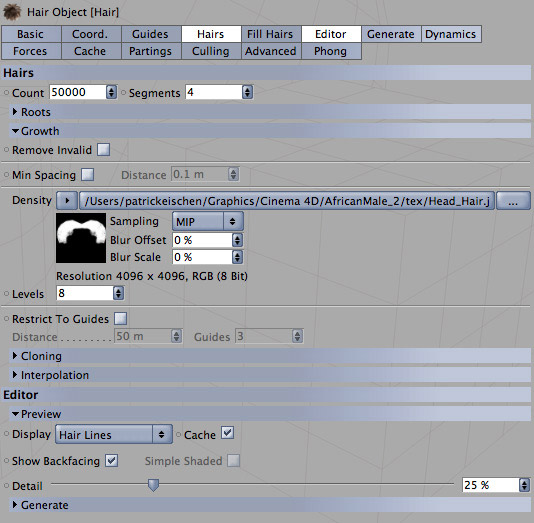
Now comes the funny part: the hairstyle and the beard. I used Cinema’s hair module for this job. I created two additional maps: an alpha map for the beard and one for the hair. Both maps were loaded into the ‘Density’ channel of the hair objects. Unfortunately the density map will not take effect in the editor view. It will only be visible in the final render. So I would suggest setting ‘Display’ in the ‘Editor’ tab to ‘Hair Lines’ if you have enough memory in your computer.


Latest Comments