"Making of Male Green Frog" by Massimo Righi
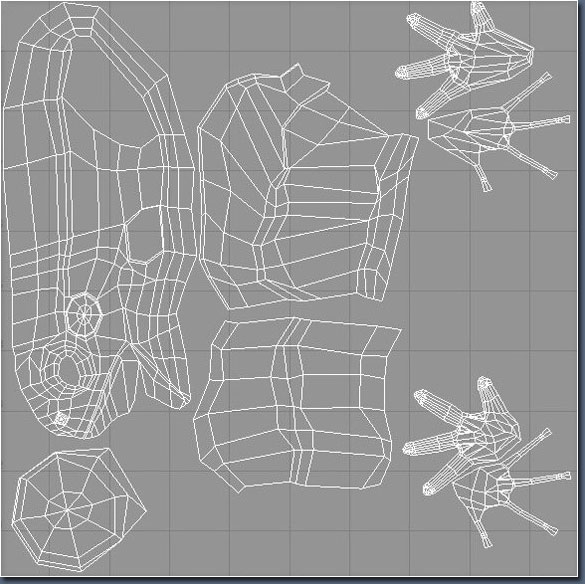
Once happy with the low poly model, it was the time to make the UV map.

For the main (half) body and the leg, I’ve made 2 cylindrical maps, for the feet I’ve used 2 planar maps: 1 from the top view and one from bottom view. I’ve used a simple checker applied to a lambert shader for checking the overall process while tweaking the UV’s.
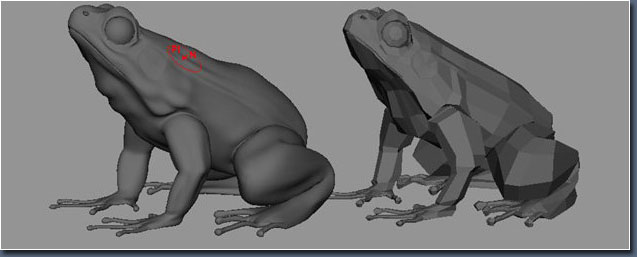
After that I’ve duplicated the half and combined all ending up with 1.960 polygons, quite good for the low poly model (this then can be used as a cage for the rigging/animation process).
I’ve than duplicated the frog keeping the low model in another layer, and I’ve made the higher poly version (about 30.000 poly) doing a polysmooth. Finally I’ve added some details using the Maya sculpting tools trying always to follow the main reference.

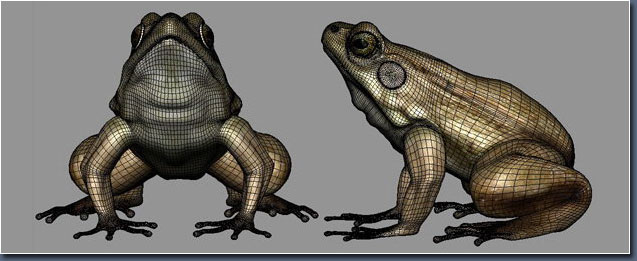
Using photos and freehand (I’ve used a Wacom tablet) I’ve made the textures in Photoshop each 2048×2048. I’ve applied the texture to the frog but I’ve noticed (I was expecting that :P) that some of the textures seams needed to be adjusted. I’ve used the built‐in maya 3d paint for that, using the clone tool.
When the color texture was made I’ve created the specular, bump and diffuse map from that.


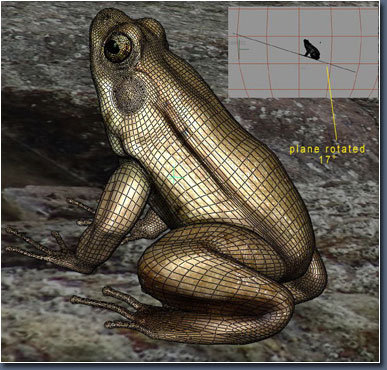
Now was the time for setting up the scene. I’ve created a simple plane where I placed the frog and I’ve rotated it about 17° (I’ve done that for the frog too). For the plane texture I’ve used a photo made by me, I’ve cropped it about 1300×900, I’ve than made the bump.

Making of Male Green Frog
One comment
Leave a Reply
You must be logged in to post a comment.


Very good work indeed !!!
I love the depth of field and the skin textures of the frog…..amazing !! Thanks