“Making of Chess set ” by Joshua Murphy
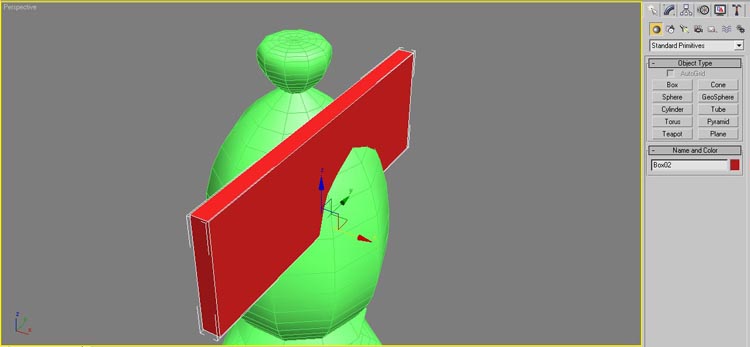
Create a box, then align it to where the mesh of the box in going through the mesh of the bishop, like below.

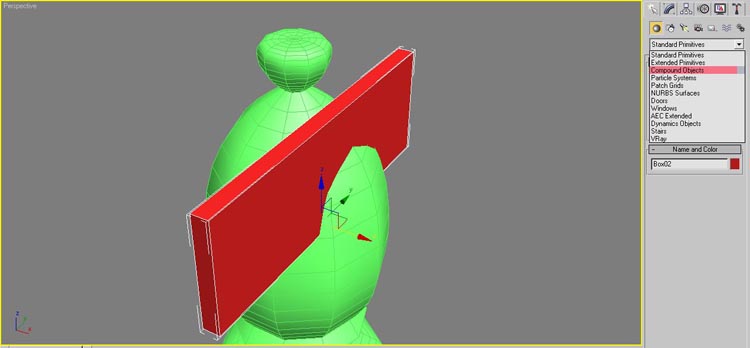
Select the bishop piece before going any further. Go to the Geometry tab and in the drop down dialog box select Compound Objects.

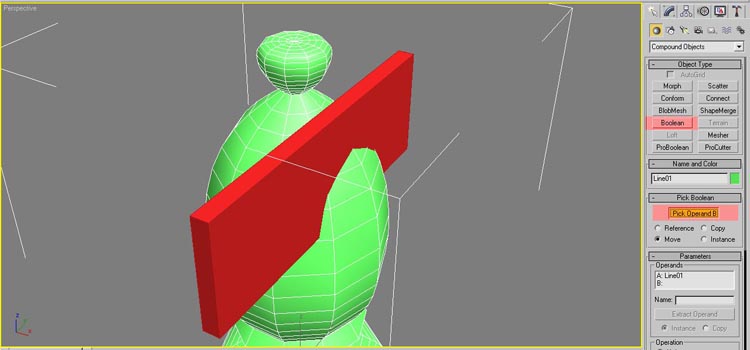
When the new choices come up, select Boolean. With the bishop piece still selected, click Pick Operand B and select the box that you created.

See the nice slice that is added for us? These tools are so cool. If you can image an object, you can create it!
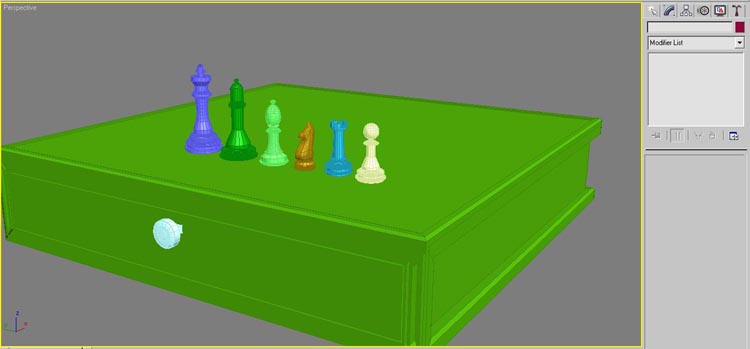
Now that we have our base and pieces complete, it is time to move onto to the texturing.

I want my set to have a nice finish, so I chose to go with a nice dark wood texture.
Go into your Material Editor, the hotkey to the Material Editor is “M” on your keyboard.
I am using V-Ray rendering engine, so I first have to go to the Material dialog box, and select VRayMtl.
You may have to Detach your top polygon from the base. To be able to apply a different material to it. There are Multi-sub materials, but for my purposes, I will just detach it. I will discuss Mutli-sub materials in another tutorial.
For the material of my pieces I chose a nice wood texture. Keep in mind, that each set of your chess pieces have to be a different material. Once you find a nice texture that you want to use, apply it and I like to apply a UVW map to all of mine, that make the texture be uniform over the entire piece.


Latest Comments