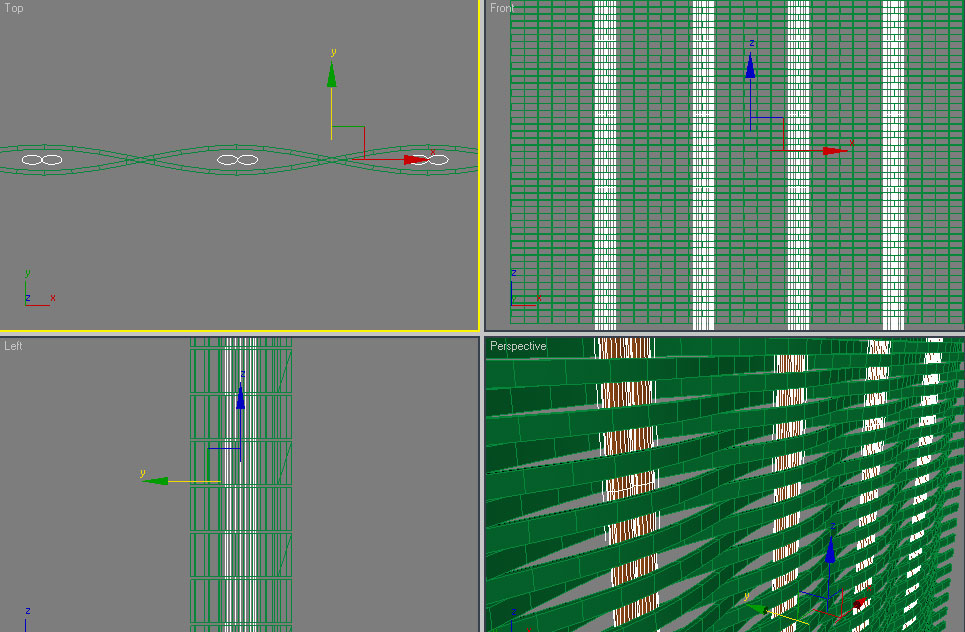
Step 10- Create 2 Cylinders next to each other, you can scale them to make them more of an oval shape, and make them fit into the gaps between the places the lines intersect, and duplicate these 2 Cylinders across to the end to fill up all the gaps.

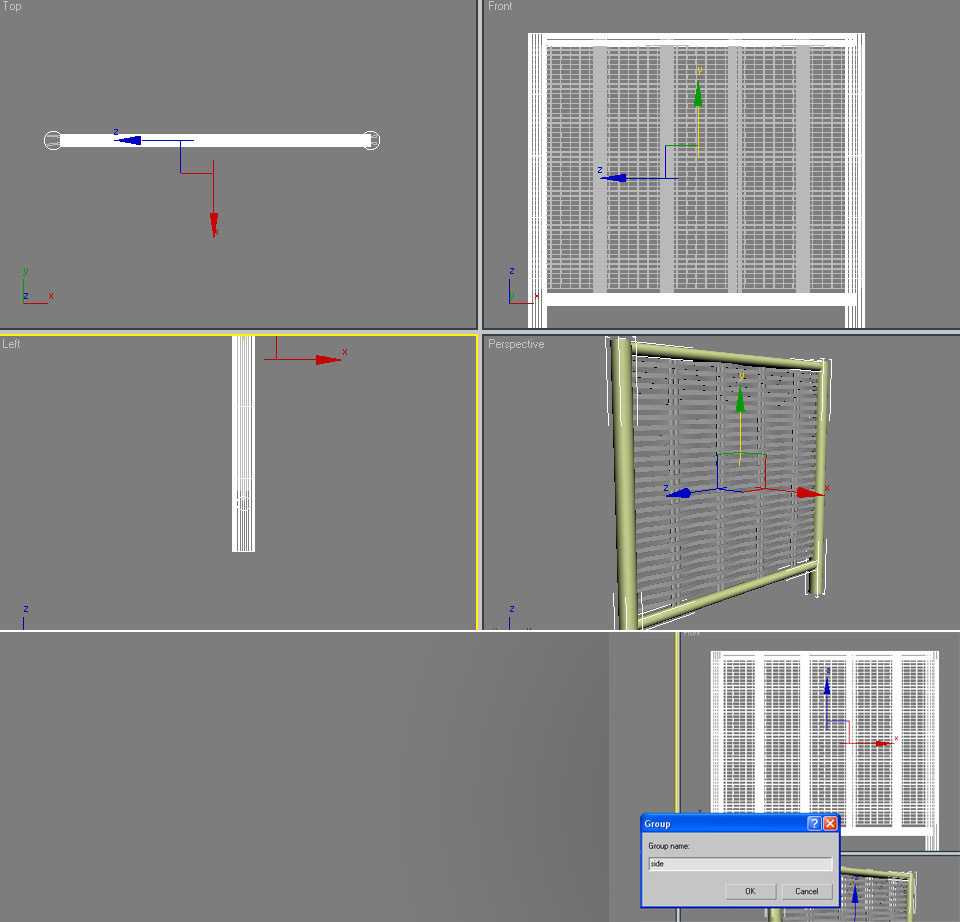
Step 11- Using cylinders, create a frame for your ‘Weaved Pattern’ we created. Group everything you’ve made so far and call it “Side”.

Step 12- Using the rotate tool, Hold Shift and Drag into a 90 degrees angle, repeat this step 3 more times to create a square shape, creating the 4 sides of your table. * You might need to open the new groups and remove some of their legs (cylinders) since they might overlap at some corners.

Step 13- Create a thin box at the top, this will be the glass.


Everyone loves it when folks get together and share ideas.
Great website, continue the good work!
I added a blog to your favorites and will visit you regularly.
good tutorial thanx hey i wanted to learn vray basic from begin please help
Thank u so much for sharing. Very helpful!!!
tashakoor(Thank u):very good… can u post a tutorial about the final scene?
I like tutorial like that one: simple and very effective!
Thank you, Luigiko!
Sir,can u post a tutorial about the final scene???
The tutorial really helped me,thank you Sir.!
That was cool tutorial. Is it possible to make another one for how you added textures and lights to your scene??
Shokran Jazilan.
good tutor….how about lighting and rendering this modeling?
Muy bien explicado.¿Podrias hacer algun tutorial con el Poser 8? para mi sería genial, sobre todo si fuera del rostro. Gracias