“Lady of Shalott – part 3” by Zhang Yang
8.Lighting
After all is done,I began to test my lighting,I used Mental Ray IBL with a HDR picture and several lights for special purpose.Some for simulating the lighting of the original oil painting,some for global illumilation,some for getting more details with negative intensity,and some for getting the high light.To my specialties,I added a spot light at the top left corner of the whole pic to make beam of light.The purpose is that I can make the whole pic more unified and hopeful.Something needs to take care, beam of light is formed from light fog.In order to get more details,I overlayed one noise layer on light fog.
9.Hair and Fur
I used Paint Effects to finish character’s eyebrows and eyelashes in maya,if you could see?.Of course you also can use textures to do so.
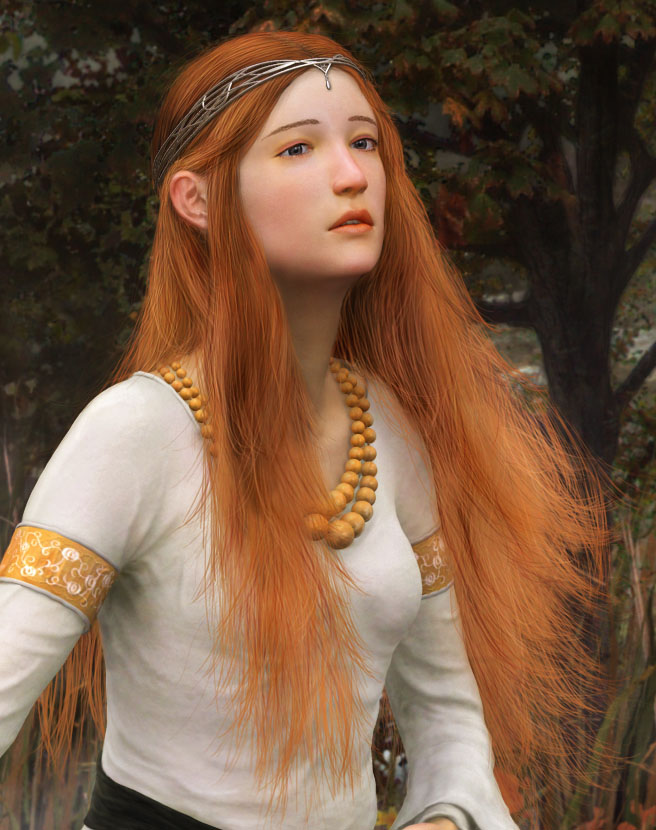
The character’s hair needs much time.I extracted curves from the original NUBRS patches to become the guide of maya plugin JoeAlter.Shave.And.A.Haircut.Shave is a great plugin.I will introduce my experience about how to use Shave in my next making of.Something needs to take care,is that,hair must be in harmony with the face tone,and also be blowed by wind.

10. Matte Painting and Background Plants
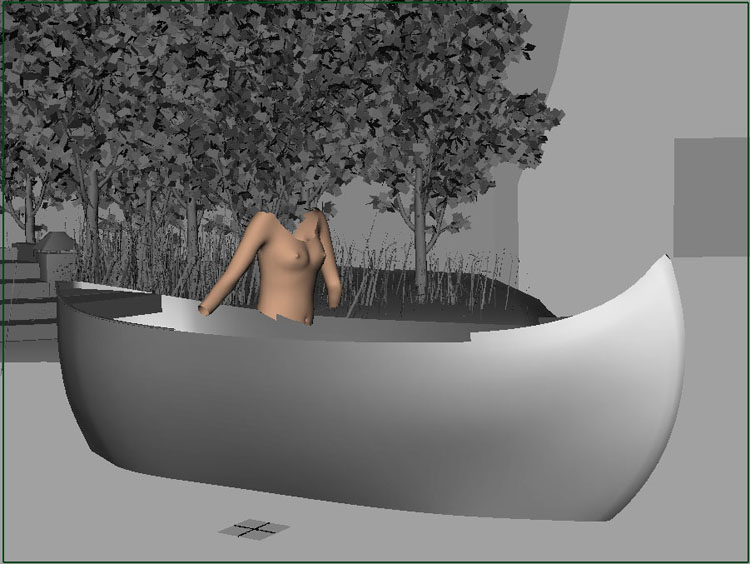
Because this is not a tutorial for matte painting,I won’t say too much about this step.I used maya plugin Xfrog V4.0 and 2D texture plan technique to make the woods.I must thank Xfrog,it makes enough details of 3D plants for Matte painting.But I really spent much time in adjusting and testing this plugin so that it can work for me better.You can visit http://www.greenworks.com/ there are many tutoral about Xfrog


Latest Comments