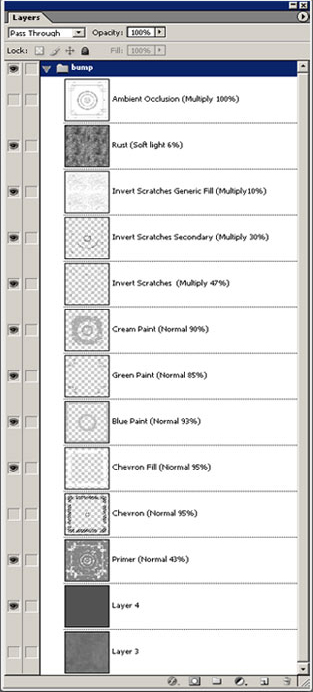
Another great way of adding some interest to your textures is to add some overlays of a grunge texture. Rusty paint, concrete, fabric etc. The rusty yellow I’ve used here is a retouched photo of the side of a rubbish bin at the local meatworks, years of daily use has created a very unique texture. In PHOTOSHOP I set this layer to soft light or overlay. …opacity is kept quite low to keep the effect subtle saturation is also lowered.
I also paint in some grime on a new layer set to multiply. These grime layers are usually duplicated & set to a color blend. I paint these with a small soft brush. Sometimes adding some blur to the layer. Around the bolts & in the recessed parts I add some earthy colors, try & put the grime in logical places.

If I were doing this texture on a building wall, then gravity would dictate streaks & stains in a vertical pattern. ‘Motion blur’ would be good for creating streaks & stains.
Again, play around with the opacity & blend styles of all your layers. Do test renders with the texture applied & see how it works when applied to the model.
![]()
I’ve used some scanned objects for smaller details. The bar code is from a memory stick box, the caution sticker from a toy.
The ‘LEVEL 02’ text was added using the same ‘all layers’ technique after making a selection of text. Then I made an inverted selection of the paint layers & deleted areas of text. This is to make the text wear in the same places as the paint.


Amazing tut, thx =)
Great tutorial, those brushes are something Ive been looking for for a long time. Would you mind sharing them?