“Foot rigging” by Sean Hewitt
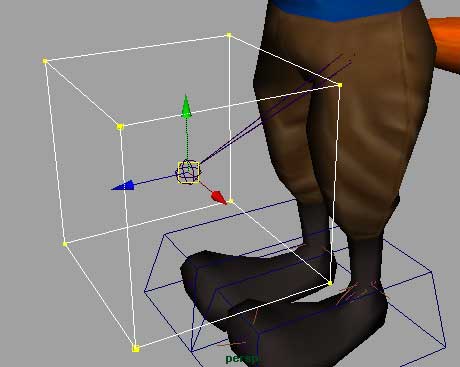
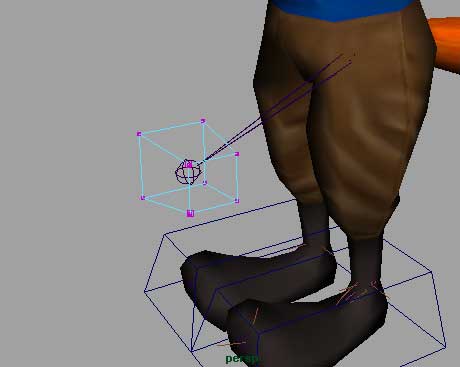
We’ll use this box as a target for the pole vector. Where ever this box is, the knee will face, and we’ll have control over the knee rather than letting it go where ever it wants.
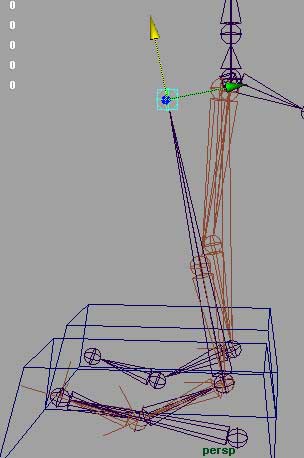
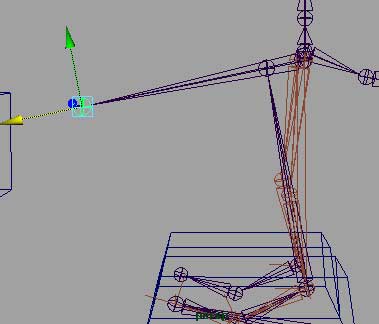
So where do we place the control? Well, let’s look at the IK handle. Select the IK handle and look at the white arrow at the top of the IK. That’s the direction the pole vector points and thus aims the knee. So we need to put the box in the path of that arrow to give the pole vector something to aim towards later. But we don’t want to move the joints at all while doing this, so we don’t loose the bind pose. So here’s how we’re going to figure out where to place that box.
I’m going to use joints to map out the direction this box should go. Make sure your translate tools setters are set to Local, or this won’t work so much.
I’m going to point snap a new joint starting at the ankle to the knee. Click right by the joint rather than directly on it as not to start a new chain off the joint already there. Point snap another joint to the knee. We’re going to translate up the new joint we just made on the knee. The catch is we’re only going to move it to the x axis and point snap it, again only in X to the hip joint.

Next we’re going to point snap a joint from the hip to that joint we just translated up. Again, don’t directly click on the hip.
We’ll translate this new end joint out, again, only in X. Where this joint ends up is where we’ll place the box. Really we could translate it out as far as we want in X, but I’m just going to move mine out a distance of 1.75.

Point snap the box we made to that joint and then freeze transformations on it. I’m going to enter component mode and scale and reshape the box a little.


Latest Comments