“Foot rigging” by Sean Hewitt
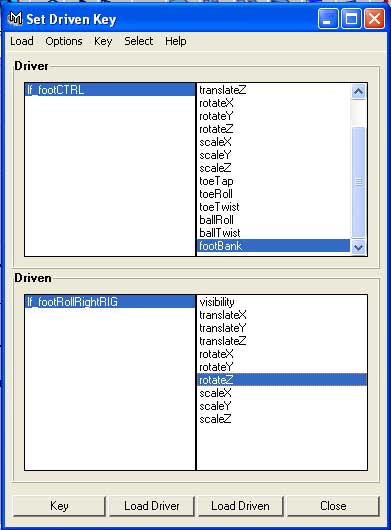
With the footCTRL selected, load it as the Driver. We’re going to start with lf_footRollLeft and load it as the driven. I’m going to have the footBank attribute of the footCTRL drive the rotateZ attribute of the lf_footRollRightRIG. So highlight both attributes in the set driven key menu.

With everything still set to 0 on both of them I’m going to click Key. Next, I’m going to set the foot bank attribute to 10. FYI, you can select both objects by clicking their name in the set driven key window for easy switching. Set the rotate Z attribute to 90 on the footRollRightRIG. Hit Key again. By the way, make sure the attributes aren’t still highlighted when you hit key, or it won’t actually key for some reason. I usually select the name of one of the attributes on the channel box after setting an attribute to ensure things will key alright.
Reset the foot control back to 0 and now load footRollLeftRIG, rotate Z as the driven. Again key both at zero. Next we’ll set the foot control to -10 and the footRollLeftRIG rotate Z to -90 and hit key. Reset the foot bank attribute to 0.
Since the foot bank can only go so far, we’ll limit its range. Right click on the foot bank attribute in the channel window and select Edit Attribute. Select footBank from the list and set a minimum value of -10 and a maximum value of 10.
Group your foot rig. Name the group lf_foot_ctGRP. This is just an organizational step for later.
You’re foot is all rigged up now. Test out the controls and see if everything moves in a logical manner.
You may notice that when you test your foot rig that the knee flies all over the place and we don’t really have a whole lot of control over it. There is the twist attribute on the IK control, but we’ve just buried it under out controls, and it’s not particularly user friendly to keep correcting the knee from where ever it flies off to. We’ll solve this problem by making a control
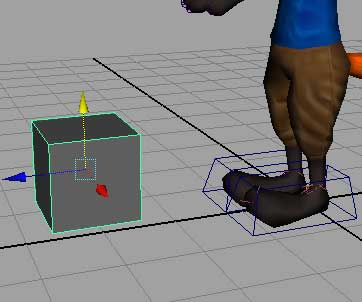
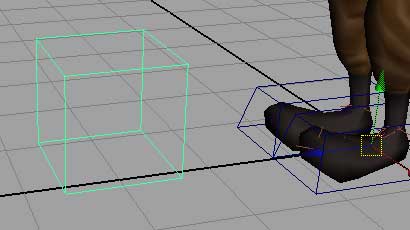
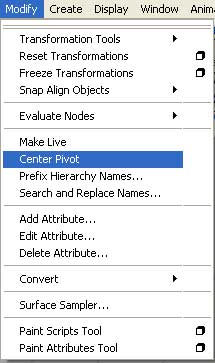
I’m going to make another cv box for the control. After completing the cv box center the pivot point.


Latest Comments