“Foot rigging” by Sean Hewitt
To make sure this control follows the rig we’re going to group it. Name the group lf_knee_ctGRP. Then select the COG of the rig, then the lf_knee_ctGRP. Go to your constrain menu and open up the menu for Parent Constraint. Make sure maintain offset is checked on, then click add. The control should now follow with the rig.
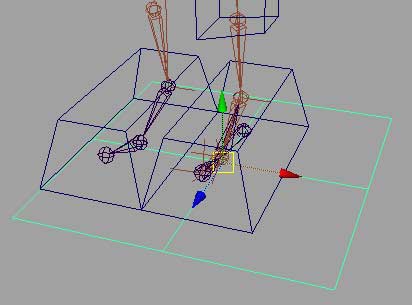
So as of know we have a fairly decent automated rig that we have control over. I know for myself trying to make sure the feet aren’t constantly passing through the floor. Now real time collisions really aren’t a worth while option to pursue at this point in technology. But we can fake a collision to a certain level. I’m going to build one last control that acts as a sort of floor that at least the foot control can’t pass through.
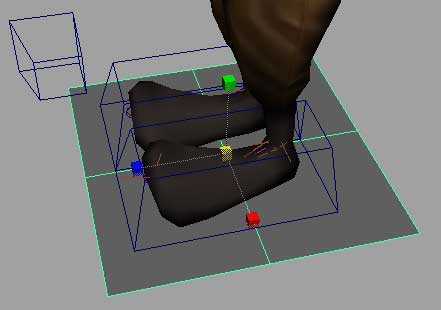
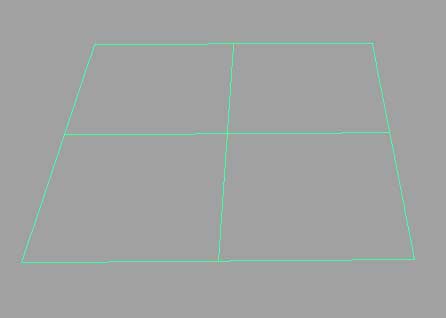
To start off, we’re going to build another control. I’m going to start off by making a 2X2 polygon plane which is scaled up just a little larger than the foot control. I’m going to trace this with a cv curve like before. You may want to go to you’re shading menu and turn of Wireframe on Shaded so you can see the cross sections.

Center the pivot on this new control. I’m going to snap it to the ankle in X and just try to visually center it in Z. Don’t move it in Z, unless it isn’t flush with the bottom of the foot and foot control. FYI, things won’t snap unless you have your Translate tool set to World. Name this new control lf_floorCTRL.


Again, so we don’t have to make two of these, duplicate this control and point snap it to the ankle of the right foot in X only. Freeze transforms on both controls. With both floor controls selected Group them. Name the new group masterFloor_ctGRP


Latest Comments