“Creating Lighting Cards in 3Ds Max 7 ” by Michael Grote
11. Apply the material to the ball mesh (if applicable)
12. To make the light card material do the following:
Choose another empty material sphere and click on the small grey square
next to the ‘Self-Illum’ section and choose ‘Output’.
13. Apply this material to the 3 plane objects around your object (not the
ground plane, just apply a standard material with a light neutral colour to that)
14. Set up you camera in front of the object.
15. Hit the ‘F10′ key to bring up the rendering window. In the ‘Common’ tab,
scroll down to ‘Assign Renderer’, click the button next to ‘Production’ and
choose ‘Mental Ray’
16. In the ‘Indirect Illumination’ tab check ‘Global Illumination’
17. Scroll down and check also ‘final gather’ (1000 samples ay be a little high
for a test render so kick it down to 500 for now until you’re happy with the
results
18. Add a skylight to the scene and put its intensity right down to approx 0.1.
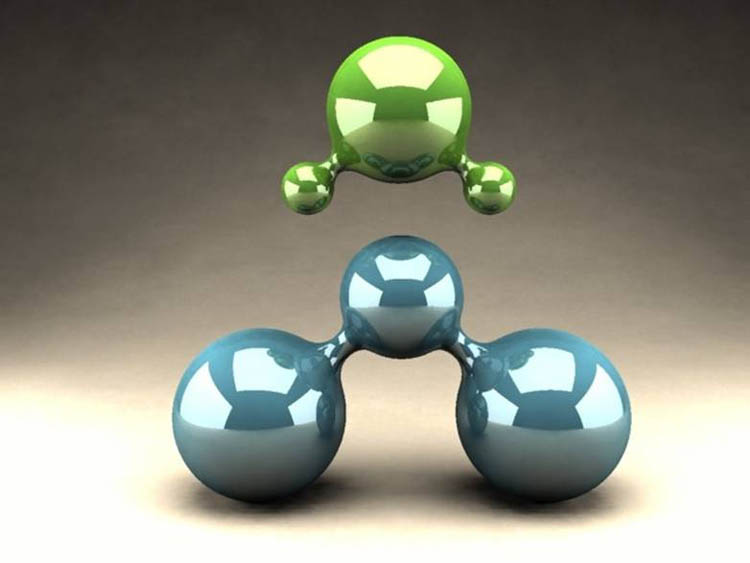
19. Hit Render and you should come out with something close to the image
below (although I upped the settings a bit more than I’ve shown here to get a
slightly cleaner image)

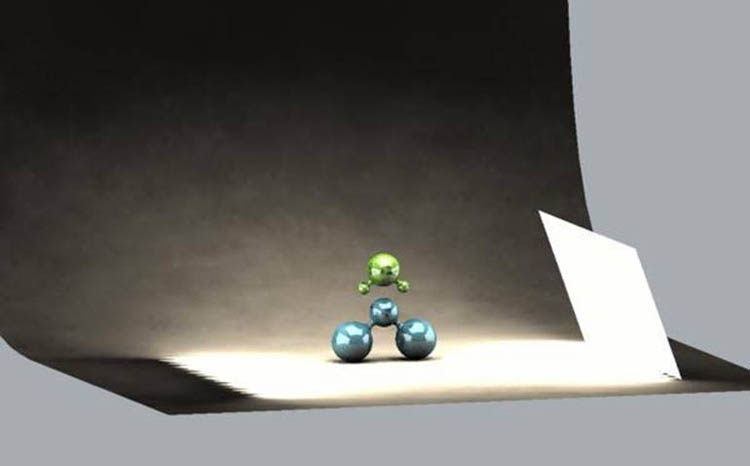
As you can see the output material turns the planes into light emitting cards. (The image below only seems to show one plane as the material is not double sided)

If the scene is a little dark or too light, adjust the ‘RGB Level’ value in the output material settings
I hope this tutorial was useful for you.
Michael
(c) Michael Grote, www.mgrote.com
Pages: 1 2


Latest Comments