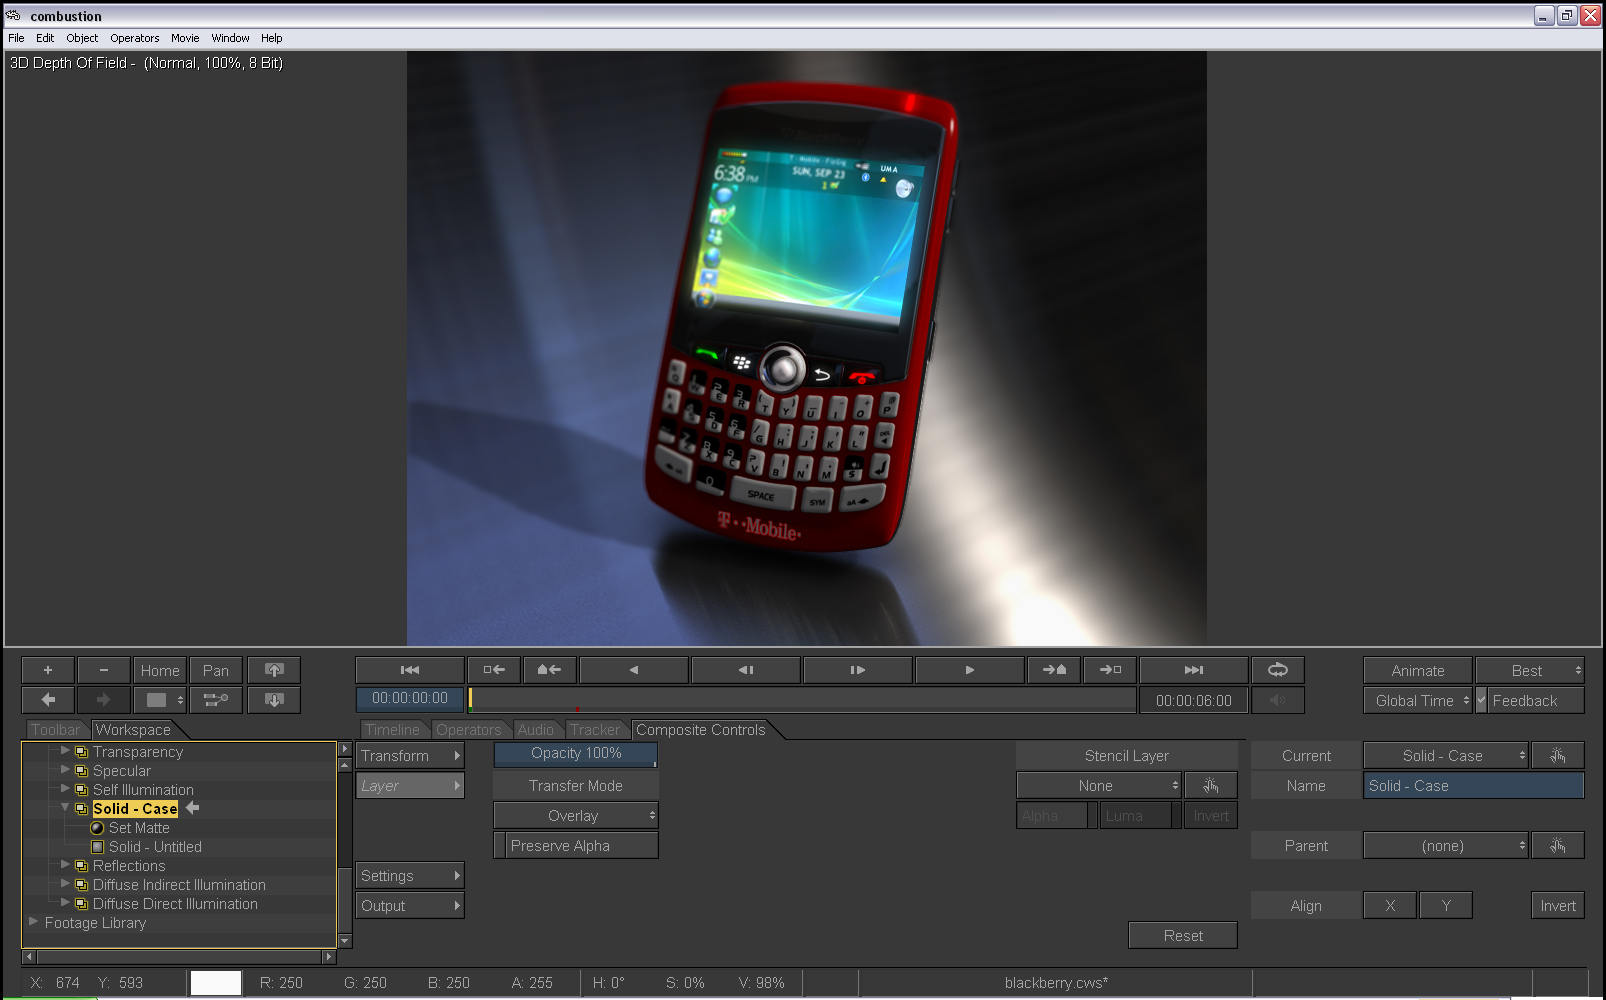
32. Select the top Solid Operator, and a Set Matte operator, and load the Matte – Case element that you just rendered. Now change the blending mode to Overlay.
33. Select the Shadow layer, click on the Layer button, and adjust the Opacity to 40%.
34. Select the Diffuse Direct Illumination layer, and Copy and Paste it. Move the Diffuse Direct Illumination(2) to just above the original in the stack. Add a Set Matte Operator and choose the Matte – Phone element. And now goto Operator -> Color Correction -> Brightness/Contrast. Set Brightness to 10% and Contrast to 50%.
35. Select the Reflection layer and Copy and Paste it and bring the new copy to just above the original. Rename them to Reflection – Ground and Reflection – Phone. You’ll notice that unlike the Diffuse Direct layer, the reflections have now doubled in brightness. This is because of the Add blending mode.


Me gusto el programa de 3d y lo que se puede hacer si me puedes enviar los pasos para hacer robot todos los pasos.
Gracias por los pasos de los tutorials nos veremos en otro memento