Car modeling – BMW Z4 (ZE89) in 3D Studio Max – Part 1
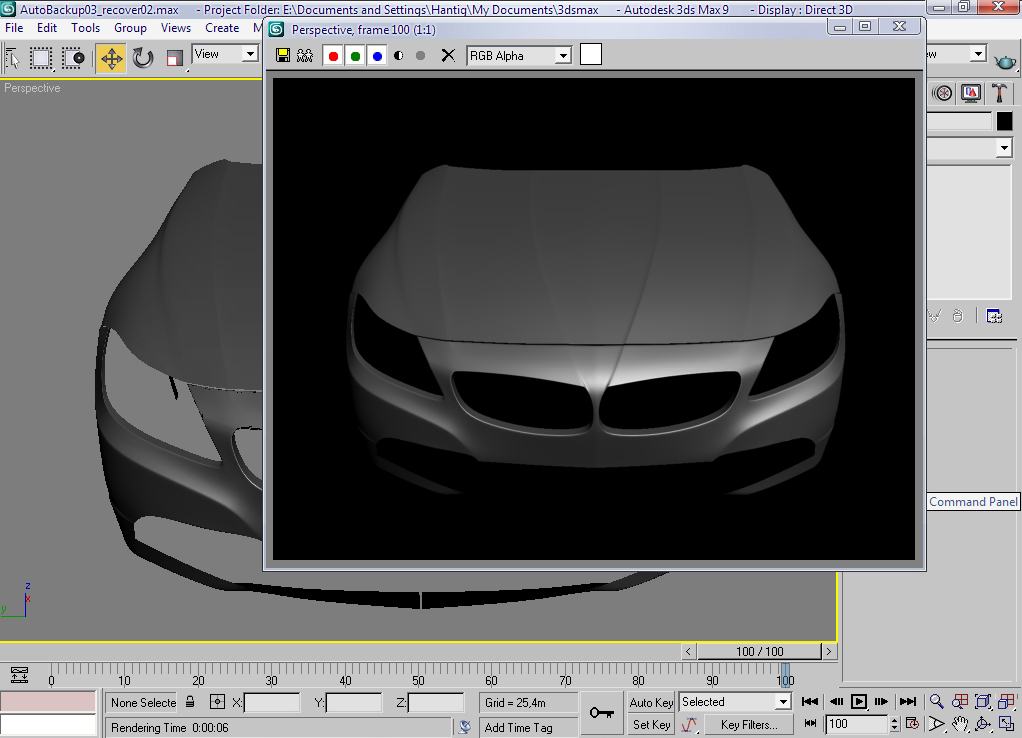
Final Preview:

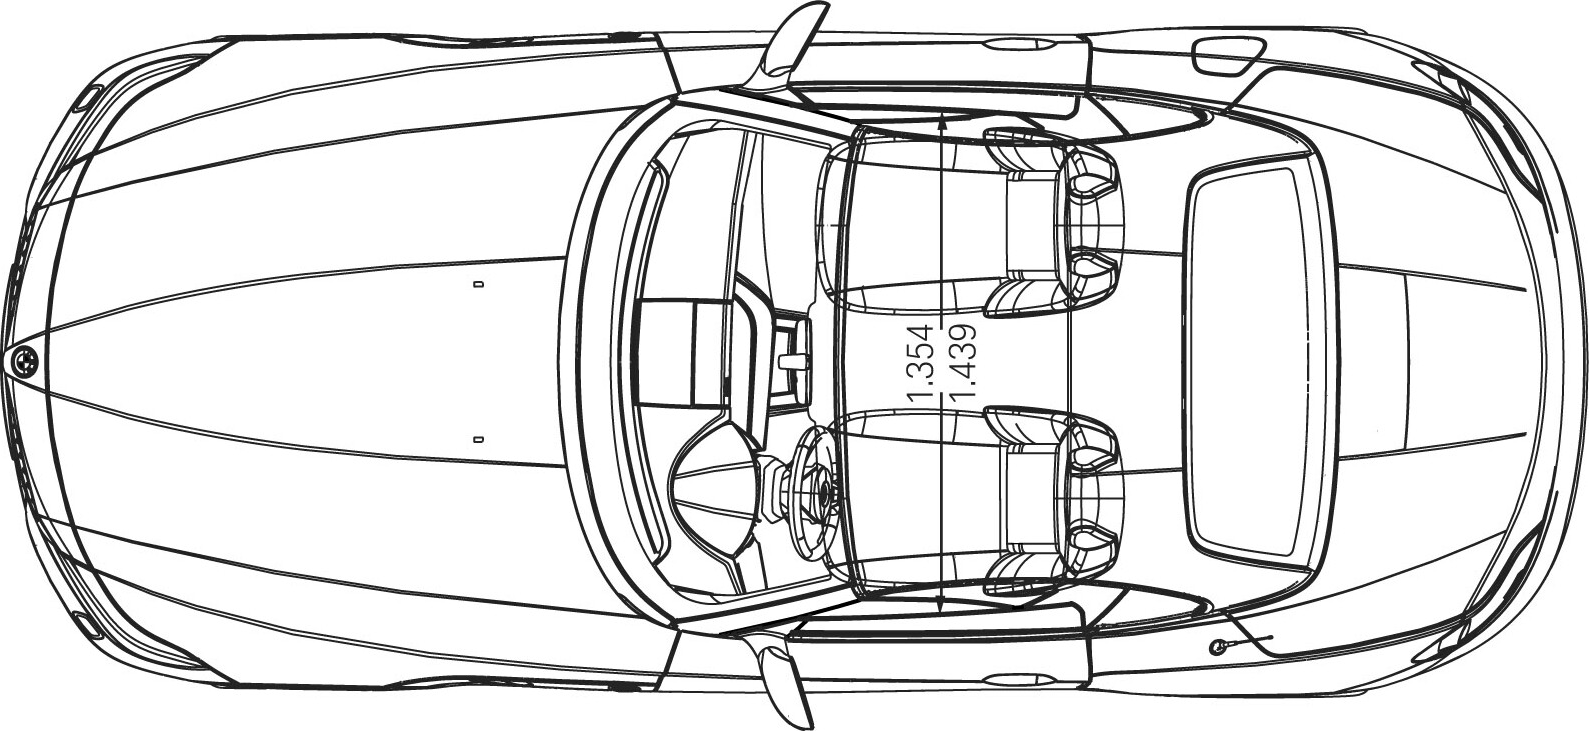
Before starting the tutorial you need to have some great reference images of BMW ZE89 and its blueprints
You can get some images from here: http://www.netcarshow.com/bmw/2010-z4/
Here are the Blueprints:


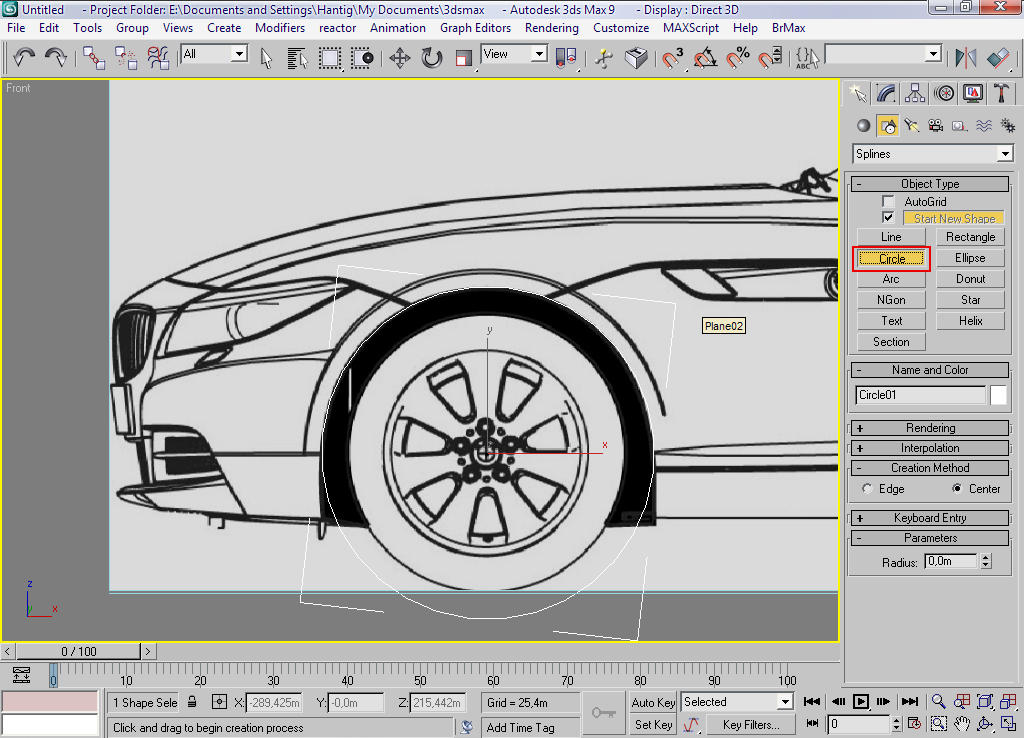
OK, so let’s get started. Open 3dsmax and setup blueprints.
Step 01 – Create a circle in the side view of the car.

Step 02 – Right click: Convert to Editable Poly.

Step 03 – Use Scale tool to create the surface (Shift&Drag).

Step 04 – Delete the polygons that you don’t need.

Step 05 – Now, you have to arrange the vertices to fit with the car blueprint/top/side/front.

Step 06 – Start modeling the fender using edge selection.

Step 07 – Continue with adjustments.

Step 08 – Continue in the same way, using Shift+Drag.

Step 09 – Continue with changes.

Step 10 – Right click: Object properties > See Through. This option will help you to see the blueprints so you can arrange the vertices better.


why ius there so many triangles! i cannot do this… how do u do it without triangles???
Such a great step by step tutorial.Thanks for this valuable info.
please the tutorial 2 of z4 thanks