“Lighting and Shadow basics – part 2 ” by Montree T.
Area Lights and Area Shadows
Another thing that a new user should not ignore is the beauty of area light. Area lights cause specular scattering on objects and blend with its diffuse area, creating a very soft look with beautiful soft shadows. The bigger the light sources is, the softer its shadow will be.

3Dtutorials.sk recommendation:
To maximise the realism of your 3D rendering and lightning we recommend to use high quality textures from the #1 texture website www.environment-textures.com
Indirect light is bounced light that reflects from an object when it is affected by direct light. The color of that light is affected by the color of the object. I also consider indirect light as a kind of arealight as well as the light is scattered from the object surface.
The area light is not that difficult to fake, but its soft shadow is what we need to pay more attention to. In Autodesk Viz 4, we have a new shadow type called the “area shadow” but the problem is that it takes a really long time to render. Some use many lights to fake this effect, (ie. skydome light) but that is for a still light or exterior rendering. For interior scenes, we can not use this method as there are too many objects in the scene to consider.
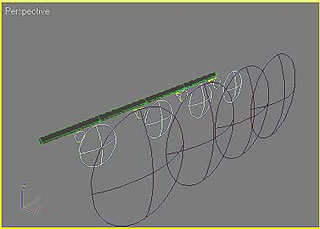
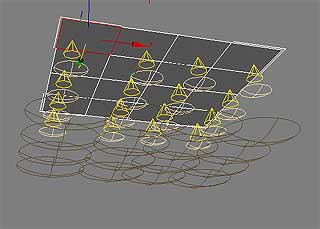 Figure 1: Area light, divided into small units and the units are replaced with free spots
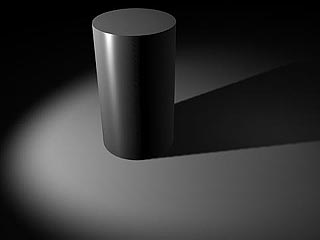 Figure 2: A shadow, casted by 1 single point light
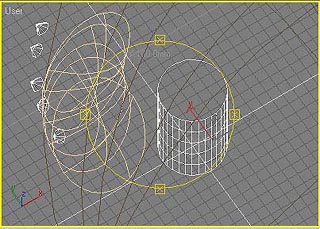 Figure3: Faking arealight effect, using spotlights
 Figure 4: The shadow before changing size and sample range
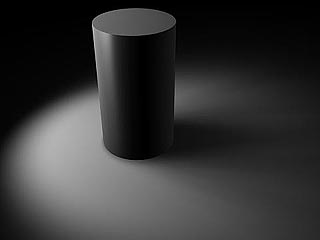 Figure 5: After adjusting size and sample range, The shadows looks smoother There is another technique I have found using a negative parameter for shadow density to fake an area shadow. Sometimes if we use a lot of bright ambient-only lights in a scene, the default shadows may look faded or pale. The negative shadow value also helps to make the shadows darker.


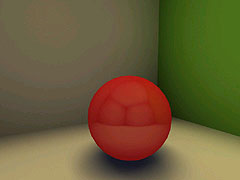 Figure 6: Shows the black color shadow with the default density parameter of 1 or more. You will see in the middle of the shadow area is brighter than the edge of the shadow.
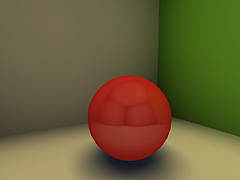
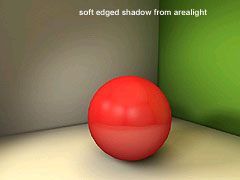 Figure 7: Shows the shadow with a negative density (-1,-2,-3). Due to the negative value, you also need to change the color of shadow to be whiter or light grey to inverse. The middle of the shadow appears darker than the edge. The result is a much softer look.
(c) Montree T. , Smoke3dStudio


Latest Comments