“UV mapping ” by Wojtek “Buddy” Starak
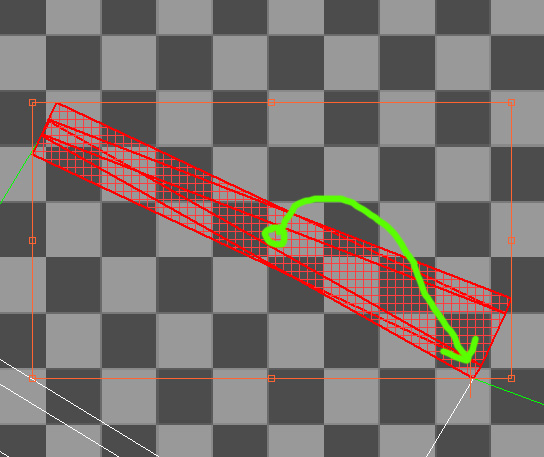
5.Now we need to fix the second overlapping cluster on top, there are two ways, You can select those three faces, Unfold them again, scale, fit the edge and weld. But You can also do it diffrent way.

Move those three faces origin (cross on the center of selection) to the right down corner, it will be now axis of rotation.

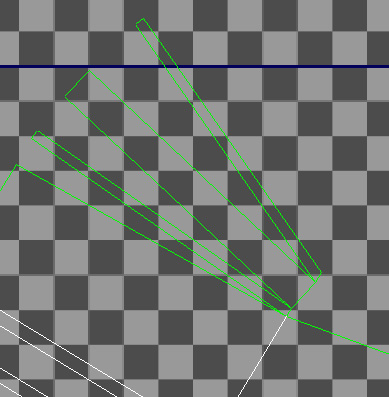
Rotate them, select indvidually, rotate again.

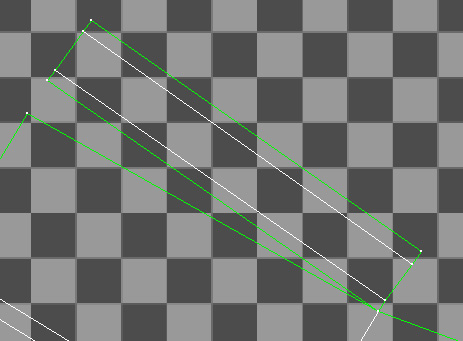
Now when they are placed ok. rotate them to create one cluster, weld their vertexes.
Now finally connect it with the main uv cluster. Ofcourse You don’t have to connect every polygon in models, but it’s important to keep texels as (texture elements/uv clusters) big as possible.
6. Still in Edit UVWs, Select all polygons, click Tools->Pack Uvs, this tool allows to normalize all UV clusters (in this case only one J ) and place them as tight as possible. (set spacing to 0,01, and check all other options avaible 🙂 )
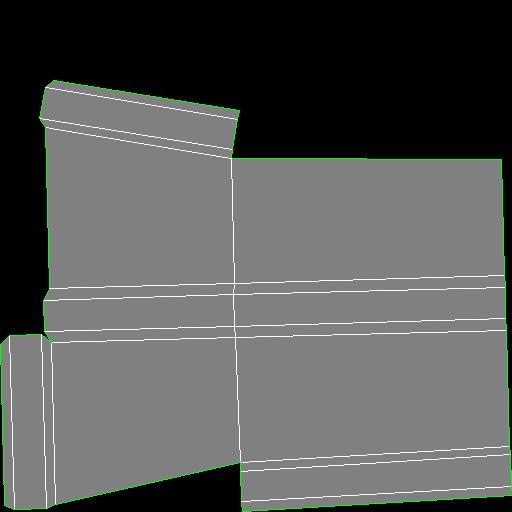
7. Hit Tools->Render UVW Template, set the resolution to Your needs, change mode to solid so You’ll have cluster filled with desired color.

8. Paint UV map in any 2d application and bring it back to 3dsmax… You’re done 🙂
NOTE: Unfold mapping is based on distance so there might be ugly errors if You try Unfold on selection of two separated objects.


Latest Comments