PAINTING CLOUDS by Steven Stahlberg
I used Photoshop, but any paint program should work. 
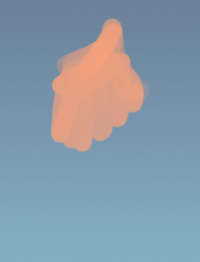
 (Left, cropped from a larger image.) I start with a ramp like the one on the right; be careful not to use full saturation here. Up to your preference, if you want to make the background a little more purple.

 Start painting with max saturation and max value a ‘peachy’ color on a large default brush (sharp edge, pressure-sensitive opacity). Quickly block in the rough shapes where light would fall on your cloud. Take special care here (and any time you’re painting something in nature) to not be too predictable, symmetrical or regular.
Go down in brush size and do some more detailed strokes.

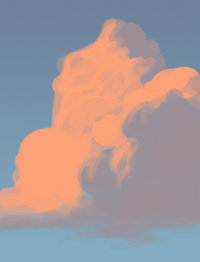
 The shadow color is added, a purple so dull it’s almost gray. Then add the darker orange/red color wherever the peach meets the shadow. Also, normally, clouds will be brighter at the top so add it at the base too.


Now the highlight color, a slightly lighter peach. Use the finest brush and squiggle it on wherever there’s a left-hand facing edge of the cloud. Again, don’t be predictable and regular.
(The best way is to study reference photos, for example this environment textures site has more than 1000 hi res photos in their “Sky” category.)
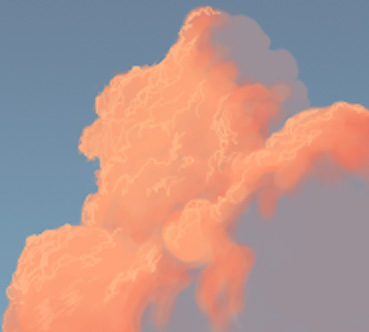
We need to soften the right-hand side edges of all these squiggles, while trying to keep the left sides as sharp as possible. You can use a small blur brush, or a smear, or simply paint back the base color into the highlight.
Go back and forth, adding more highlight squiggles, softening some parts, bringing the shadow color in with a finer brush too in some places, etc. On the right is the finished cloud.
Here’s a cloud similar to one I saw today, around noon, near the horizon, through my office window. The light is coming not from the side or above, but about 45 degrees or so. This changes where you need to put the highest values; instead of at the edge of each blob of cloud the highest value ends up pretty much centered. So a different technique will be more efficient.


Use a similar ramp to the above, just a bit lighter.
Create a new layer and paint with a sharp edged brush a value slightly lighter and less saturated than the lightest sky color. Darken it a bit at the bottom.

 Turn on ‘Preserve Transparency’ for the layer and paint full white with the airbrush like this. Vary the brush size quite a lot. The goal is to get this kind of ‘cauliflower’ look.
Then add another layer and paint with a fully opaque sharp edged brush the original cloud color, like on the right.

 Same thing again, switch on ‘Preserve Transparency’ and paint white with the airbrush.
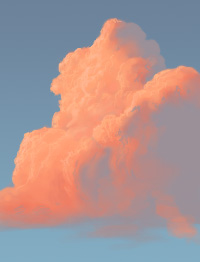
Repeat this cycle until the whole cloud area is filled up. Remember to try to get the edges of each layer a little closer in the beginning, and more widely spaced towards the end (due to the perspective). Нравится смотреть, как близкие родственники ебутся как кролики? Тогда обязательно посмотри порно инцест https://инцест.tv/hd . По этой ссылке ты найдешь огромное количество контента с мамками и сестрами, которые громко стонут от членов в мокрой пилотке.

 On the right is the finished cloud, note that you can tweak it very easily by using ‘Curves’ on each layer. I darkened the first layers, also changed the coloring a little. Other tweaks included some added detail on the bottom layer, and airbrushing more white here and there.
Of course instead of the airbrush you could try this with all sharp edged brushes, for a more painterly expressive style.
Copyright 2004 Steven Stahlberg www.androidblues.com


Latest Comments