Step 7:
Combining parts:
This is a simple step. Combine all the objects except the cap’s treads and call it “Coca_Bottle” or whatever you like. The reason we don’t combine the treads with the rest of objects is that once we apply mesh smooth to them they get rounded and it is not something we want. Also, make sure you delete all the history of the objects before combining them.
Tip: if you feel the bottle needs to be a bit fatter, make sure you hold “Ctrl” while scaling the object on “Y” axis. This way you are scaling the object on both “X” and “Z” simultaneously.
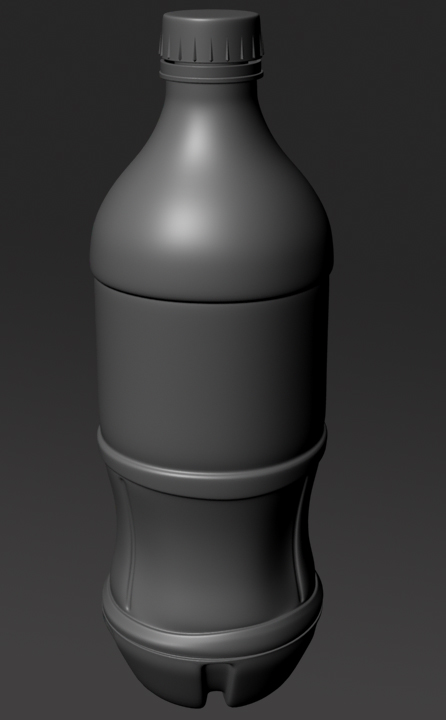
Here is the final model after applying mesh smooth. At this stage we are done with modeling part.

Step 8:
UV Mapping:
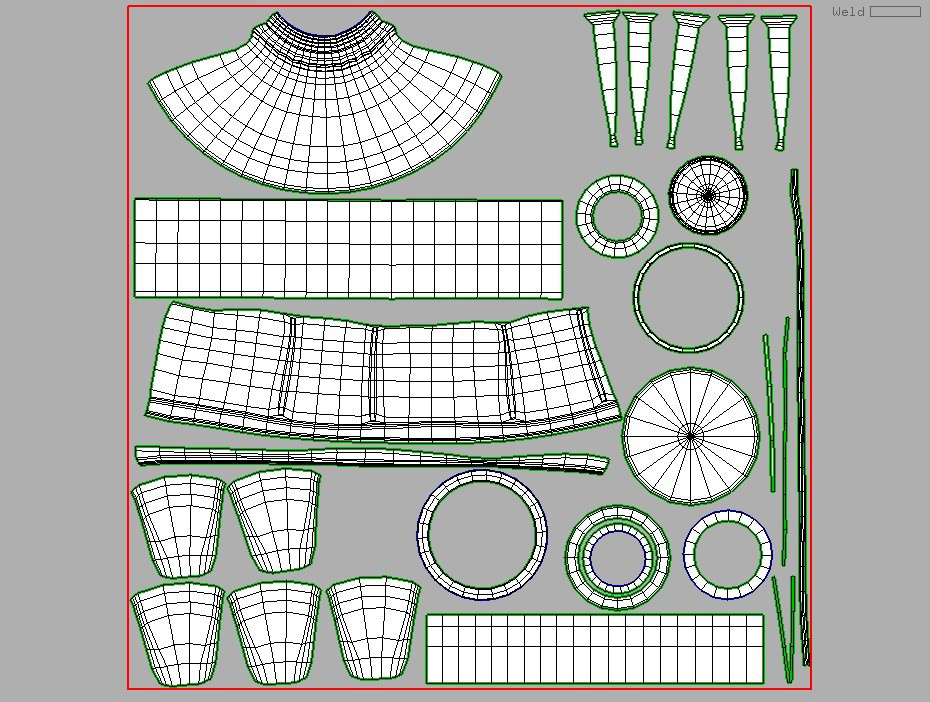
To setup the UVs I used “UV Layout 2”. Select “Coca_Bottle” in the scene and export it as obj. Load the obj file in “Uv Layout 2” and layout the UVs as following. I am not going to cover how to use UV layout in this tutorial but if you are not familiar with it you can easily learn it by following the tutorials that’s on their website. Here is the link:
http://www.uvlayout.com/index.php?option=com_wrapper&Itemid=97

Once, you are done with UV’s Export the model back to Maya.
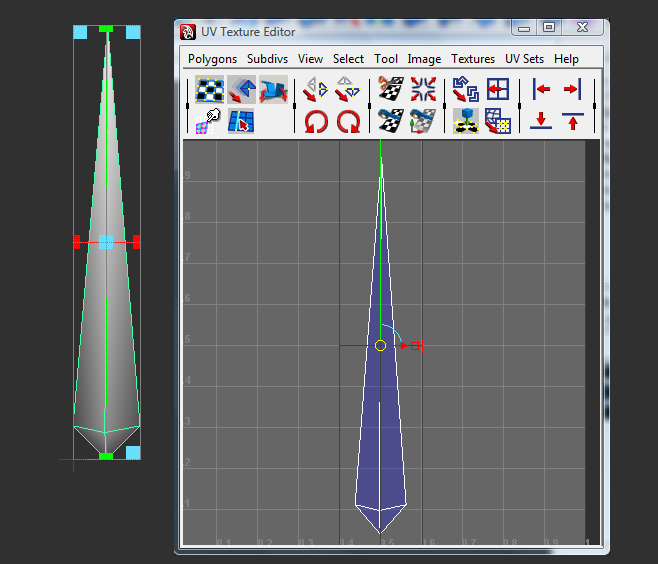
UV mapping the Cap’s treads can be easily done in Maya using simple planar map. We apply a planar map to one tread and then we transfer its UV information to rest of 19 treads. This way all UVs pile up exactly on top of each other.


that was slick bitch i love it great modeling fucker yah yah suck it it you tube
like!
thank u
Thank you SO much for this! It was a HUGE help. (and yes, I still wonder about the holding of the cock…:D)
LMAO for step 6 you put “middle part where you hold the cock”