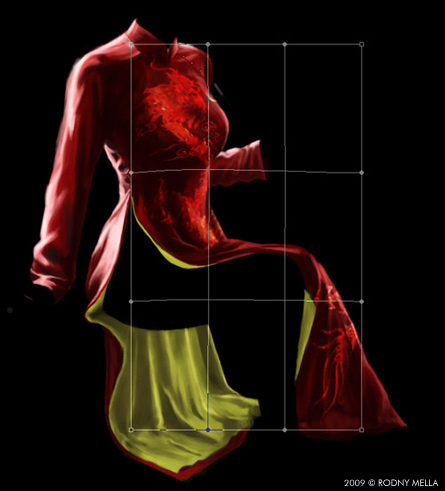
Here you can manipulate the nodes, move and transform the image according to the shape of the dress. When everything are set the way how I like it I press “enter” and it will save the transformed image.
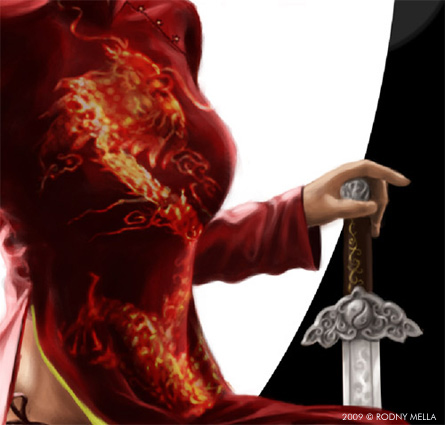
I add another layer and this time I set the mode to “Screen”, this is to add highlight on the dragon like a that shown in the image and gives off a golden shimmer. I also paint details on the sword, I set the brush option to “shape dynamics” this will give me tapered brush.
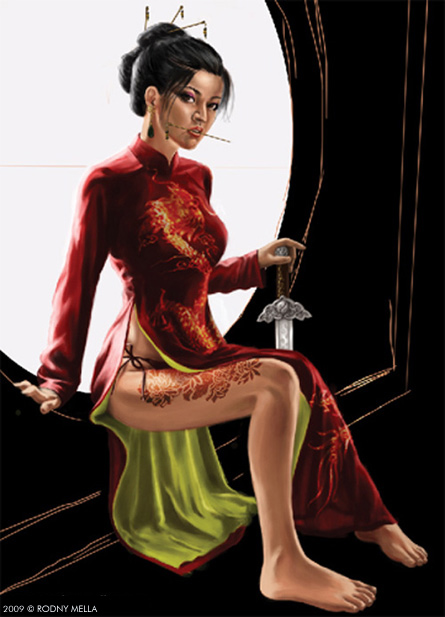
The second part of character painting is retouching and adding embellishments. The same process I applied for the tattoo on her thigh like what I did with the dragon using “warp mode”. Now that I have the completed the character painting I flattened it’s layers. It has been my custom to save the unflattened file separately so that I can go back again if I wanted to change anyting. After saving the unflattened version I flattened the character layers to save me some processor memory.
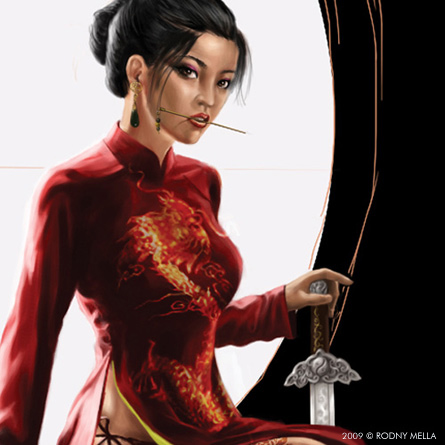
I clean up her face. Added the hair pins, earing, retouched the eyes and nose and add detailed strands on the hair. Painting hair is sometimes difficult but one trick I learn is while painting the highlight I make brush opacity and flow to 50% or less. Then I repaint the strokes again and again until I get the proper highlight on place. After this I added small strand of hairs so as to get more natural looking hair.
Next step is painting the background. Since the focus of the painting is the lady I decided to blur the background image. I paint the background window in greyish blue color, dab some circular white color and some dark colors to it, then on the top menu bar in Photoshop I press “Filter” choose “Blur” and the click “Gaussian blur” and set to 2 pixels. This will produce me enough depth of field.

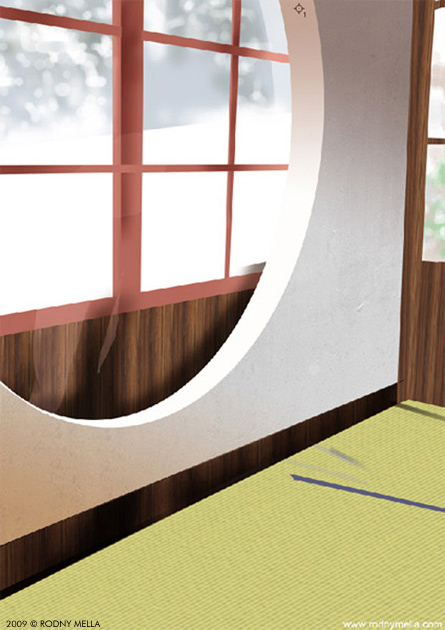
The interior basically is white concrete with wooden windows. I used pen tool to draw straight lines and perfect curves. Here below is the final result of the house interior. The tatami floor is an image I took from the internet and skewed it to the shape of the floor.


its a best tut thanks
hi i am creative graphic designer so i wana see more this kind of pic,s i like your webside my id fineart71@hotmail.com