“Making of Carnostaurus Sastrei” by Damir G. Martin
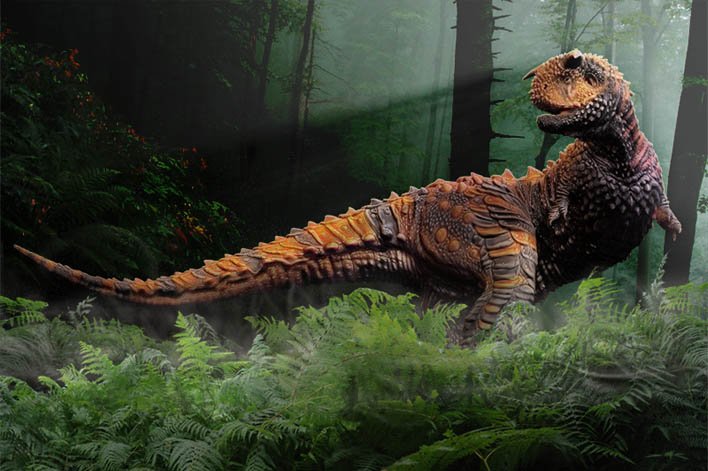
After removing myself out of the equation, the BG was ready for adding the elements. I’ve started with dinosaur, then two layers of fern, reason I did two layers is, because later, I added layer of shadows, and second layer of painted evaporations and fog.
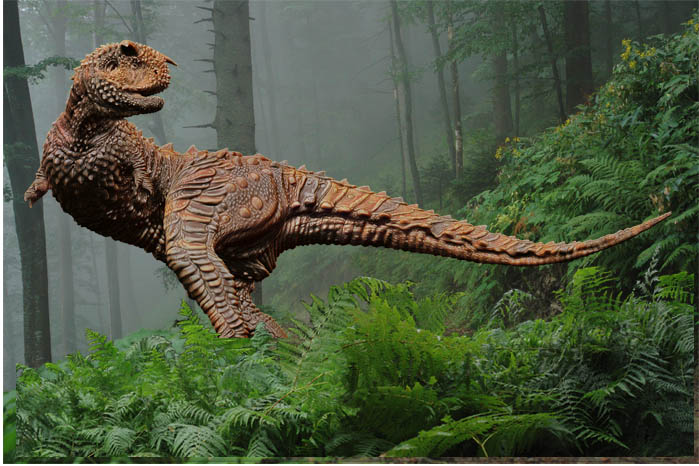
After exporting 5 different matCap materiál renders of Dinosaur to Photoshop, I started aranging blending effects troughout theese five alligned images, until achieving desired look for further work.
So, now that I have sorted some things, it was time to immerse Carnotaurus into the woods. It meant, I needed to find a way how to make this dinosaur appear as if he really is in that woods.
First, I took the Background, duplicated it, and then in blending mode chosen colour burn mode. It mad the forest much more…something.
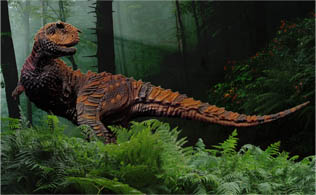
That opened place for ever welcoming flare effect of sun rays cutting trough woods, and Carnotaurs head. I used gradient tool and after I just applied motion blur filter on it.
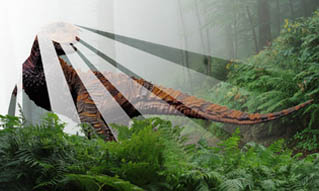
Somewhere along the way, I decided to flip the entire piece horizontally. In this point, things like fog, shadows, and more blending in of the dinosaur were ahead.
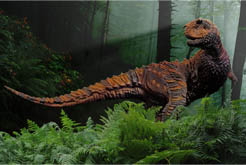
Here I added some fog to fern’s, along with shadow. If you notice that dinosaur is now lighted properly. This is achieved again trough blending modes. I duplicated dinosaur and turned in screen mode for the upper layer, and then deleted with brush all logical places, where I supposed that light shouldn’t be at.


Latest Comments