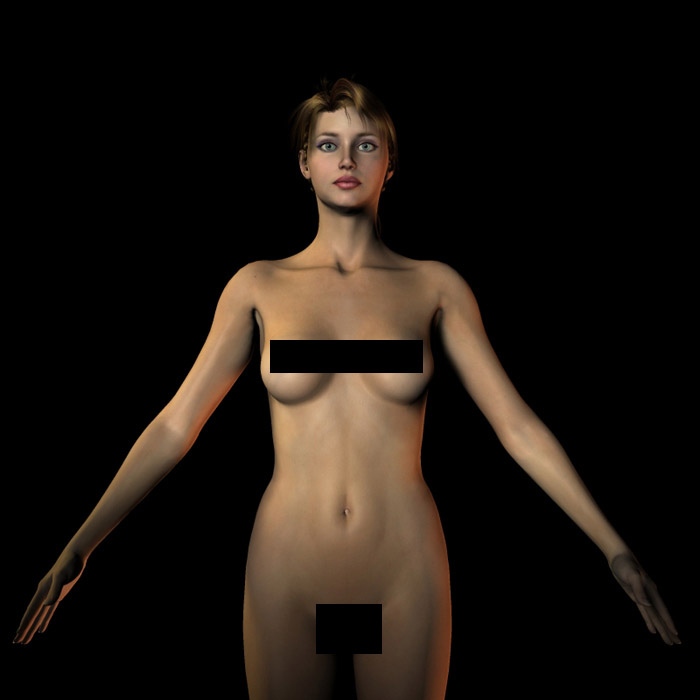
“Egwene’s Face and Lighting ” by John Doe
Introduction
Hello! The purpose of this simple tutorial is to enable users to make full use of the Egwene (Ehg-Wee-N) face, hopefully to show her fairest side. Overall, it is merely some steps to improve the lighting of the scene, and is so simple that everyone should be able to follow.However, some IMPORTANT reminders :1. To exactly follow this tutorial, you’ll need : Daz’s V3 Head Morph Pack, Daz’s Standard Res Map and Daz’s V3 Fashion Model Face Maps. (No, I’m not getting paid by Daz…hehe). I’ve no idea how other textures would look like on her, so please feel free to explore.2. As I said, I ONLY provide the face morphs (with INJ and REM MORs) in the freebie. No textures and no makeup. The above pic is basically how it begins and finally what you can expect at the end (part 2 of this tutorial). The great side of it is that the above right pic took less than 20 minutes to make. So, if the result is agreeable to you, let’s begin…:D
3Dtutorials.sk recommendation:
To maximise the realism of your CG characters we recommend to use high quality image references from the #1 reference website www.female-anatomy-for-artist.com
Load, Apply Face INJ, Tex and Makeup
The brief preliminary steps would be as follows : 1. Loaded V3,2. Used the Egwene Face INJ3. Applied the standard res Maps, 4. Applied the Firefrost Makeup from V3’s Fashion Model Face Maps (for those who have this set, Berry Nice, Blush, Russet look nice on her also)5. Conformed HandMaiden Hair (or any other you prefer. This one looks good to me.)That’s how it looks like on screen. Now let’s give her a test.
Test render with default lights
This is how she looks like rendered at 800×800 with default lights (using Poser 4 render engine, and all checkboxes ticked). Not bad I think. Let’s see if we can improve.At this juncture allow me to say that the following adjustments fit my taste as to how she should look like. It most certainly isn’t the best. Besides, if you’re happy with the previous result already, hey I’m happier…:DAs for me, I feel that a proper lighting can make her prettier. Let’s try it.
Using a Spotlight
Actually all we need is one spotlight. So here is what we’ll do:1. Click on the middle light (Light 2)2. Select its properties tab and 3. change it to spot (sorry I’m writing with a mouse 😀 )Here’s how it’ll look on screen after that minor adjustment. But the more important is to light up the right places, and for the purpose of this tutorial, that’ll be her face. So, let’s go on.
Pointing the Spotlight to her Head
Next, point the light (Light 2) to her head by 1. Choosing Object > Point At and,2. Selecting the ‘head’ under ‘figure 1’ from the Choose Actor screen.That’s it.The purpose of this adjustment is to properly light up her face, something which the default lights did rather badly.Now crank up the intensity of the light to 100%. Alright, now let’s give her another test.
Test Render with Spotlight
Here’s another render of what we did.I think she looks better already. (Of course it could be my monitor..hehe…) But seriously folks, what we did was to properly light her face and give her a slightly more dramatic look. Actually that would be the crux of this tutorial…:D
Let’s create a very simple scene
Now let’s create a simple scene, 1. I used Vali’s pose and reworked it slightly.2. Give her some costume, like BVH’s Lady Evangelyne Bodice.3. Put a smile on her lips (I used the smile1 and smile_left parameters to give her a mysterious smile), 4. And give her eyes a slightly demure look (using the blink_left and right inj from the v3 expressions INJ. 0.200 would be sufficient. You’ll need the V3 Head Morph Set).5. Adjust the camera angle as above. I should point out that although she looks good overall, she looks better at certain angles, particularly slightly downcast looks.I like to use as few props as possible, so I chose DM’s pillar from their Pure Fantasy Set.I would also like to bathe her in a yellowish light, so I changed the light color accordingly.
Final Result
Here she is rendered at 800×800 using thePoser4 rendering engine and everything ticked.I think she looks enticing, doesn’t she? 😀 She probably doesn’t even need postwork.Next, I saved her in .psd format for postwork. But that’ll be the subject of the next part tutorial. Provided I haven’t lost you guys somewhere above !:DOn the next page are some expressions I made with Egwene’s face. Hope it appeals to you. Take care!(On the next page are some expressions I’ve created with Egwene’s face. Hope you like them!)Special Credits:I would like to thank svdl for helping me out with this project. His suggestions and recommendations have really help me out in this small project. If you need to anything technical about Poser, he’s da man! Thanks so much for your time and effort!
Some Expressions You Can Achieve
With some simple tweaking you can achieve the above faces.If you have suggestions on how to improve, just holler…:D
(c) John Doe, randalthoor2@yahoo.com


Latest Comments