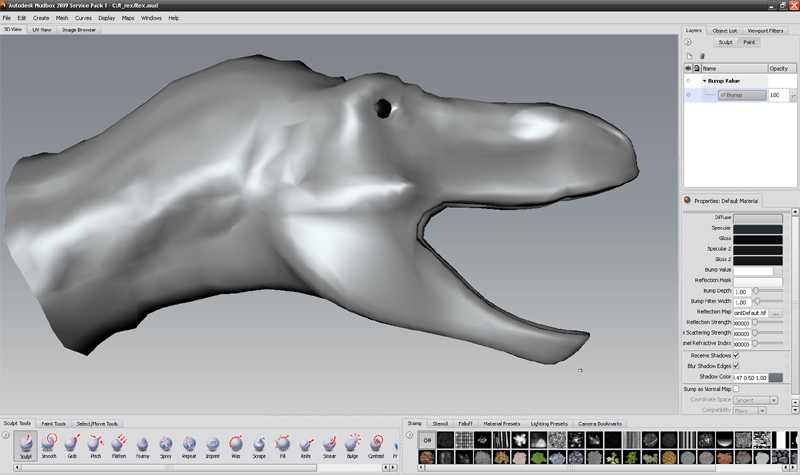
"How to view normal maps within Mudbox 2009" by Ashraf Aiad
There have been some great improvements in Mudbox 2009 SP1. One new feature is the ability to view normal maps on top of your low poly mesh. This will confirm that the map was extracted correctly before exporting to your game engine or other 3D application.

1. Start by creating an (empty) Bump Value layer.

2. Right mouse click on the Bump Value layer name and choose “Import Layer”.

3. Load the normal map file.
Note: In my example, I’m using a mesh that has multi UV tiles. In this case you need to choose only ONE file and Mudbox will recognize the rest.
At the first glance the display of the normal doesn’t look accurate. As a matter of fact, the normal map is displayed as a bump map.

4. To correct this behavior, right mouse click on the model and choose “Edit Material” and then toggle on “Display Bump as Normal Map”. Now the display of the normal mapis as expected.

3Dtutorials.sk recommendation:
To maximise the realism of your 3D rendering we recommend using high quality photo references from the #1 texture websites www.3D.sk and www.environment-textures.com
Note: Depending on the normal map itself, you may want to check the other option for the coordinate space.
(c) Ashraf Aiad, www.pixelcg.com


Latest Comments