Introduction
My name is Humam Munir, a freelance 3D artist. This is a project overview of my image Plymouth 1971 Cuda Hemi, so I’m going to focus on texturing, lighting, rendering and post-production. This won’t be a step-by-step tutorial and I won’t dwell on the modeling part because there are a lot of tutorials about this kind of thing already on the internet that you can find easily.
References
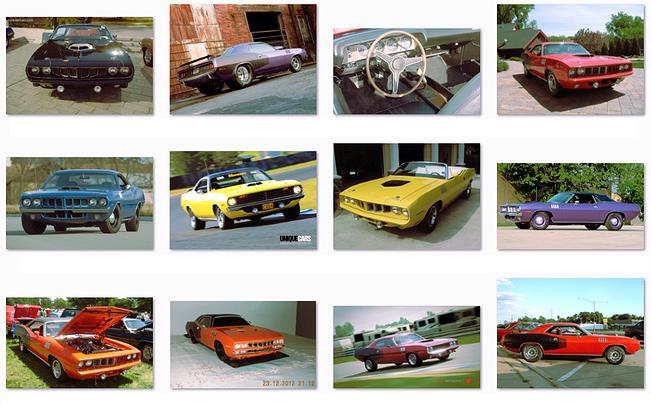
When starting any new project, it’s very important to find some high quality references that can have instructional influences on your work. A good reference should do two things: match your ideas and give you ideas.
I Googled some images of the Plymouth and downloaded the pictures. You can find also plenty of high resolution photos of vehicle references at environment-textures.com. I also found a free blueprint on the internet.

A sample of my references

Free blueprint from www.the-blueprints.com
Modeling
As I mentioned before, I’m not going to dwell on the modeling. You can see the main model of the car body in the image below:

Main car body model
Unwrapping
I did a planar unwrap. I didn’t worry about perfect unwrapping at this point; I simply wanted to define my unwrap seams while I had the correct polygons selected, to save time.

Defining my unwrap seams
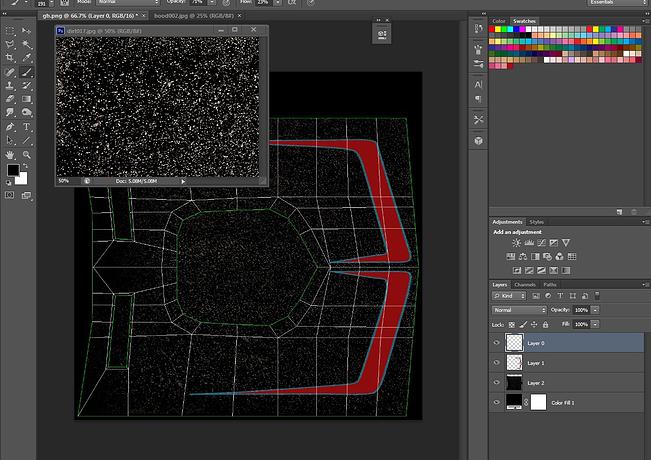
Here you can see a simple part of the model – the hood – that I’ve chosen to explain some of the steps that I followed to create my textures. You can use textures from Environment Textures – Vehicles category.

Adding details to the hood

Adding texture to the hood

Applying the texture to the model
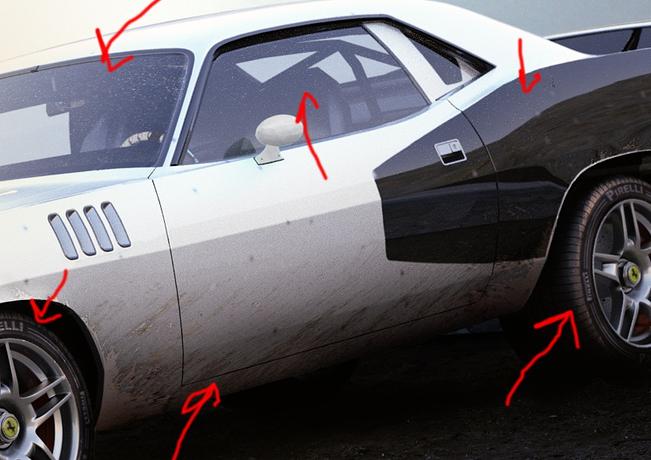
When creating something like a car, it’s important to use dirt to add realism. The following images show the difference between using dirt and not using dirt.

Car without dirt

Car with dirt
Pages: 1 2


Latest Comments