This tutorial assumes the availability of an image editing program which can handle layers.
Source data
We start with a couple of facial pics, our model is fellow WorldForger, Simon. The series shown here are excellent sources of face textures: well lit, high resolution, all angles (even +- 45 deg vertical).
What do we need?

In theory it is possible to make textures with only front, one side, and rear pictures, but having more makes it much easier to make a smooth texture.
Combining pictures
We start with the frontal picture. To make room for the rest of the texture we resize the canvas. I like to be sure there’s enough room, so I resize it horizontally by 600% and vertically by 120%.

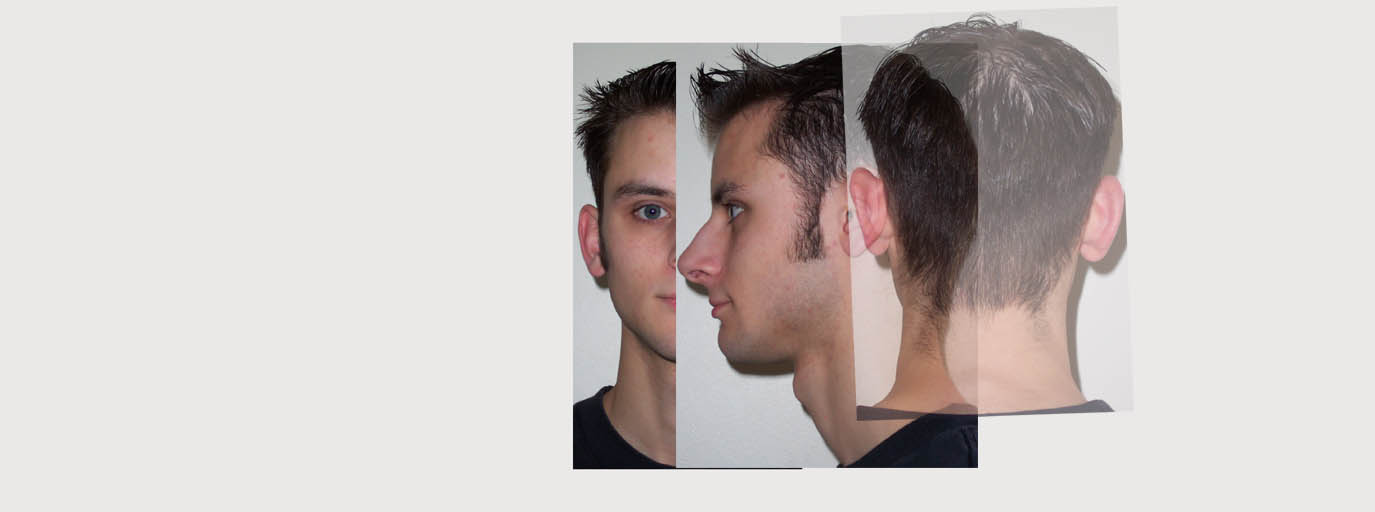
I then paste onto it one of the +- 45 degree views (skip this if it’s not available). I choose to start with his left side.

Next step is to set the transparency of this new layer to approximately 60%. This way I can see the layer underneath. I then scale the layer, moving the corner until the next layer’s inner eye-corner overlaps the layer underneath and the rest of the facial features (like cheek and hairlines) are of the same scale as the layer underneath.

The positioning of the pictures is a very important step in the creation of the texture — take care to make things overlap. The 45 degree layer is there to smooth things out. It is, however, not completely necessary and for now it is turned off. Repeat the exercise with the left-view, only this time use the outer corner of the eye to determine the horizontal position.

I then turn the left-side layer transparency to 100% and add the rear-image. Here I use the lower hairline, combined with the size of the ear, as the initial positioning guide. Before scaling, I use a rotation-tool to straighten the image a bit.

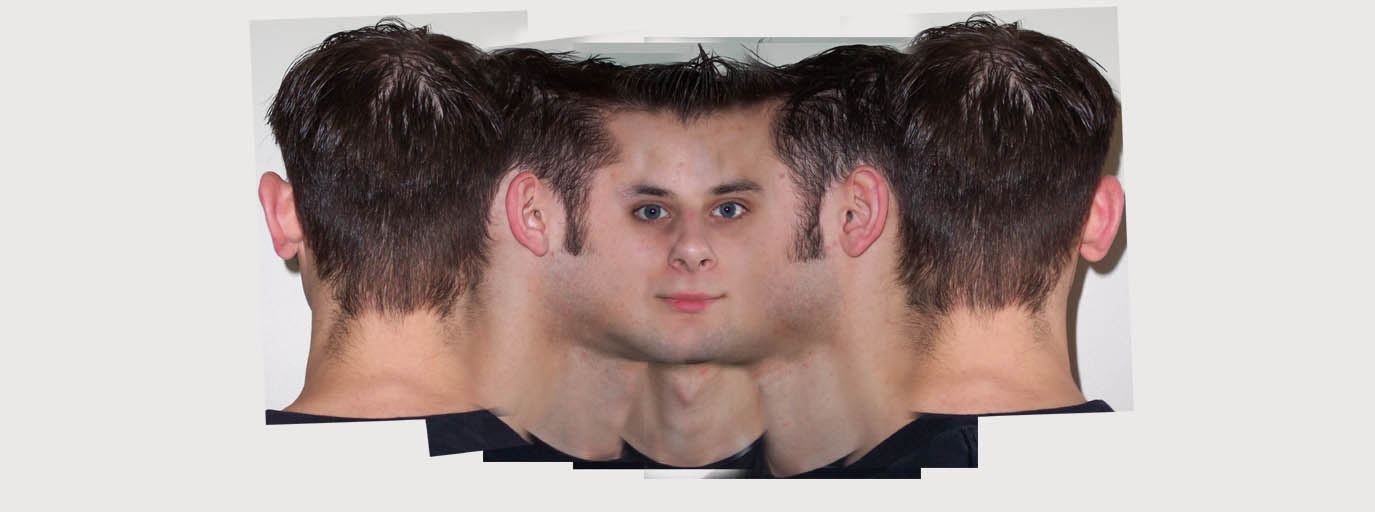
I turn off the layers and repeat the process for the right side of the face. For the rear image I duplicate the left side rear image to preserve rotation and scale.

Now this is a great picture, isn’t it?! Just about ready to be plastered onto a mesh. I turn off all layers, except the 45 degree left, which I turn to 0% transparency. Next, I choose the eraser tool and using a smooth brush with 50% opacity I start erasing the 45 degree layer. I erase from the left side and remove the layer where it seems fit. The brush settings make sure the transition between layers is smooth. The Undo command is used whenever too much layer is removed. Every now and then change the layer transparency to see what must still be removed.

I love that eraser tool! In a very short time a smooth transition between the layers has been created. I make sure eye, nose and lips are all from front-picture. I repeat process with the other layers.

Pages: 1 2


Thank you for this very helpful tut!
Thankyou. I have been looking for information about how to do this for so long. really appreciated.